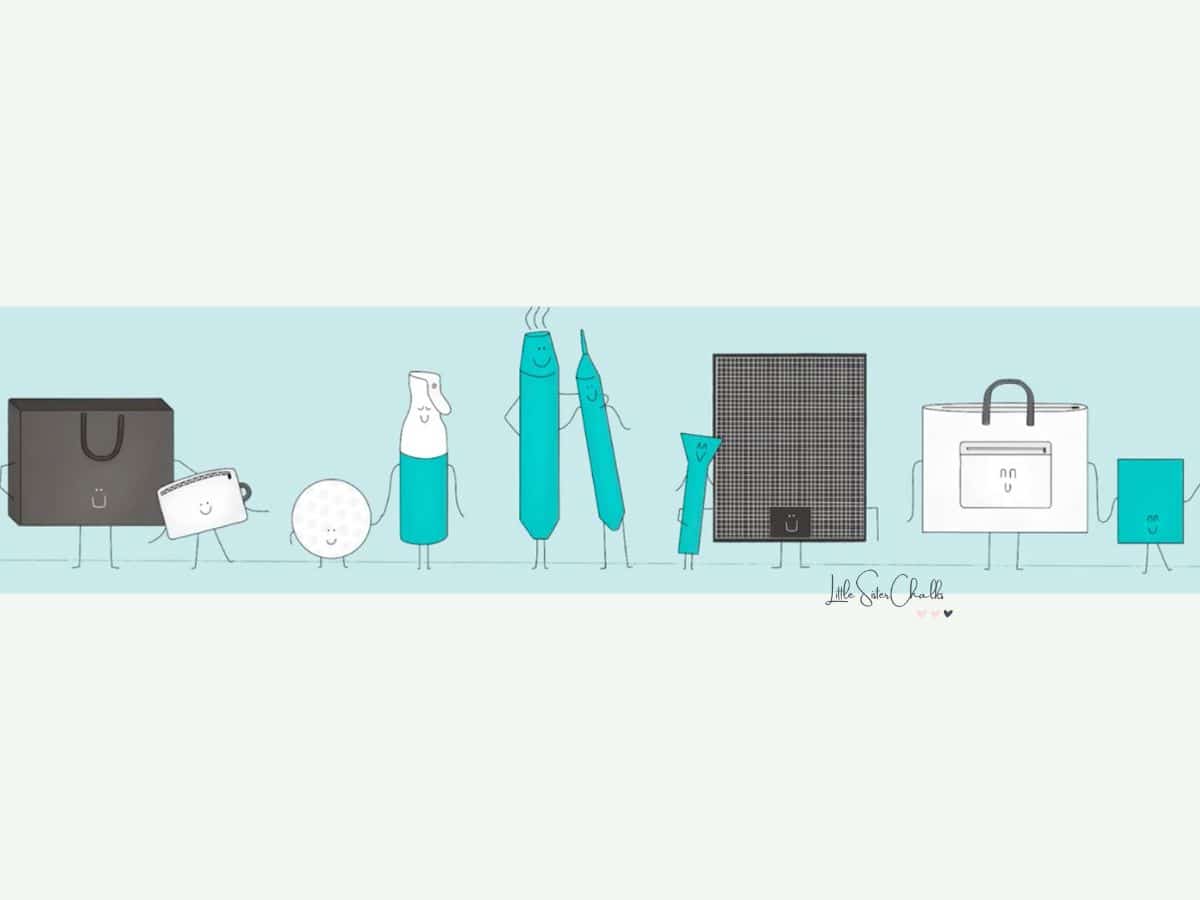
Having the right tools for the job always makes things easier! This Guide to Chalk Couture Tools will tell you about the different tools Chalk Couture has available, what they are used for and if there are things you may have around the house that can be used instead.
The only tool that is required is a squeegee, but you can review this guide and decide what you might like to add to your collection. There are useful things you already have on hand, so check out the substitutes and see what you might want to have ready when you start chalking your project!
Chalk Couture Tools
| Chalk Couture Tools | Uses | Substitutes |
|---|---|---|
| Squeegee – Mini – Small – Handheld – Angled – Multi-tool | Apply paste or ink to your stencil to create a project. – Mini and small squeegees can be used on any project. – Handheld squeegees are most useful for large areas. – The angled squeegee gives the ability to reach different angles with one tool. – Multi-tool is useful for small spaces and for stirring paste. | None |
| Stir Stick | Stir paste/ink or mix colors | Popsicle stick |
| Fuzzing Cloth | Remove stickiness from stencil | Microfiber cloth, towel, shirt |
| Board Eraser | Helps with cleanup. Can be used to clean a reusable surface and stencils. | Magic eraser |
| Detail Tool | Tools at both ends: – very small squeegee helps with intricate designs and small spaces on a stencil – pointed end which is great for picking up stencil corners or fixing small paste mistakes | For the pointed end, toothpicks also work great. |
| Color trays | Use with paste packets or when mixing colors | Dollar Tree mini appetizer plates |
| Quick Dry Tool | Dry your project fast for layering or when you’re in a hurry | Hair dryer |
| Placement Tape | Mask areas of a stencil you don’t want to use or mark off a straight line on your surface | Painter’s tape |
| Transfer Trimmers | Use on cut-apart stencils; high-quality scissors with non-stick blades. | Scissors |
| Wax applicator | 3” microfiber cloth for applying wax to wood surfaces. Washes easily with dish soap. | Various cloths |
| Power Punch | Punch holes in materials up to ⅛” thick | Crop-o-dile |
| Artist Tool Set | 2 brushes and 2 specialized tools for adding color, fine detailed pasting or correcting mistakes | Paint brushes, Q-tips, toothpicks |
| Adhesive Magnets | Round magnets with adhesive on one side | Magnets / glue / hot glue |
| Pop-Up Porter | 21” x 12.5” x 12.5” tote to carry and store supplies | Various totes |
| Surface Wax | Protect stencils and surfaces | Finishing wax |
| Basics Bag | 8.5” x 3.5” x 2.5” plastic bag to carry tools | Various bags or containers |
| Paste Scraper | Remove dried or re-wetted paste from Chalk Couture surfaces | None |
| Chalk Markers – 2 pack | Silver & Gold or Black & White; add custom touches, hand-lettering or freehand artwork to board surfaces. Remove with water and board eraser. | Various chalk markers |
| Display Easel | 9.5” or 14” easels to display your work | Various easels and stands |
| Color Case | 9” x 6” x 4.5” case to hold paste and ink jars. Holds up to 18 jars. | Various totes and containers |
| Self-healing Work Mat | 18” x 24” heavy duty, double-sided work mat to protect your work surface. Cleans easily and grid lines help line up designs. | Other work mats |
| Fine Mist Sprayer | Use with distilled water to prep, remove and clean paste from reusable surfaces. | Other sprayers |
| Chalk Transfer Tote | 26” x 20” tote to carry and store stencils | Other totes |
| Transfer Backer Sheet – 10 pack | 8.5” x 11” backer sheets for organizing stencils. Use several for larger stencils. | None |
| Ink Mat | 17” x 17” or 11” x 23” Use under fabric projects with Chalk Couture Ink. Reusable with a lightly sticky adhesive to hold your project in place. Can be cut apart. | Other mats |
I hope this Guide to Chalk Couture Tools was helpful. If you need more information about what supplies you need to start creating your own Chalk Couture project, check out the Ultimate Guide for Chalk Couture Beginners. It will help you build your own kit and explain what you need to be successful when creating your first project and beyond!
I can’t wait to see what you create!
Luana

