Many Chalk Couture designers have created a variety of “stuffies” including a diy stuffed bunny or two! Having seen another round of these stuffies in our Chalk Couture Designer Studio, it was time to experiment and create one for Easter and spring decorating opportunities coming our way!
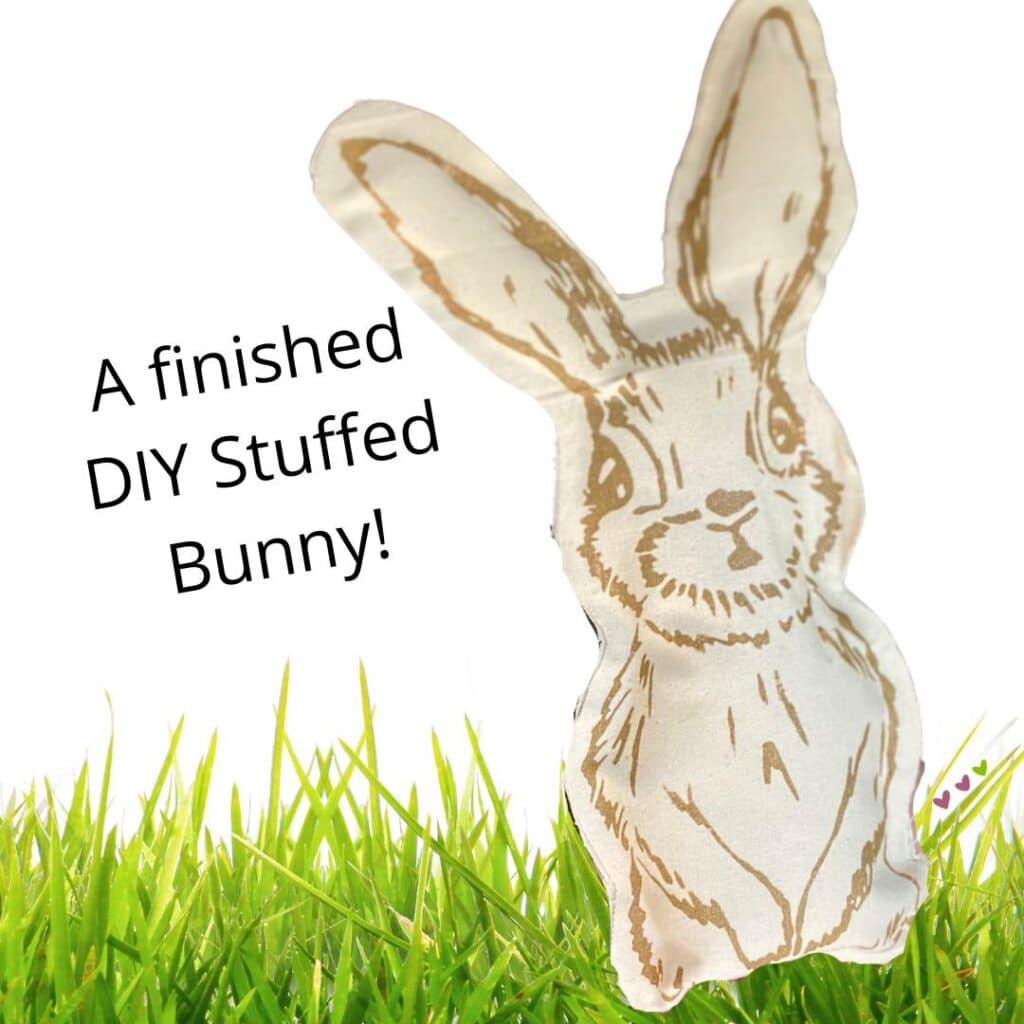
DIY Stuffed Bunny
Follow along to see how this adorable diy stuffed bunny was created without sewing a single stitch! This example was put together using a hot glue gun, but if you know how or love to sew, any “stuffie” can definitely be sewn!
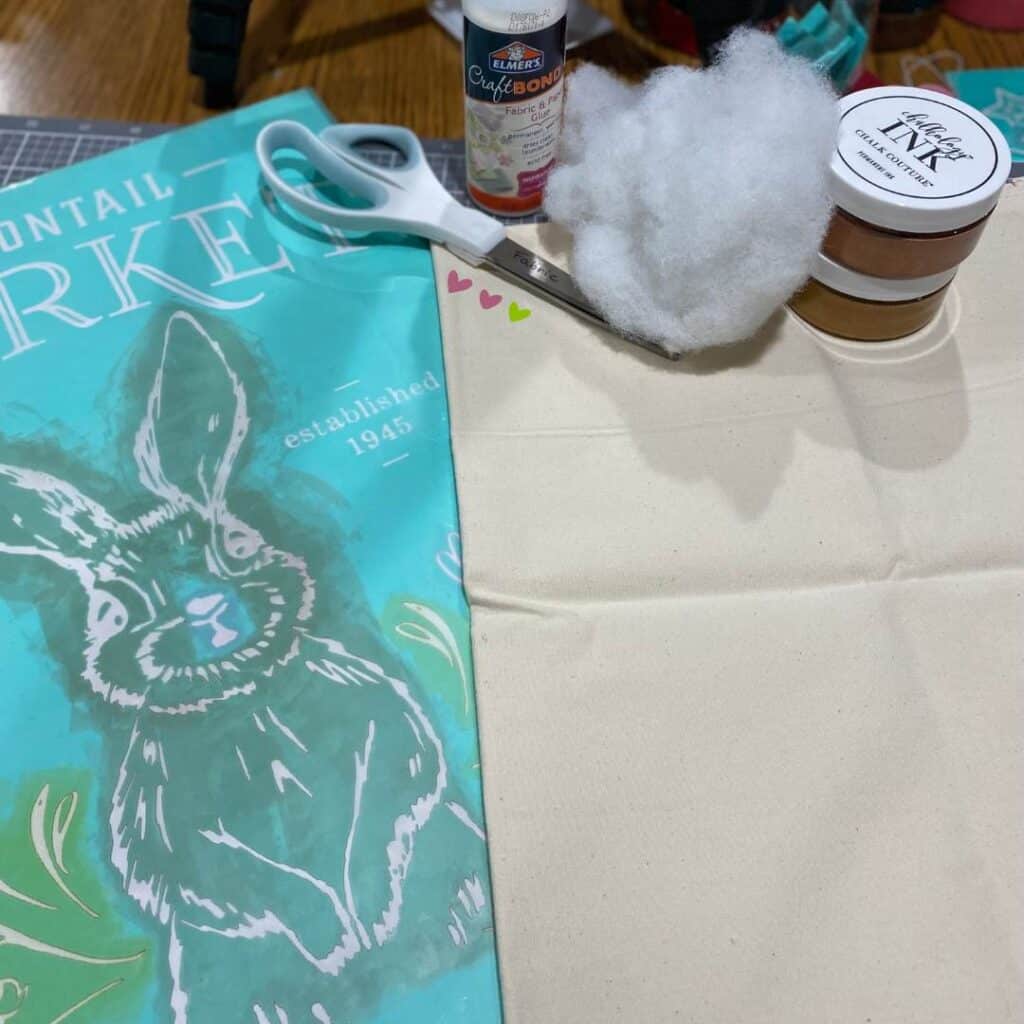
Required supplies for creating the DIY Stuffed Bunny
- a Chalk Couture or other stencil of your choice. This project was made using the retired Spring Cottontail Market stencil, but the new Chalk Couture spring collection has so many stencils that would be perfect for making stuffies.
- Chalkology Ink or other ink of your choice (learn more with the Chalk Couture Paste & Ink Guide),
- a squeegee,
- fabric of your choice. This project was made from a retired Chalk Couture canvas banner refill, but you can also use materials you’d like to reuse and recyce like t-shirts, jeans, or scrap material from other projects.
- scissors,
- pillow stuffing of your choice like poly-fil or consider using scrap fabric to reuse items in your craft room,
- hot glue, fabric glue or needle and thread. You can finish this diy stuffed bunny in a variety of ways. Use the one that is easiest and best for you!
Steps to Create the DIY Stuffed Bunny
The following steps were used to create the stuffed bunny, but there is also a Facebook Live video where you can follow along if you prefer visuals.
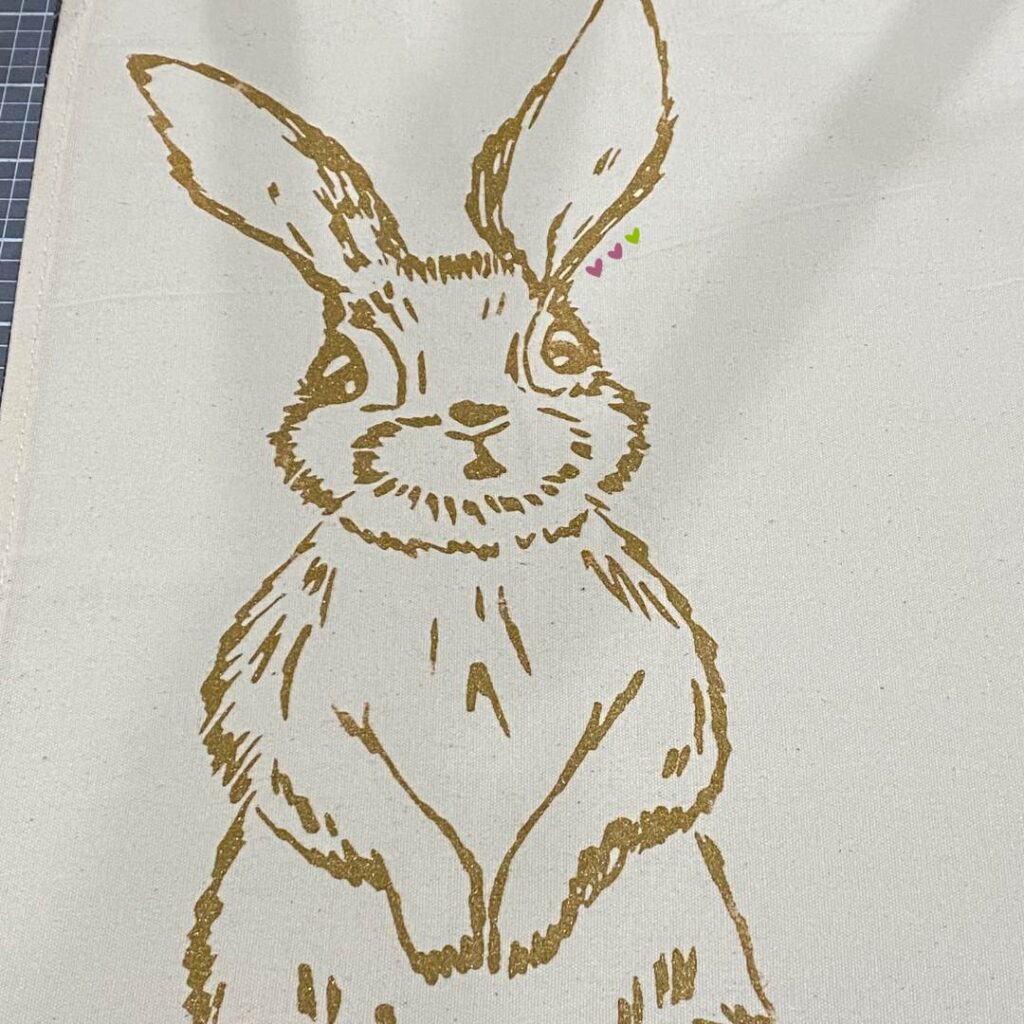
- ink your chosen stencil design onto your fabric and let dry completely. Letting the design dry overnight is ideal, but you can also use a drying tool or blow dryer to speed the process along. Chalkology Ink can also be heat set on fabric if the project will be washed. (See heat setting instructions below.)
- once dry, double the fabric and cut the shape out of both pieces,
- start gluing or sewing your edges together leaving an opening to stuff the design,
- stuff the design with your chosen material,
- finish gluing or sewing your edges to complete your stuffie!
Heat Setting Instructions:
There are 2 ways to heat set your design. Note you must heat set both sides of your design (inked side and non-inked side):
- With a regular iron using dry heat – no steam:
- heat your iron on medium heat for your fabric,
- place parchment paper over and under your design,
- once your iron reaches the desired temperature, place your iron on your parchment paper and move it around in small circles for 4 minutes,
- turn your item inside out and repeat the above process.
- With a Cricut heat press:
- set your Cricut heat press to 300 – 315 degrees,
- place parchment paper over and under your design,
- once your Cricut heat press reaches the desired temperature, place it on top of your parchment paper for 30 seconds. You can move your heat press around like you would an iron.
- turn your item inside out and repeat the above process.
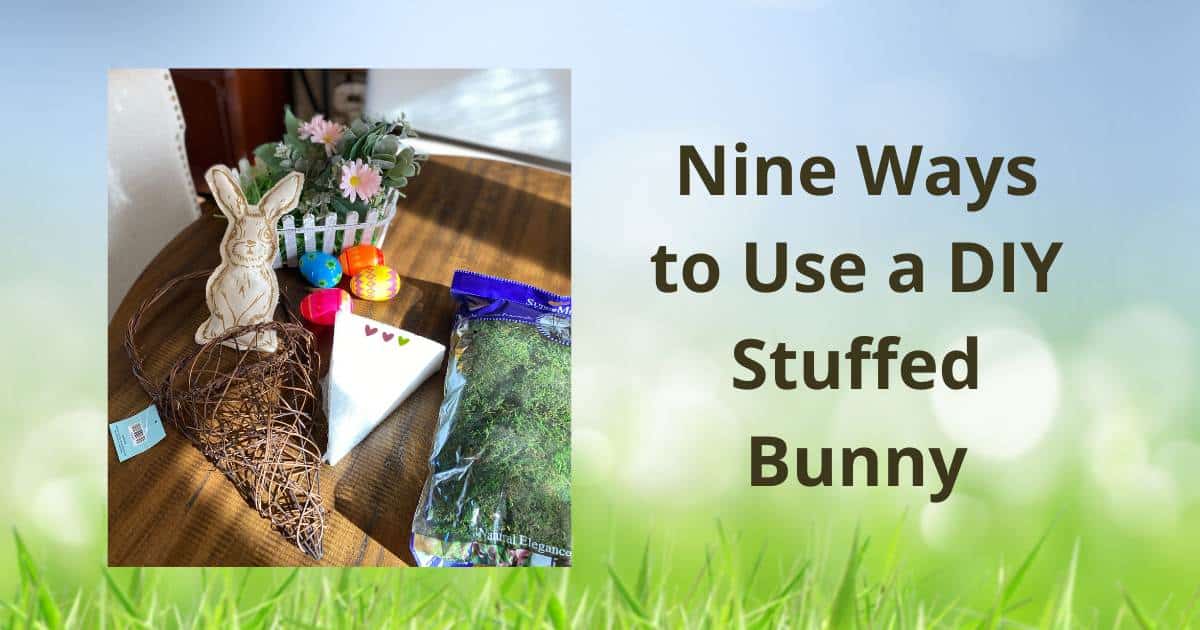
Nine Ways to Use Your DIY Stuffed Bunny
There are so many ways to use a diy stuffed bunny in your spring decor! Below are nine ideas followed by examples for three of these projects:
- in a basket,
- in a centerpiece for your table,
- as part of a door hanger,
- on a tiered tray,
- as a pillow,
- use several to make a banner,
- as a magnet,
- as ornaments,
- use several to make a mobile.
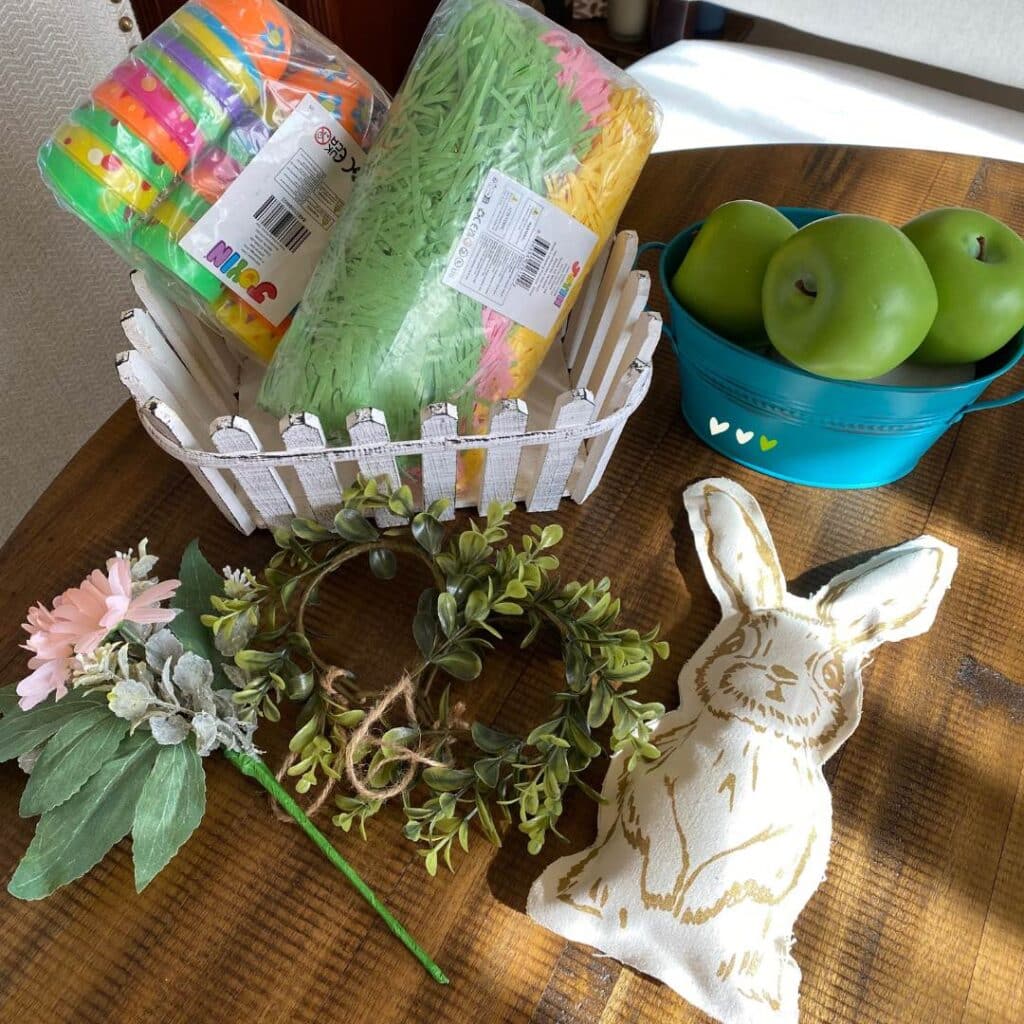
A Basket
Use your stuffed bunny in a basket with other items that are bunny, Easter or spring related. The basket can be used as part of your decor or a child’s Easter basket.

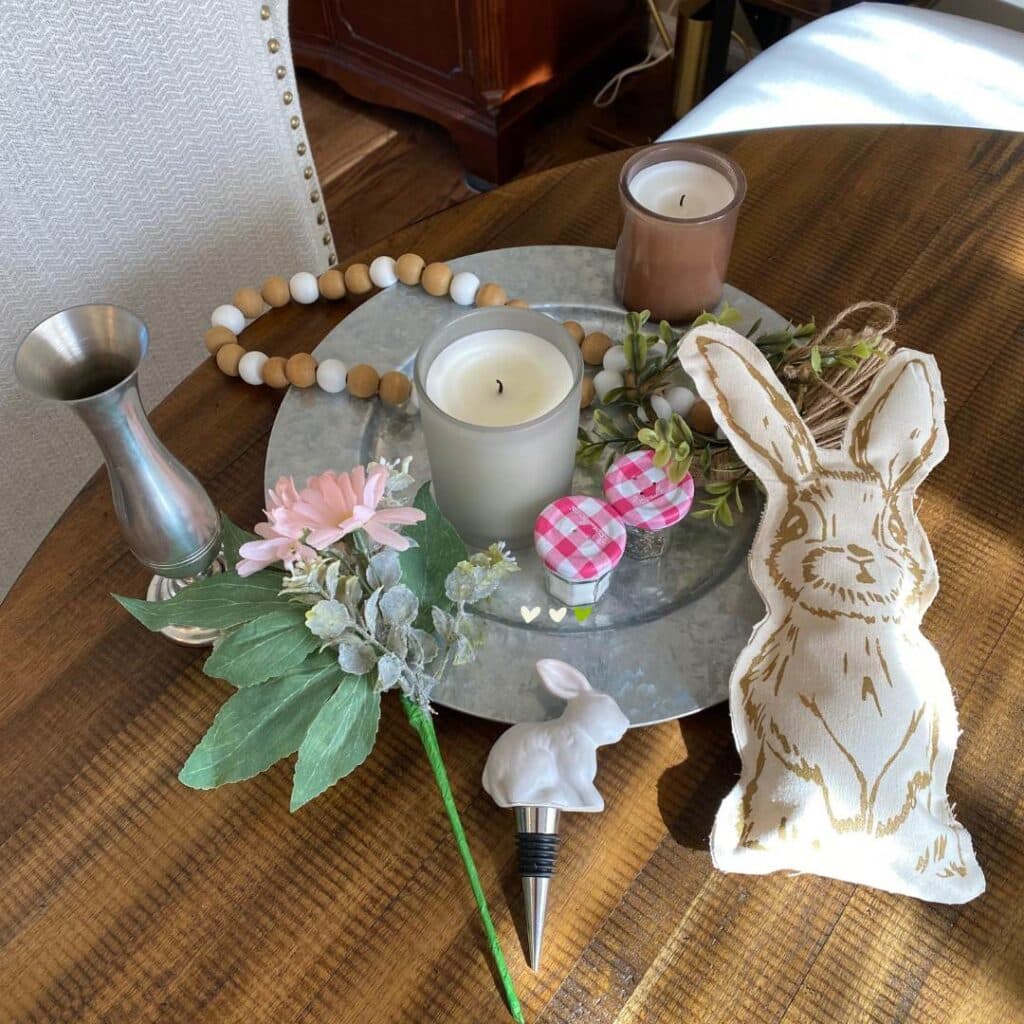
A centerpiece
It’s so easy to create a centerpiece for your table, coffee table or entryway! Gather things from around your house that are bunny, Easter or spring related or have coordinating colors. The arrange them on a tray or a plate using an odd number of your gathered.

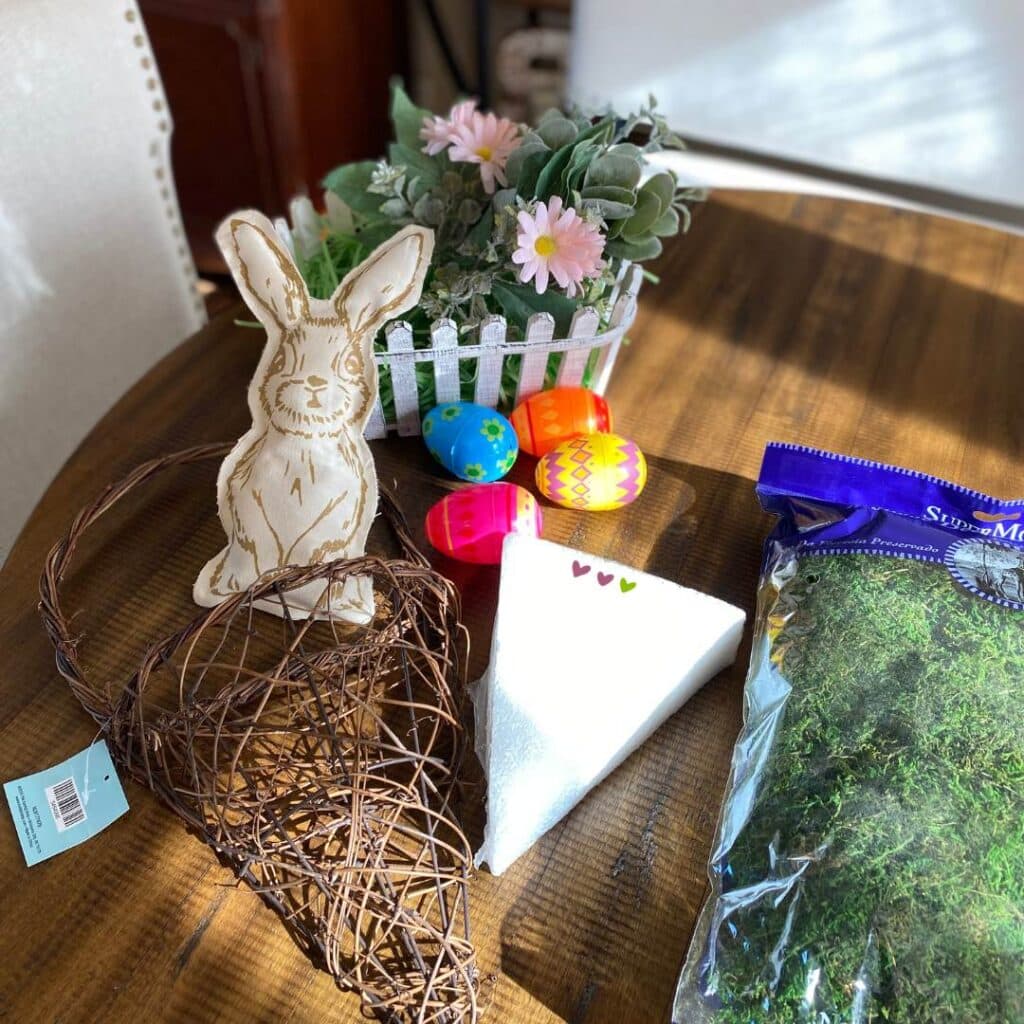
A Door Hanger
A stuffed bunny is so welcoming when used as part of a spring or Easter door hanger! You’ll notice most of the same items used in the other projects can also be used in this grapevine door hanger, but gather the things you love and use your creativity to put together a unique way to greet friends and family at your front door!

There are probably so many other creative ways to use a diy stuffed bunny in your spring decor! Please leave a comment with any of your ideas!
I can’t wait to see what you create and which shapes you decide to make into stuffies!
Luana