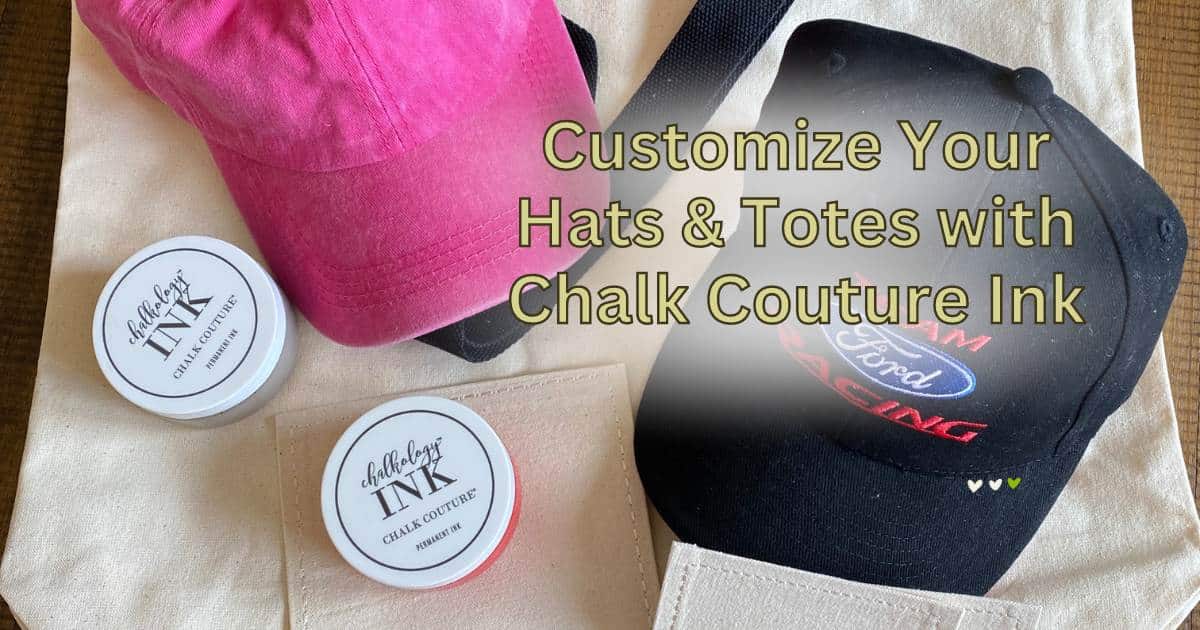
You can customize your hats and totes with Chalk Couture ink and stencils to make them your own! It’s so easy to design your own items especially if they are blank, but you can also use Chalk Couture fabric patches to reuse and recycle hats and totes that are just sitting in your closet not being used!
Customize Your Hats and Totes
Working with Chalk Couture stencils and ink is super easy and so much fun! It’s a great way to customize your hats and totes, but you can also work with pillows, towels, t-shirts and so much more!
The process for using Chalk Couture stencils and ink is pretty much the same regardless of the project you are creating. Hats are a little trickier since they are curved, but you’ll find some extra tips and tricks below for working with them!
Supplies you’ll need for ink projects
- a fabric item of your choice. Hats and totes will be highlighted in this blog post, but you can create on just about anything you’d like. Think about what you can create on pillows, blankets, towels, and shirts!
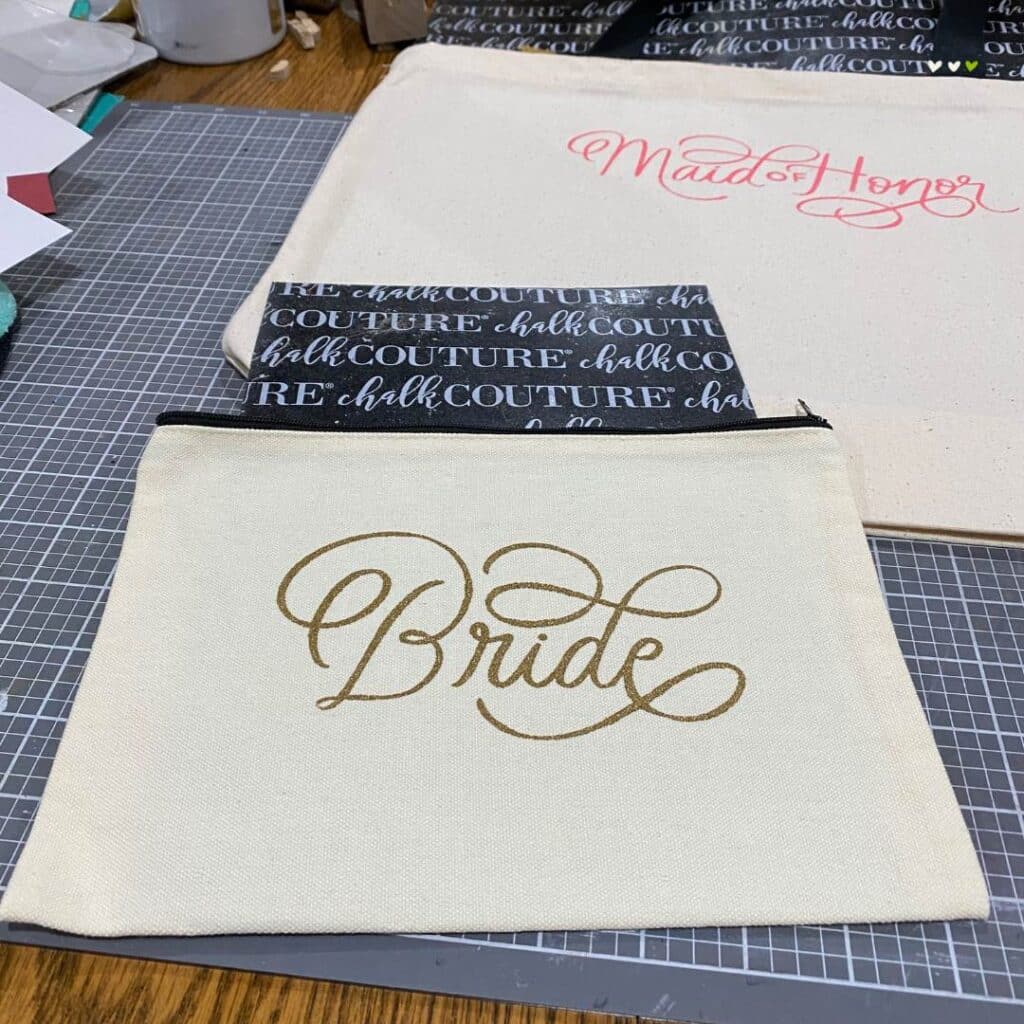
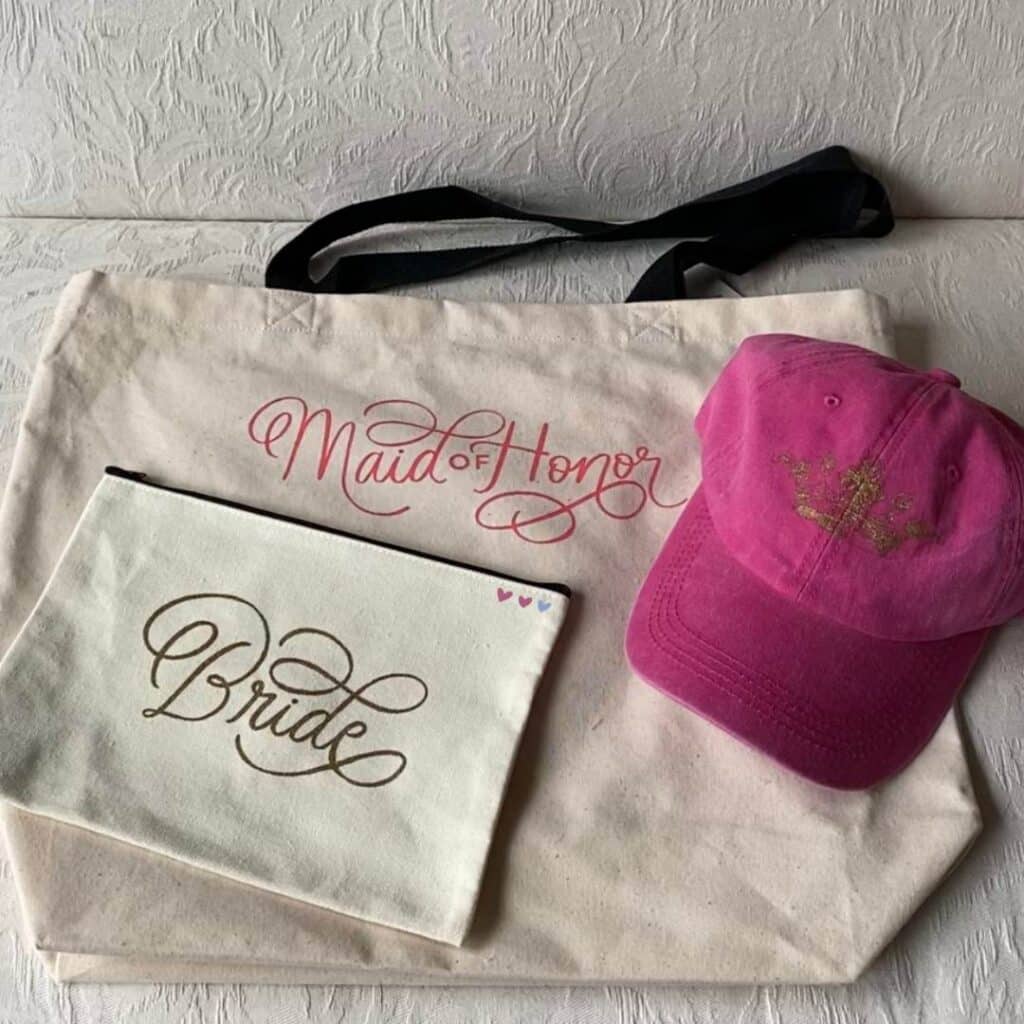
- a stencil design of your choice. A variety of both new and retired Chalk Couture stencils were used in these projects including Seas the Day (retired stencil, turtle element), Welcome to Our Wedding (flower elements), Wedding Party (bride and maid of honor elements), Boho Flowers (retired stencil, flowers).
- Chalk Couture Chalkology Ink colors of your choice. The Chalk Couture Paste and Ink Guide is a great place to get some more detailed information on ink!
- a Chalk Couture ink mat to keep your fabric taut and flat. You can also use other craft mats available for this purpose.
- a squeegee.

Steps to complete your tote bag project
- place your ink mat inside your tote and smooth out the fabric so there are no bumps or creases,
- place your stencil design onto your tote bag (there is no need to fuzz your stencil since you are working on fabric),
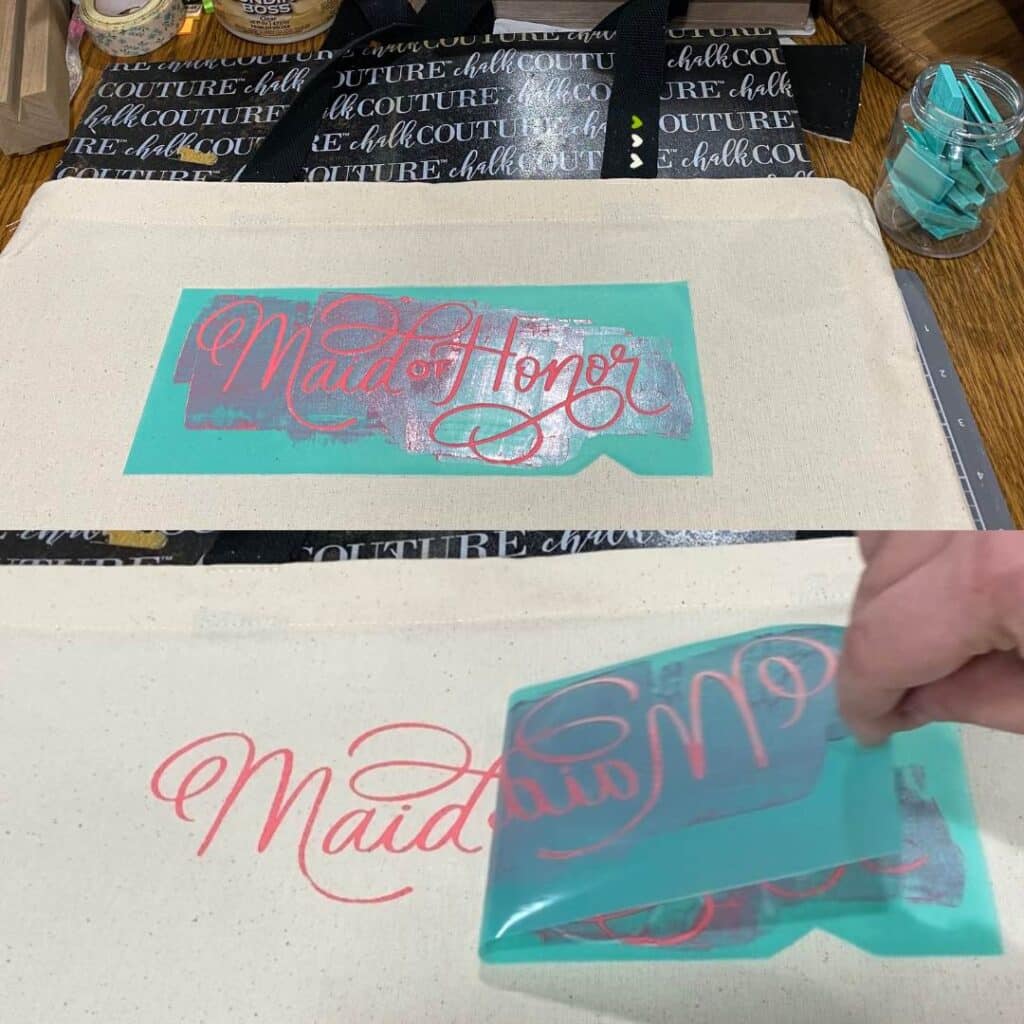
- apply your Chalk Couture ink onto your stencil design. Take your time and ensure all the silk screen is covered well.
- peel your stencil design from your tote bag slowly so that you have a chance to lay the stencil back down if there are places where the ink did not completely cover the fabric,
- let dry completely (overnight is best but as long as the ink is no longer tacky, you can move forward),
- heat set your design (see instructions below) and enjoy!
Heat Setting Instructions:
You can use an iron or a heat press to heat set your Chalk Couture ink design on your fabric project.
To use an iron:
- Set your iron to a medium heat setting for your fabric.
- Place a barrier, like parchment paper, between your iron and your fabric.
- Place iron on parchment paper and move in small circles over your design for 4 minutes. Do not let it sit in one spot.
- Turn item inside out and repeat steps 2 & 3.
To use a Cricut heat press:
- Set Cricut heat press to 310 – 315 degrees.
- Set timer to 30 seconds.
- Place a barrier, like parchment paper, between your iron and your fabric.
- Place heat press on parchment paper and start the timer. You can move the heat press around like an iron or just press it down.
- Turn item inside out and repeat steps 3 & 4.
Pro Tips for Working with Hats
Since hats are curved and you can’t lay them flat on an ink mat, working with them can get a little tricky. You want to keep the fabric as smooth and taut as possible, and your stencil choice can make a difference as well. You should consider using a design that doesn’t need to go up or around the curved parts of the hat.
Here are a few things you can stuff inside a hat to keep the fabric as smooth as possible:
- a towel,
- a bowl,
- foam,
- a ball,
- a hat display made of hard plastic that is shaped like half a sphere. This option is a small expense, but if you are creating a lot of hats, it is worth it!
The smoother you can keep the hat fabric and the more sturdy the item you place inside your hat, the easier time you’ll have with inking your design. Even if your attempt isn’t perfect, always remember that the little imperfections make a project unqiue and truly your own!
Great recycling tip!
If you have a hat or even a tote that has a design already on it, try using a Chalk Couture Fabric Patch! You can ink a design on the patch and place it over the current design to cover it. These are iron on patches that come in both small and large sizes.
(If you are putting these patches on something that will be washed, sewing them on versus ironing them on will help keep the edges from curling.)
I hope you’ve been inspired to customize your hats and totes with Chalk Couture stencils and ink! Hats and totes are so useful and also make great gifts for Mother’s Day, Father’s Day, graduations, bridal parties and so much more!

Sustainably yours,
Luana