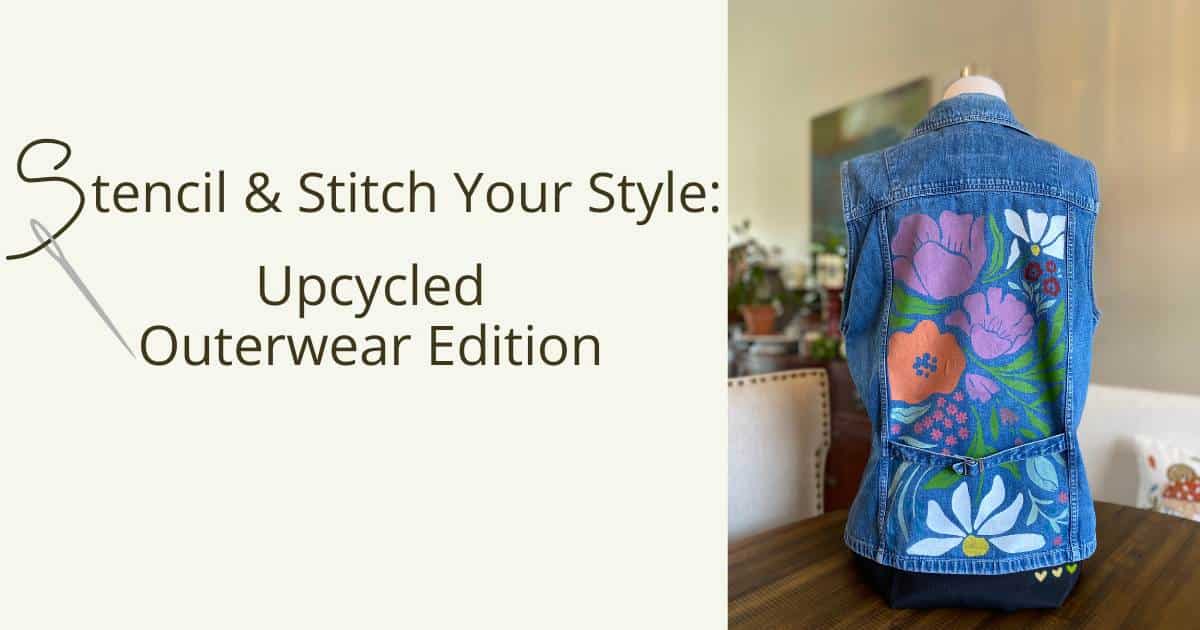
Upcycled outerwear is a great addition to your fall wardrobe! Check out your closet and get ready for fall by breathing new life into your well-loved jackets and sweatshirts with stencils and embroidery!
Upcycled Outerwear for Fall
July is Stencil & Stitch Your Style at Little Sister Chalks, and this week’s edition is Upcycled Outerwear! It’s been fun finding inspiration to upcycle a denim vest, a utility jacket and a sweatshirt! Let’s take a look at the details of these projects!
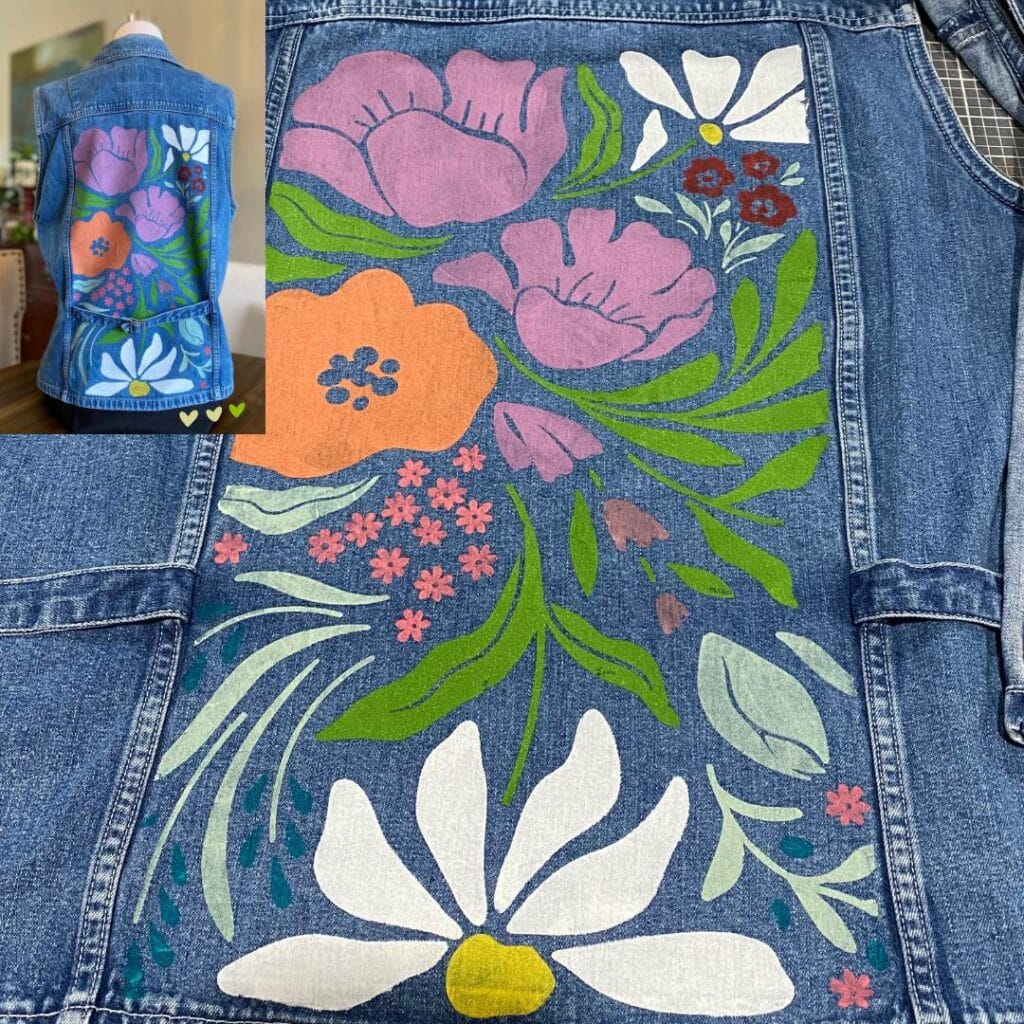
Denim Vest Upcycle
This denim vest turned into a masterpiece using a Chalk Couture boho floral design stencil and a variety of Chalkology Ink colors. It’s a great statement piece for your fall wardrobe and can be dressed up or down!
Supplies needed:
- a denim vest (or a denim jacket would work just as well). Shop your closet and see what you have that might need a little love and upcycling.
- a stencil design of your choice (This project was done with a retired Chalk Couture boho floral pattern. While you can’t get this exact stencil, check out all the Chalk Couture stencils currently available.) ,
- Chalkology Ink in your choice of colors. A variety of colors were used in the project including Bright White, Eucalyptus, Meadow, Bumblebee, Coral, Berry and Tide. Learn all about ink in the Chalk Couture Paste & Ink Guide.
- one or more squeegees,
- an iron or a heat press,
- an ink mat (optional). An ink mat holds your fabric smooth and flat, protects the other side of your item from ink bleed, and helps hold down your item when you remove your stencil. Learn about the ink mat and more in the Guide to Chalk Couture Tools.
Project steps:
- if you’re using one, place the ink mat on the inside of your vest and smooth out your fabric,
- place your stencil where you want your design,
- apply the ink colors of your choice to your stencil ensuring that the silk screen portions are completely covered,
- slowly lift your stencil from your vest (doing this step slowly will allow you to lay the stencil back down and touch up any spots that may need more ink),
- let your project dry overnight,
- heat set your design with an iron or a heat press (see heating setting instructions below),
- Enjoy your newly upcycled denim vest!

Utility Jacket Upcycle
Utility jackets are a great fall wardrobe item! They are versatile and useful, and look even better with a little stencil upcycling! Mushrooms are having a moment, and they look adorable on this utility jacket. (Note: the red mushrooms above the left upper pocket will be stitched! This is work in progress, so come back soon to see the finished project!)
Supplies needed:
- a utility jacket,
- a stencil design of your choice (This project was done with the Chalk Couture Mushrooms stencil which lends itself to using the individual mushrooms however you like.),
- Chalkology Ink in your choice of colors. (Chalkology Ink in Candy Apple and Shimmer Copper were used here.)
- one or more squeegees,
- an iron or a heat press,
- an ink mat (optional).
Project steps:
- if you’re using one, place the ink mat on the inside of your jacket and smooth out your fabric,
- place your stencil where you want your design,
- apply the ink colors of your choice to your stencil ensuring that the silk screen portions are completely covered,
- slowly lift your stencil from your jacket (doing this step slowly will allow you to lay the stencil back down and touch up any spots that may need more ink),
- let your project dry overnight,
- heat set your design with an iron or a heat press (see heating setting instructions below),
- Enjoy your newly upcycled utility jacket!


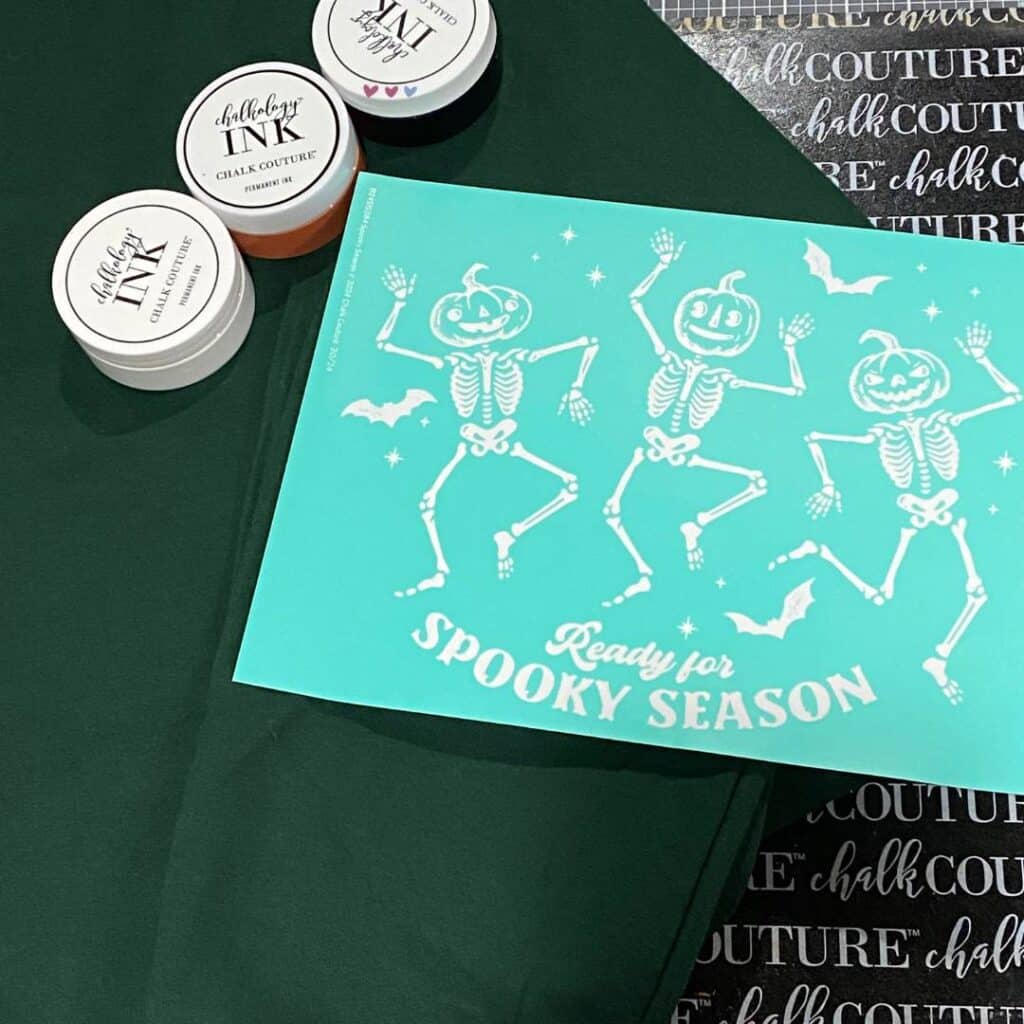
Sweatshirt Upcycle
This sweatshirt project is ready for spooky season! The forest green is a great choice although purple would also look awesome! These little pumpkin head skeletons would look so fun on so many different clothing and accessory items like totes and trick or treat bags!
Supplies needed:
- a sweatshirt of your choice (a zip-up hoodie with a design on the back would also be super fun to make!),
- a stencil design of your choice (This project was done with an exclusive Chalk Couture stencil which may become available to customers. {fingers crossed}),
- Chalkology Ink in your choice of colors. (Chalkology Ink in Bright White, Papaya and Black Velvet were used here.)
- one or more squeegees,
- an iron or a heat press,
- an ink mat (optional).
Project steps:
- if you’re using one, place the ink mat on the inside of your sweatshirt and smooth out your fabric,
- place your stencil where you want your design,
- apply the ink colors of your choice to your stencil ensuring that the silk screen portions are completely covered,
- slowly lift your stencil from your sweatshirt (doing this step slowly will allow you to lay the stencil back down and touch up any spots that may need more ink),
- let your project dry overnight,
- heat set your design with an iron or a heat press (see heating setting instructions below),
- Enjoy your newly upcycled sweatshirt!

HEAT SETTING INSTRUCTIONS
- Place parchment paper on both sides of your inked design.
- Set your iron or heat press to the right setting for your fabric.
- When your iron is hot, place it on your parchment paper and keep it moving in small circles for 4 minutes. If using a heat press, place it on your parchment paper for 30 seconds. You can move your heat press around like an iron if you choose.
- Turn your item inside out and repeat the above step so that both sides of your design have been heat set.
If you are stitching any portion of your design, you should heat set the ink before starting to do your embroidery.
Now’s the time to get ready for fall with some upcycled outerwear! You can add your own personality to jackets, sweatshirts, and vests and make a real statement this season!
I hope you’ve gotten some ideas and inspiration from these upcycled outerwear projects! Unleash your creativity and see what you can find in your closet that can use some upcycling!
I can’t wait to see what upcycled outerwear projects you create!
Sustainably yours,
Luana