Before you donate or toss those old pans taking up room in your cabinets, check out these simple baking pan crafts you can use to repurpose your old bakeware!
Simple Baking Pan Crafts
There are so many different ways you can reuse and repurpose old bakeware. These simple baking pan crafts should help get your juices flowing!
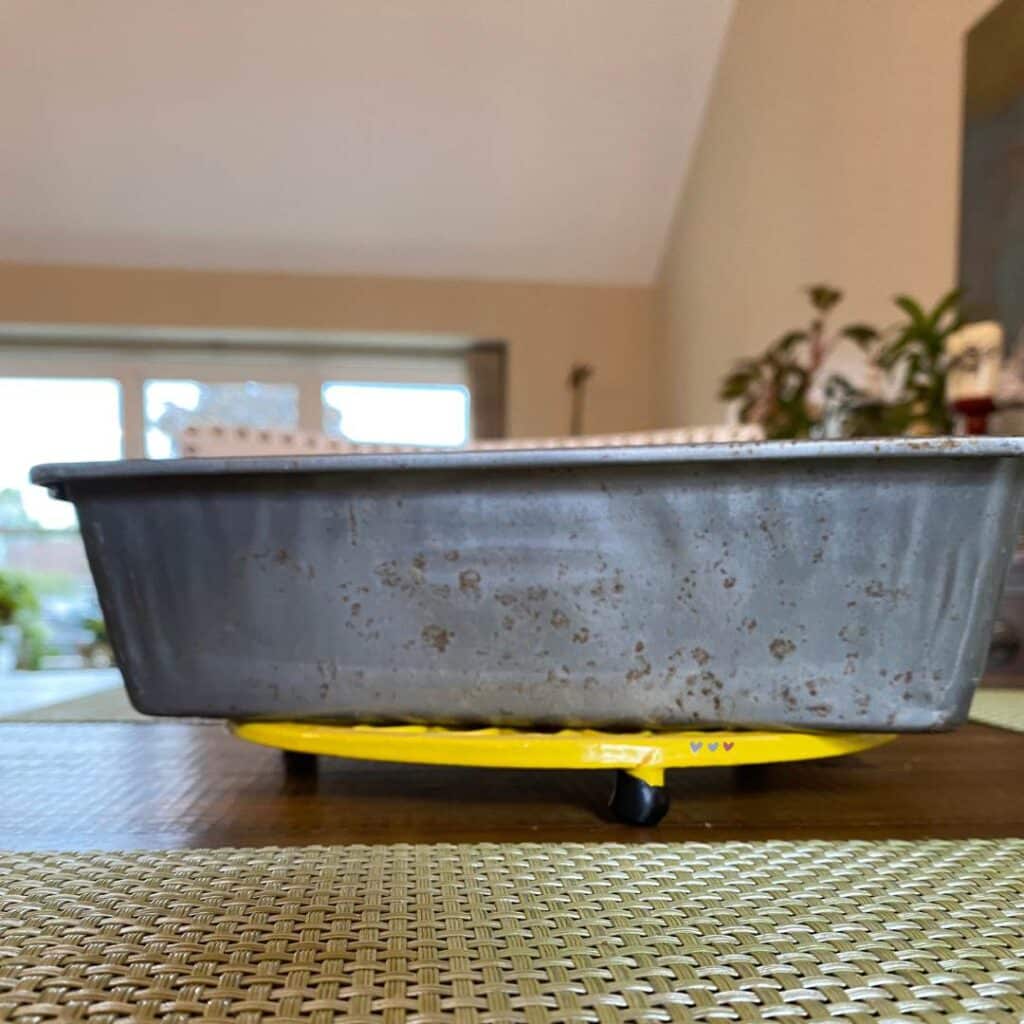
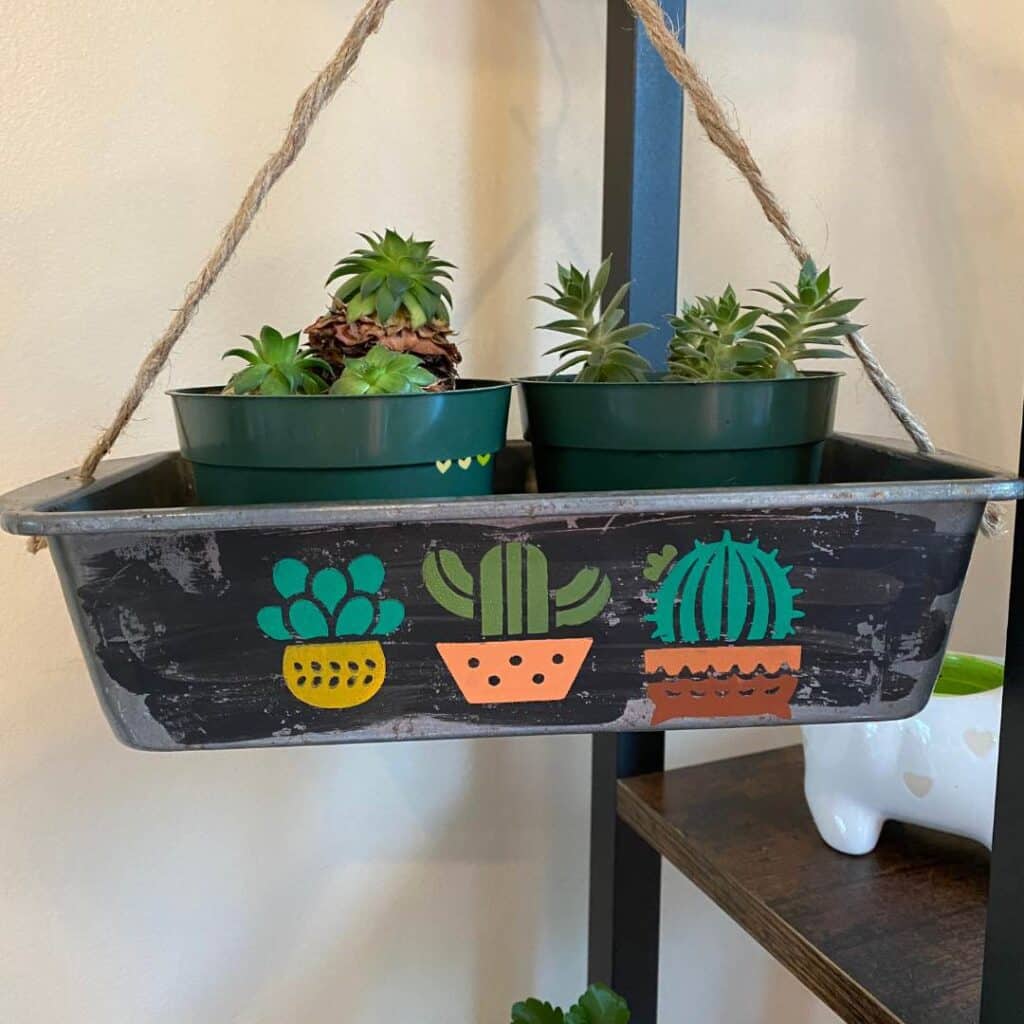
Bread Pan Turned into a Hanging Planter
A well-loved bread pan can get new life as a planter! With a little craft paint, some stencils and chalk paste, you can give an old pan a facelift and let it serve a new purpose in your home.
Supplies needed:
- an old bread pan (or any other pan that’s deep enough to plant in or to hold a plant pot),
- a stencil of your choice (a retired Chalk Couture stencil called Home Is Where My Plants Are was used for this project),
- chalk paste in your choice of colors (Chalk Couture Chalkology Paste in Harvest, Papaya, Pesto, Saucy and Scout are used here. Some of these colors are Chalk Couture’s Color of the Month which are awesome limited edition colors.),
- a squeegee to apply the chalk paste,
- twine and scissors,
- spray sealer to protect your design,
- craft paint in your choice of color (optional).
Project steps:
- Clean your chosen pan well, especially if it’s a thrift store find!
- Paint the side of the pan you are going to stencil (optional). For this project, a black craft paint was brushed onto the side of the bread pan with messy brush strokes to give it a rustic look.
- Place your stencil and apply your chalk paste.
- Spray your project with a sealer of your choice.
- Cut your twine to the desired length, thread one end through the hole in the handle and knot it. Repeat on the other side.
- Add dirt and plant your choice of house plant or place a plant pot inside, hang and enjoy!
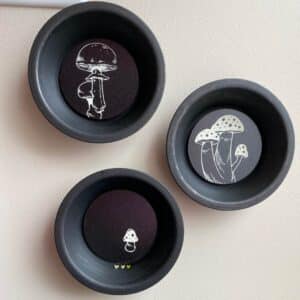
Mini Tart Pans Turned into Wall Art
Mini tart pans make adorable wall art! You can put so many different things inside them like photos, stenciled designs or pretty paper from other crafts! Depending on how you decide to transform your mini tart pans, you may not need all of the supplies listed below which are listed for designs that can easily be switched out for different seasons or holidays.
Supplies needed:
- mini tart pans (odd numbers make the best displays, so look for 3 or more depending on the size of the space you want to hang them in),
- Chalk Couture Chalkable Chips,
- a stencil of your choice (The Chalk Couture Mushrooms stencil was used here. It has a variety of mushrooms that can be used as one design or used in pieces like was done in this project.),
- chalk paste in colors of your choice (this chalk paste color is a mixture of Bright White and Dune to give the white less of a bright, stark look.),
- a squeegee to apply the chalk paste,
- double-sided tape to hold the Chalkable Chips in the pans,
- sticky picture hanger strips to hang the pans on the wall,
- craft paint in your color choice (optional).
Project Steps:
- Clean your chosen mini tart pans well, especially if they are from a thrift store!
- Paint the tart pans if you wish (optional). For this project, a black craft paint was used for a cohesive black and white design.
- Place your stencil on your Chalkable Chips and apply your chalk paste.
- Let dry and then adhere the Chalkable Chips inside the mini tart pans with double-sided tape. You can also use magnets to be able to switch them out or you can glue them in if you prefer them to be permanent.
- Place sticky picture hanger strips on the back of the tart pans and hang them on the wall! Enjoy!
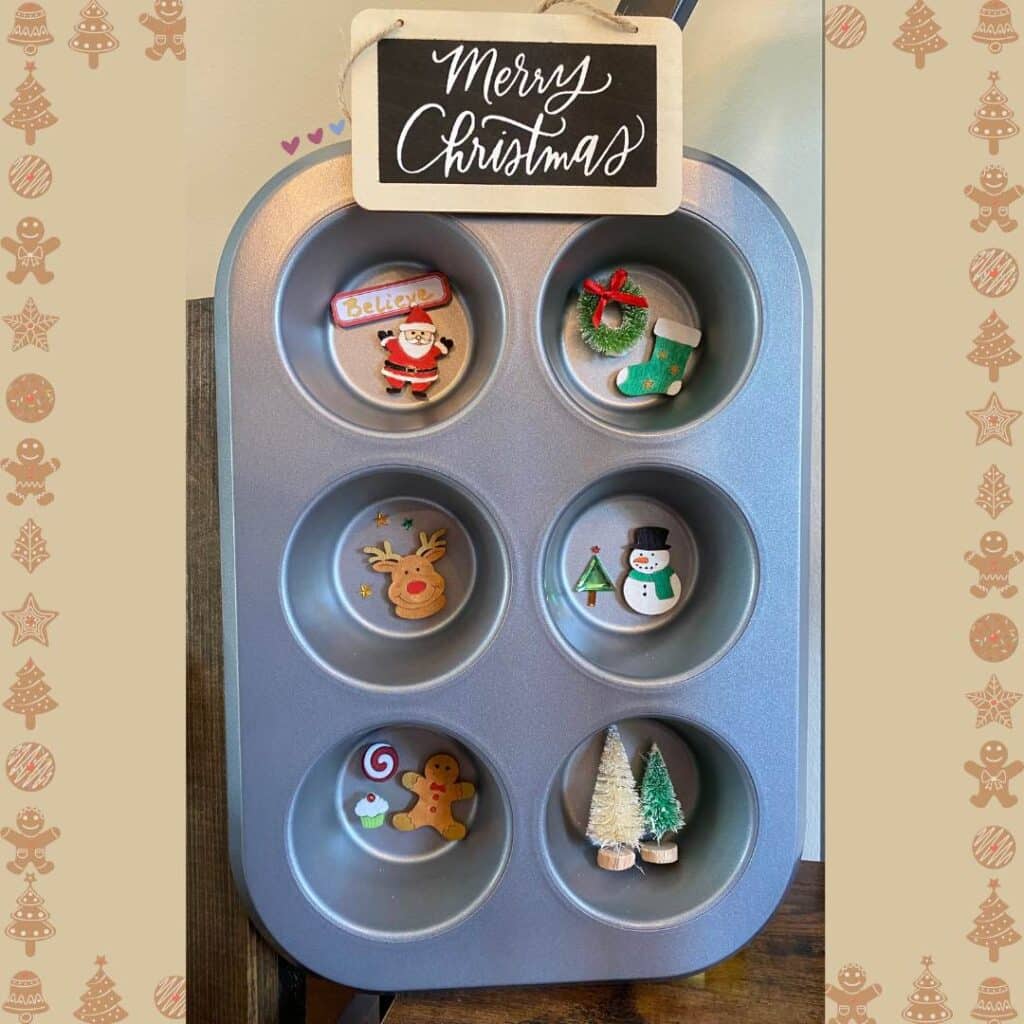
Muffin Tin Shadow Box
A muffin tin makes a great shadow box when you have small items you want to display! This is a great project to make with your kids or grandkids. Pick a theme and let them pick out there favorite things about that theme. This also makes a super cute gift for a baker in your life! You can personalize it with photos and things they love for something extra special they can display!
Supplies needed:
- a muffin tin (it can have as many cups as you’d like!),
- gather small items that go with a theme. For example, this muffin tin highlights the best things about Christmas, so small trees, wreaths, wood Christmas icons and stickers were gathered.
- craft paint in your choice of colors if you have small wood pieces to paint,
- double-sided tape or glue to hold the items in place,
- craft paint in your color choice (optional) if you’d like to paint the muffin tin first.
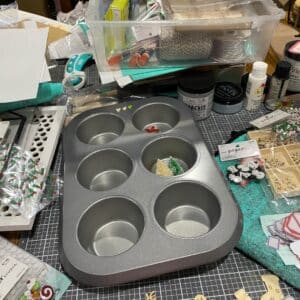
Project Steps:
- clean your muffin tin well, especially if it’s a thrift find,
- paint your tin (optional),
- paint any wood pieces (optional),
- decide your layout,
- tape or glue your items into your muffin tin cups,
- display your muffin tin shadow box and enjoy!
There are so many different types of baking pans and so many different ways they can be used beyond their intended purpose! I hope these simple baking pan crafts have given you some ideas to transform that old bakeware taking up space in your cabinets!
I can’t wait to see what you create!
Sustainably yours,
Luana