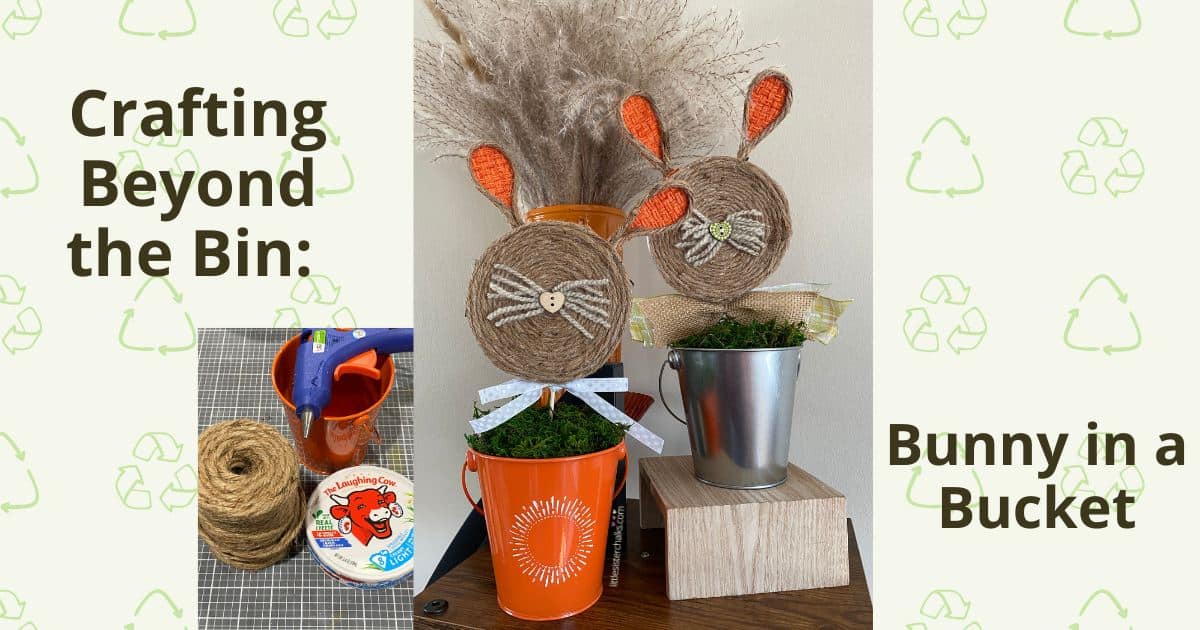
Creating a bunny in a bucket using a Laughing Cow Cheese Container is a fun way to upcycle an item that was destined for the trash! This craft project is part of the Crafting Beyond the Bin blog series where we showcase fun and easy thrift flips and trash transformations you can do today! You’re bound to have something in your bin and in your craft room that will work!
Bunny in a Bucket Craft Project
Let’s turn a round cheese container into a bunny in a bucket craft! In addition to the container, you’ll need a few other materials to complete the rest of the look. Once you put it all together, you’ll have a cute spring decor piece that you can add to your collection while reducing your environmental footprint!
Supplies
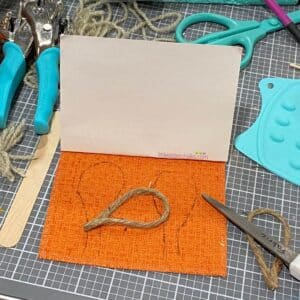
You’ll need a few things to complete this bunny in a bucket project which you’re sure to find around your house and in your craft room. Here are some things you’ll need:
- A round, flat container like a Laughing Cow Cheese container or a foam disc like you would use in floral arrangements.
- Jute to cover the front of your container and to make the shape for the ears. You could also use fabric, paper, paint or stencils on the front of your container.
- Fabric or paper to cover the back of your container.
- Ribbon to wrap around the edge your container and to make a bow.
- Yarn to make the whiskers and a tail.
- A button for the bunny nose.
- A skewer or a dowel to hold your bunny.
- A small bucket or a basket as your base.
- A piece of foam to put into your base to hold your bunny.
- A glue gun and glue sticks to put everything together.
- Any other embellishments you’d like to add (optional).
Step by Step Instructions
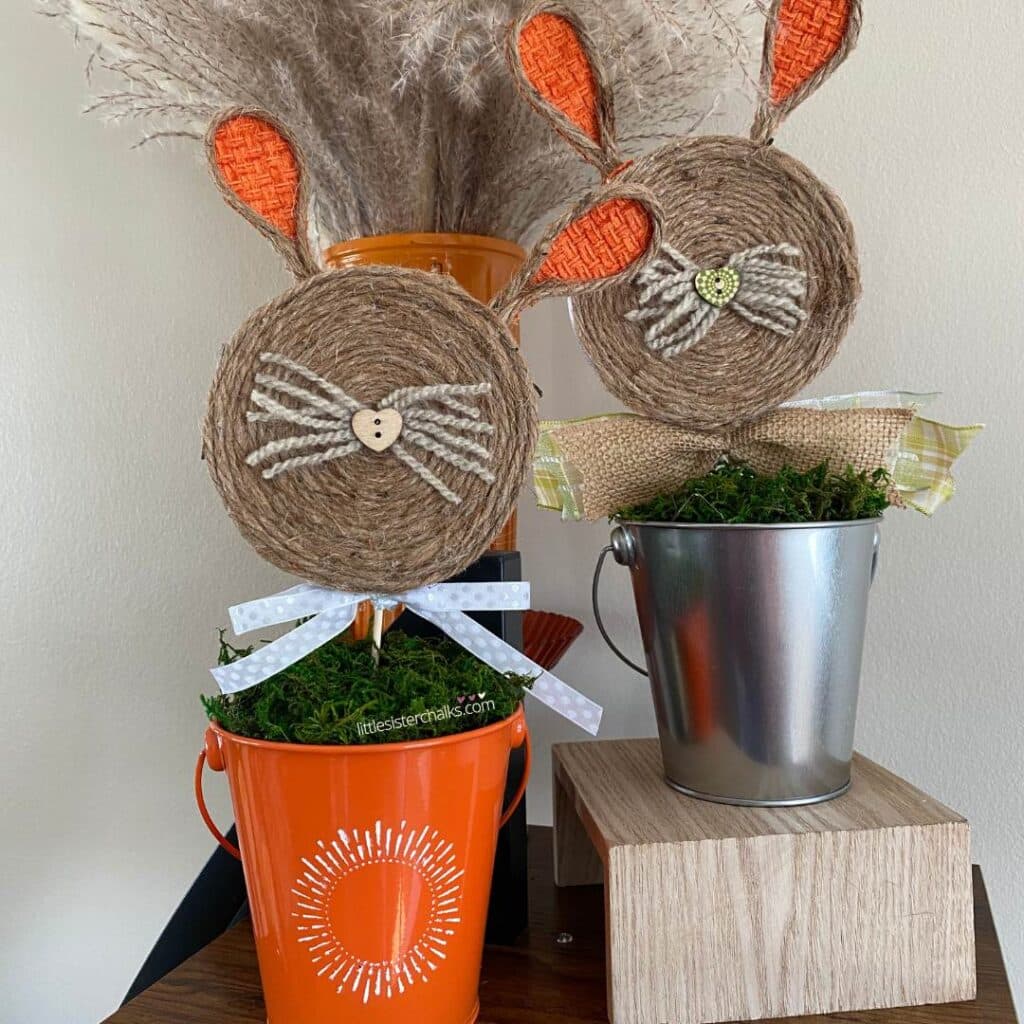
- Embellish your bucket or basket as desired. For the bunny in the orange container, a Chalk Couture Stencil and Chalkology Paste in Bright White was used. You can find all the currently available stencils on the Little Sister Chalks Chalk Couture website.
- Remove any labels from your round container.
- Glue jute down in circles starting in the center of your circle. Take your time, use a little bit of glue, and ensure your jute circles stay tight and as flat as possible.

- Cover the back of your container with your choice of fabric or paper. Or you can paint the entire container before gluing on your jute. If you paint your container, you could decorate the back with stencils and chalk paste.
- Make a hole in your container or foam for your skewer/dowel. If you’re using a Laughing Cow Cheese Container, you can use an existing hole. Just make sure it is properly aligned at the bottom center of your circle.
- If necessary, glue the pieces of your container together so the container does not open.
- Attach ribbon around the side of your container leaving space where you made the hole. Your container should now be completely covered in your choice of materials.
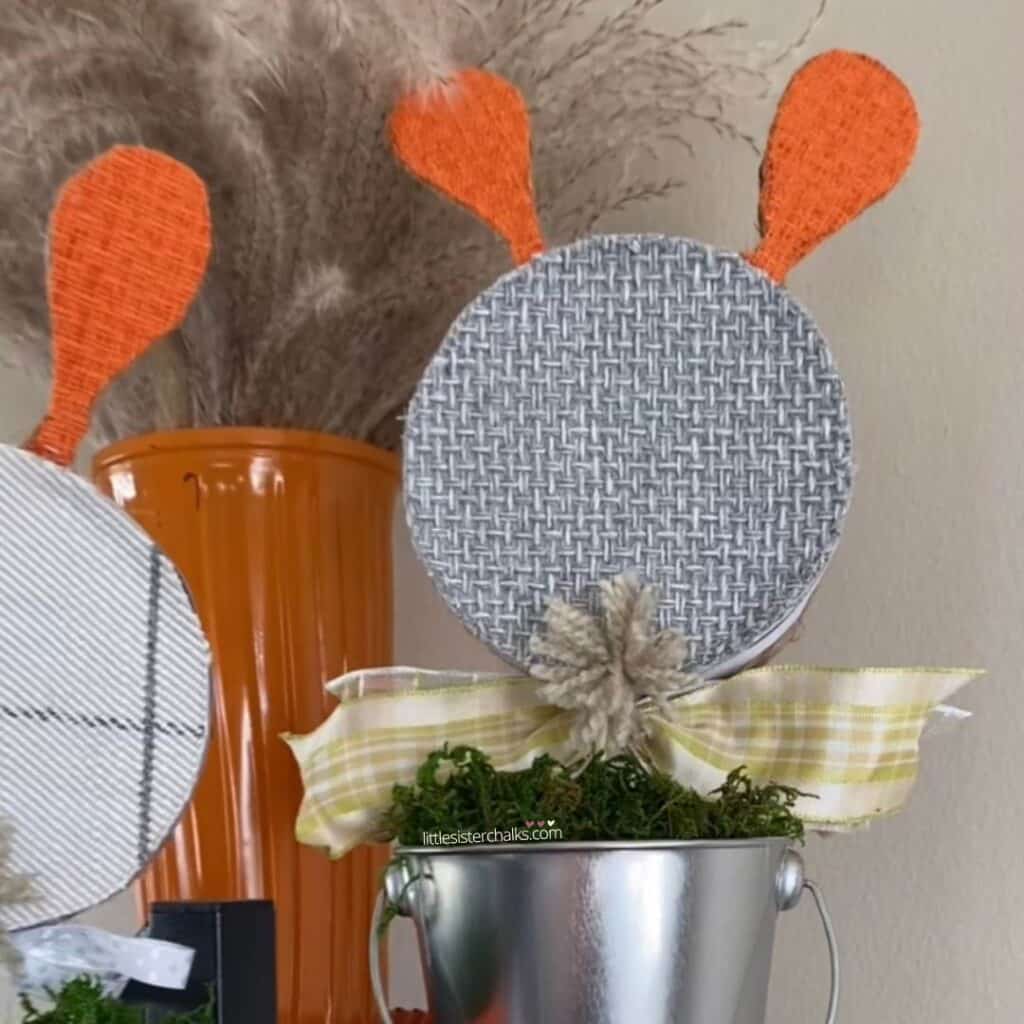
- Measure two pieces of jute in the same size to make tear drop shapes to create your bunny ears.
- Glue the ends of each tear drop together so that you have two ear shapes.
- Trace the ear shapes onto fabric or paper leaving a little tab at the bottom.
- Cut out your ear shapes and attach those pieces of fabric/paper to the jute with a little bit of hot glue. Trim around the shape as necessary and glue the little tab so it’s perpendicular to the bottom of the ear shape.
- Use the little tabs to attach the ears to the top of your bunny head with hot glue.
- Create whiskers and a tail by wrapping yarn around your fingers in your desired amount. Then secure those loops in the center with another piece of yarn. After securing the loops, snip them to create the whiskers and tail. You will need more yarn for the tail since you will want to make that a little fuller.
- Attach the whiskers, button nose, tail and any other embellishments to the bunny head. Trim the whiskers and tail as necessary.
- Insert your skewer/dowel into your bunny head and secure it with a little bit of hot glue.
- Place your foam into the bucket or basket that you are using as the base and secure with hot glue if necessary.
- Tie a bow around the skewer/dowel under your bunny head (optional).
- Display and enjoy!
Variation idea: You could also make this craft more kid friendly by eliminating the use of hot glue! This project could be done by using paper, fabric and ribbon and eliminating the jute. You would then be able to use tacky glue and fabric glue to secure everything to the bunny head. The bunny ears could be made from cardboard covered in paper, fabric, stencils or just colored with crayons or markers. The cardboard would give the ears some heft and help them stay upright.
Remember to use your creativity and make this bunny using colors and materials you prefer! There are so many different ways you can create something similar and use items that might otherwise wind up in the landfill! This bunny in a bucket is a fun and easy project you could make today!
If you try this craft, please share it on social media using the #LittleSisterGoesGreen! We’d love to see what you create!
Sustainably yours,
Luana