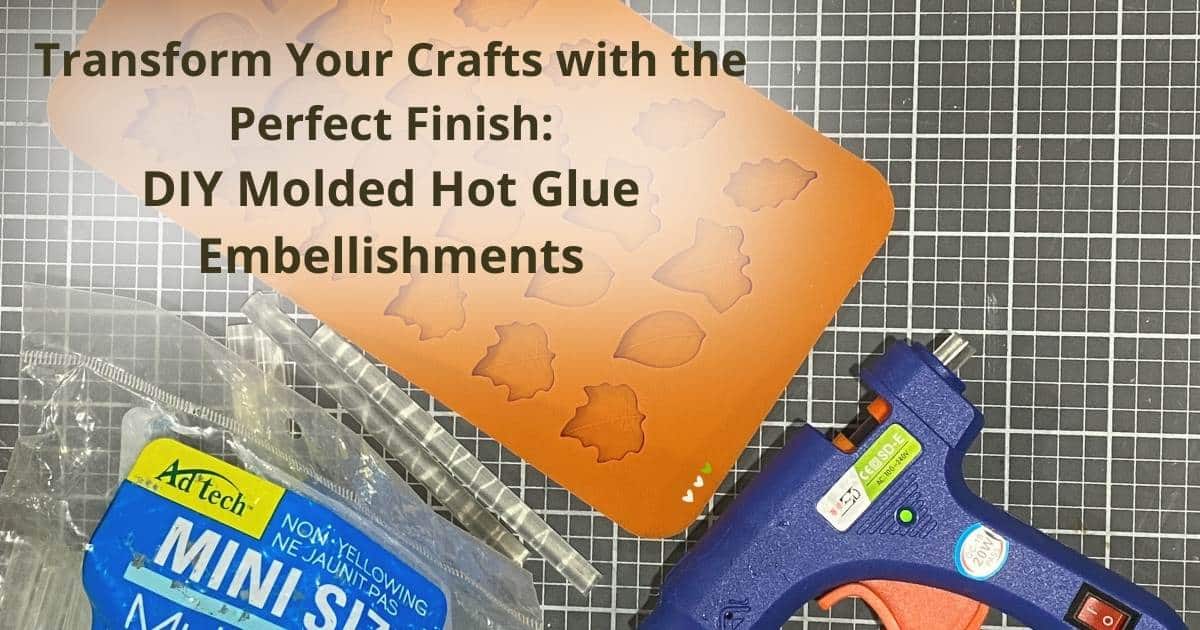
Transform your crafts with the perfect finish! Make your own molded hot glue embellishments! It’s super easy, super quick and no mess!
Molded Hot Glue Embellishments
After seeing a reel where someone used hot glue in silicone molds, it was something that I needed to try! It’s been fun playing around with different molds and trying out different ways to paint these molded hot glue pieces!
Supplies needed:
- Hot glue gun and glue sticks,
- Silicone molds in whatever shapes and sizes you want to work with,
- Your choice of paints, pastes, stains, inks, and wax along with brushes, rags, sponges, or your fingers to paint and finish your molded pieces.
How to make your own molded hot glue embellishments
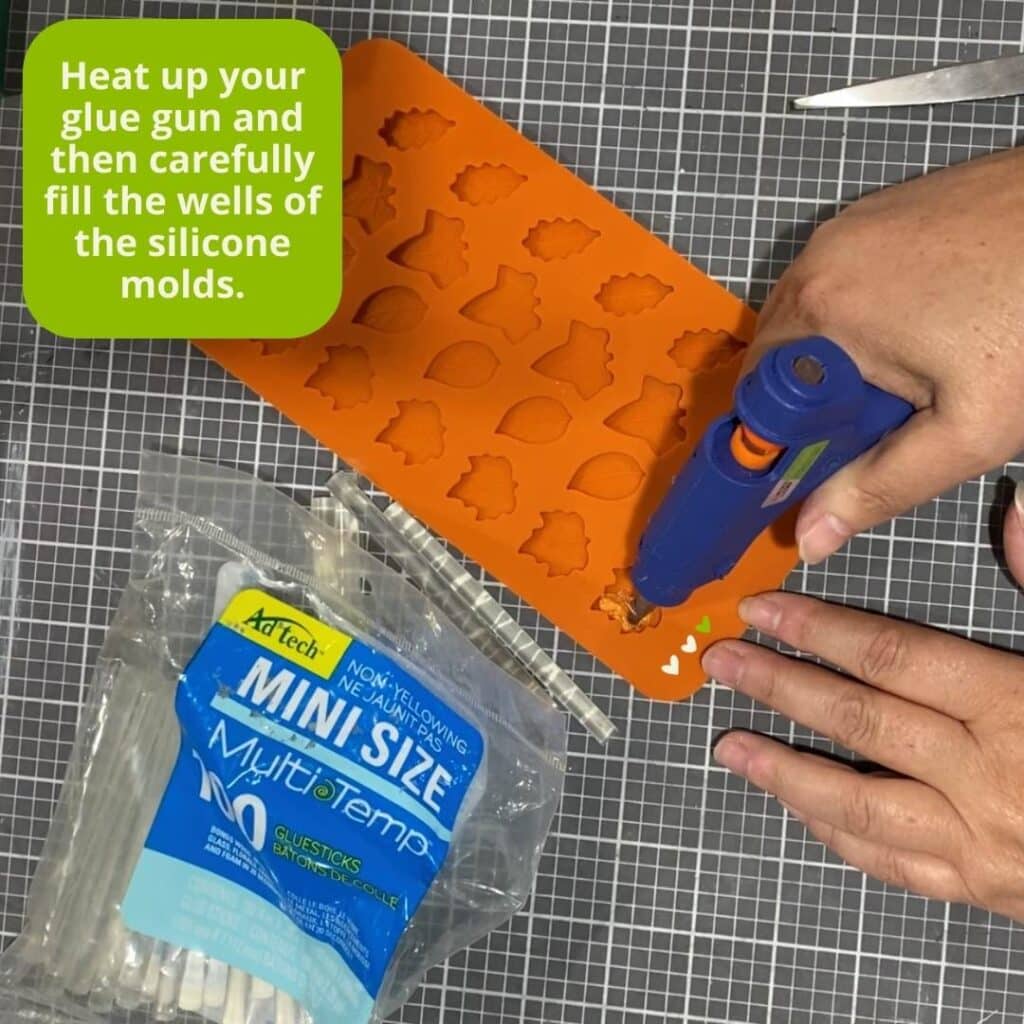
- Grab your molds and glue sticks and heat up your glue gun.
- Then carefully fill the wells of the mold with the hot glue. Take your time and try to fill all the areas of the mold.
Pro Tip: especially with a bigger mold, the glue will level itself so don’t overfill the molds.
Let the glue dry completely and then pop the shapes out of the molds.
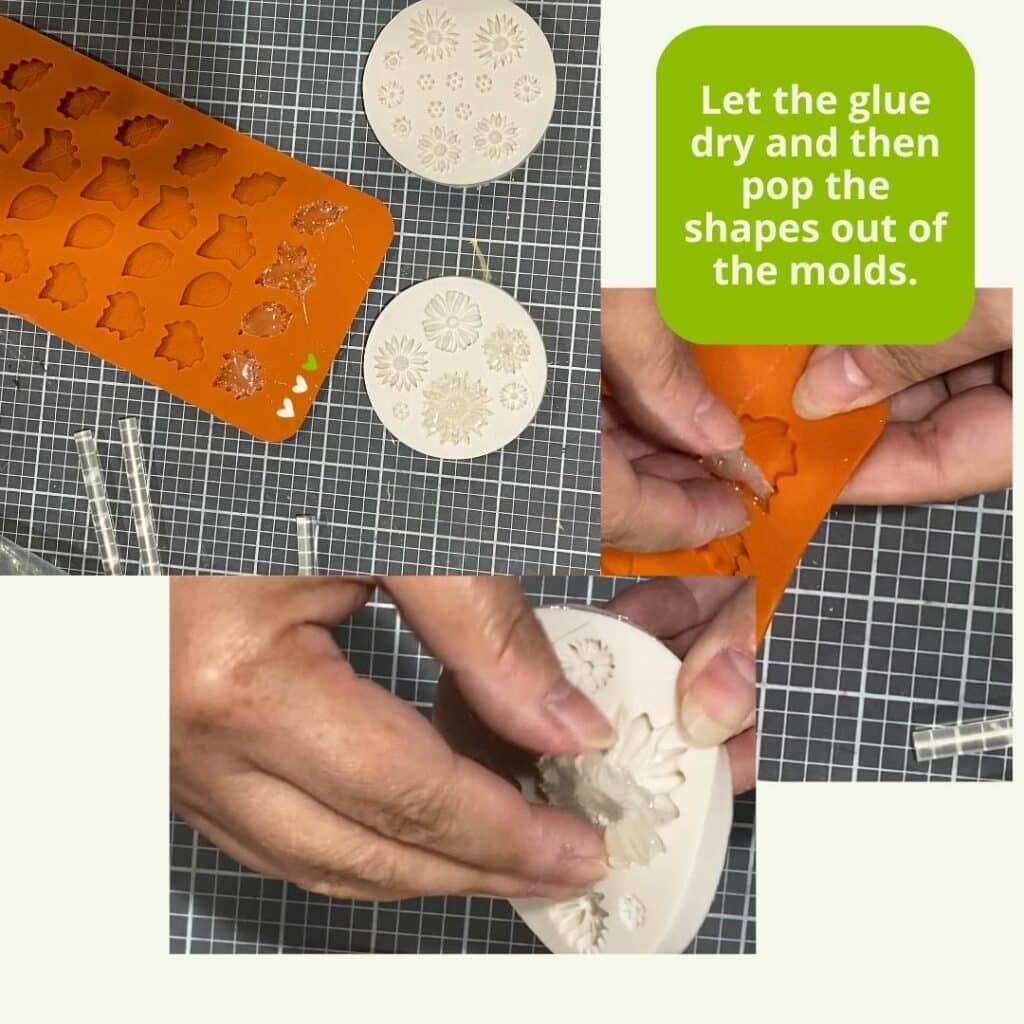
Pro Tip: small shapes will dry quickly, but if you have a larger mold, give it time to dry completely. See the paw prints below as an example of what can happen if the glue is still wet when you try to remove the shape from the mold.

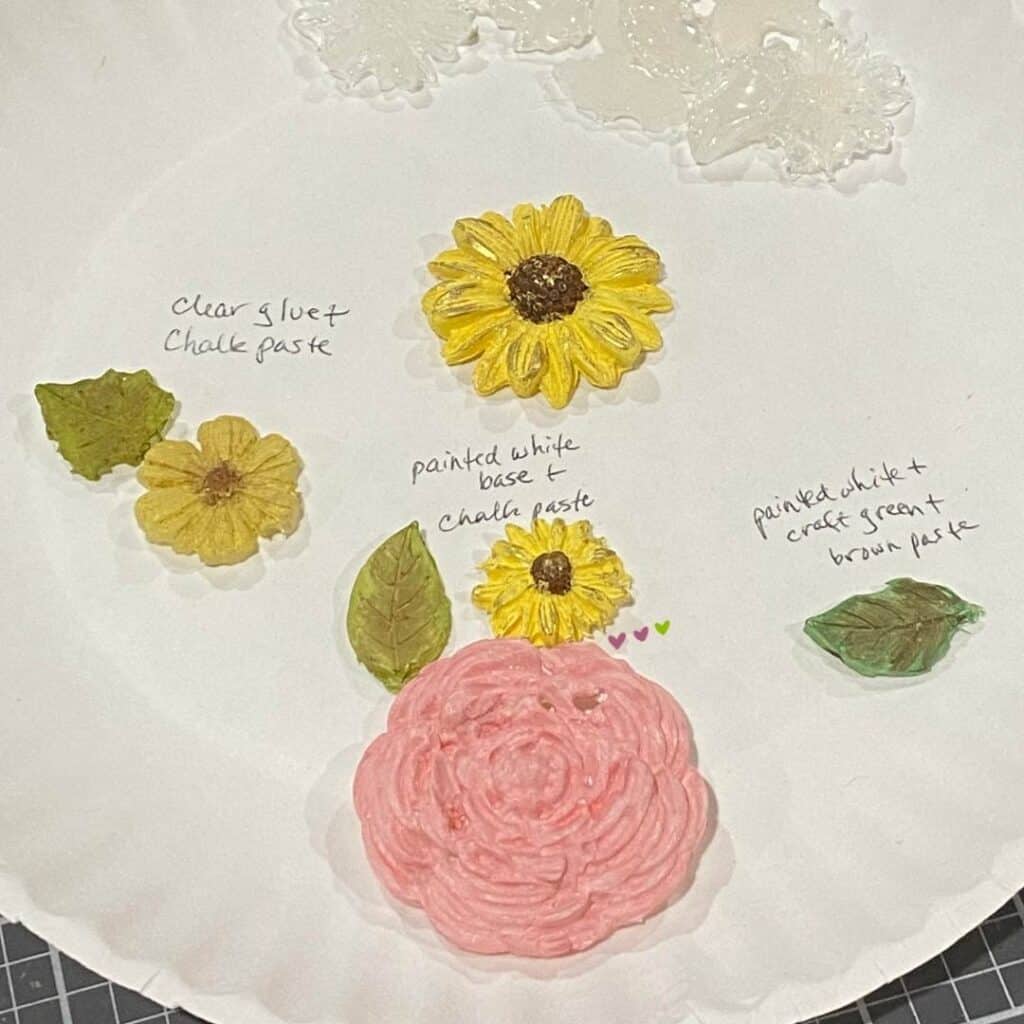
You can finish your molded hot glue embellishments in a variety of ways:
- use chalk paste (far left),
- use a base coat of white craft paint and chalk paste (middle),
- use craft paint (right).
You can also distress and darken the molded pieces with colored wax, distressing ink and gilding wax. Below are some examples of how these molded hot glue embellishments look using a base coat of white paint, chalk paste, ink, colored wax and gilding wax. It can get a little messy, but the end result is so worth it!
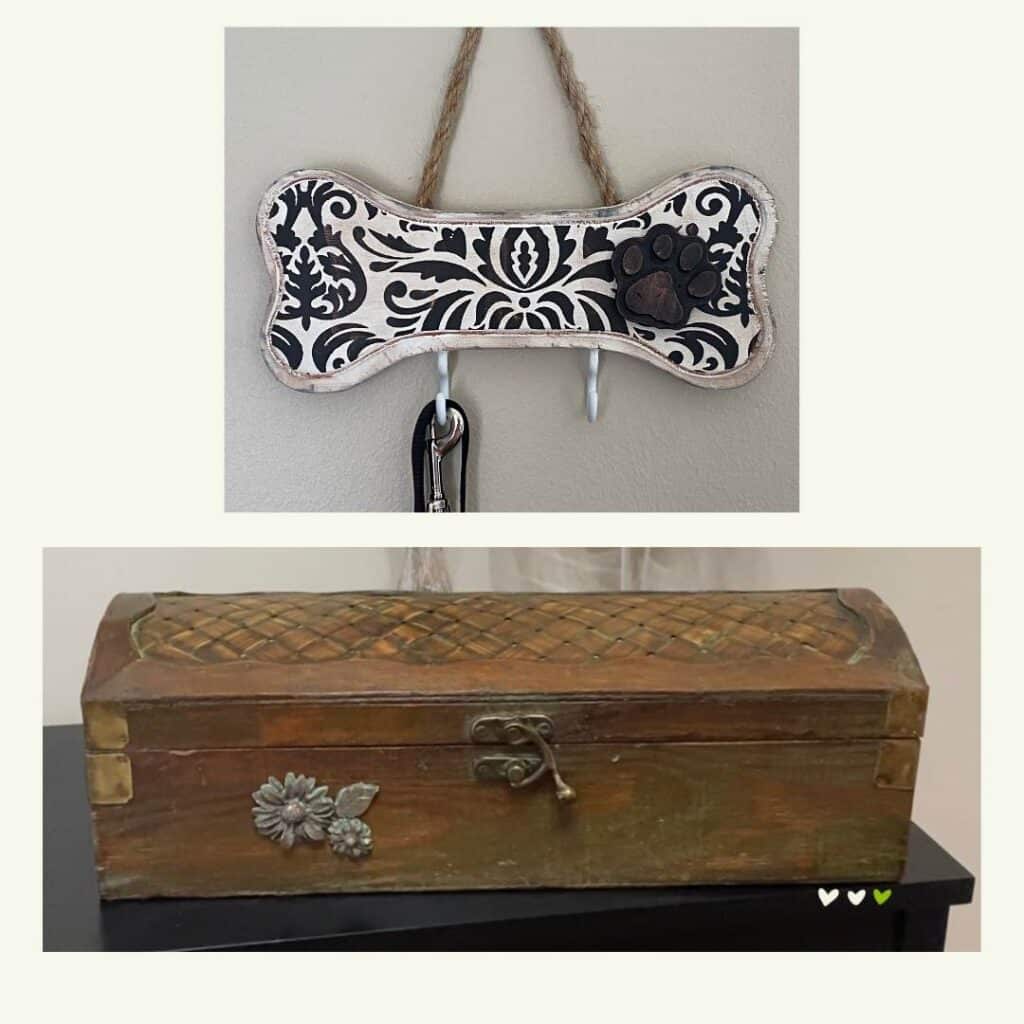

Craft projects always need that little finishing touch, and you can always go with the tried and true embellishments like bows. But it’s so fun to be able to make that perfect finishing touch yourself and add some personality and uniqueness to what you make!
If you like this idea for embellishing your projects, grab my Beyond the Bow Embellishment Guide for other quick and easy ideas!
I’d love to see what you make, so head on over to the Connect with Craft Lovers page to see how you can become part of our craft community! All crafters are welcome!
Sustainably yours,
Luana