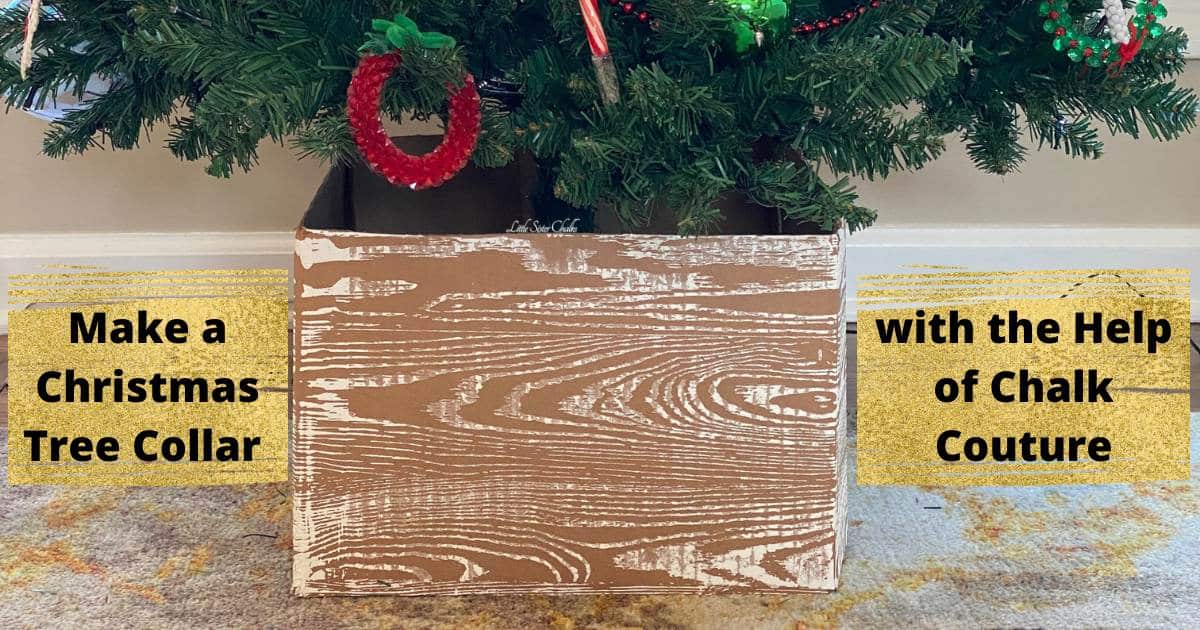
What do you do when your tree skirt is way too big for your new Christmas tree? You make a Christmas tree collar with the help of Chalk Couture of course! It can be fun to use some creativity and supplies from around the house to solve decor challenges during the holidays! Read on to see how to turn a cardboard box into a tree collar using Chalk Couture stencils and chalk paste!
Make a Christmas Tree Collar using Chalk Couture
It’s fun to use your creativity and supplies you have on hand when holiday decorating poses some challenges! Using Chalk Couture to turn a cardboard box into a Christmas tree collar was easy and fun. It didn’t turn out perfect, but it looks pretty good! It also stores flat, and if your house is anything like mine, there really isn’t room to store any more Christmas decor!
Below are a list of supplies and the steps to follow to transform a cardboard box into a Christmas tree collar.
Supplies
Here are the supplies needed for this project:
- a cardboard box with the right dimensions to fit your tree. Figure out how high you want it to go and how wide it needs to be to cover the base of your tree (speaking from experience, this is an important step so don’t skip it!),
- an Xacto knife or scissors to cut your box,
- a Chalk Couture stencil of your choice. This design utilizes a retired stencil that looks like wood, but there are a wide variety of stencils to choose from. Learn more about stencils in the Chalk Couture Stencil Guide.
- Chalkology Paste colors of your choice. This design features Bright White Chalkology paste, but there are dozens of colors to fit any style of holiday decor. Learn more about chalk paste in the Chalk Couture Paste and Ink Guide.
- a binder clip or a very large paper clip to secure the ends of your cardboard together.
Steps to Make a Christmas Tree Collar with the Help of Chalk Couture
Here are the steps to follow to turn that box into a tree collar:
- Cut the flaps and bottom off of your cardboard box and cut one side open so you have one long continuous piece of cardboard to wrap around the base of your tree.
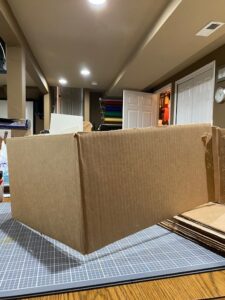
- Cut the cardboard to the right height if necessary.
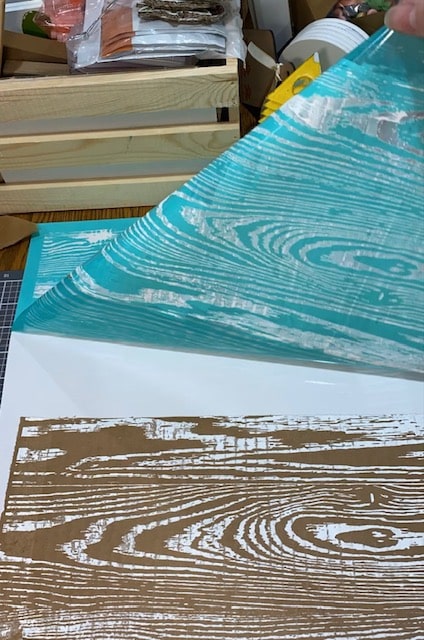
- Fuzz your stencil really well. Fuzzing removes some of the stickiness from the back of stencil, which is really important when using the stencil on paper or cardboard.
- Place your stencil where you would like it and smooth it out to remove any bubbles.
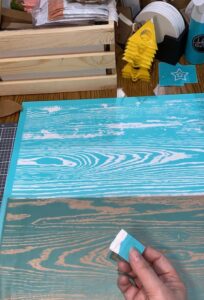
- Spread Chalkology paste on your stencil, scrape off any excess and return it to your jar, and then peel the stencil off to reveal your design.
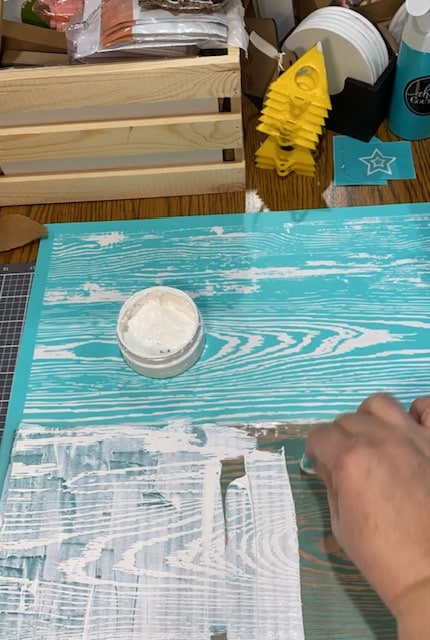
- Clean your stencil with warm water.
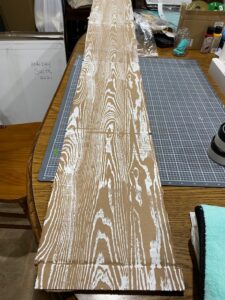
- Repeat the steps so that your cardboard box is fully covered with your chosen design.
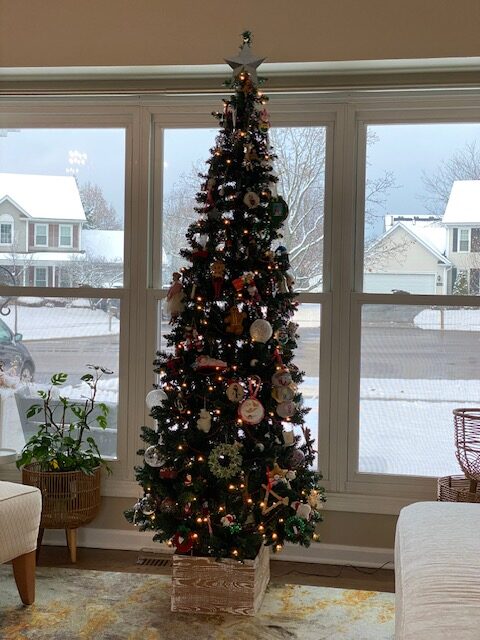
Now all that’s left to do is place your collar around your tree, secure it with the binder clip, and enjoy your creation!
If you found this blog useful, join my email list to get my newsletter with more projects and inspiration! You’ll find ideas to upcycle and reimagine items into functional and fun home decor and gifts!
I can’t wait to see what you create!
Sustainably yours,
Luana