Valentine’s Day is an opportunity to dress up your space with all things red, pink and romantic! Let’s take a look at how you can make a Valentine’s Day mixed media project that you can display all year long!
Valentine’s Day Mixed Media Art Project
Using a variety of mediums in your projects is a fun way to use up some craft supplies and create interesting pieces of art that you can proudly display! This Valentine’s Day project includes stenciling, rice paper and various embellishments to give it texture and dimension.
Supplies
Required supplies:
- a framed surface or a canvas of your choice,
- a stencil and chalk paste of your choice for the background (see the Chalk Couture Stencil Guide for everything you need to know about these amazing mesh stencils.),
- a squeegee to apply your chalk paste,
- a heart surface (this heart is made from a reusable material but you can easily get the same look with a heart made from cardboard),
- rice paper or scrapbook paper (Chalk Couture Parisian Promenade Rice Paper is used for this project),
- embellishments of your choice which could include buttons, keys, tags, and ribbon,
- glue (mod podge is great for decoupaging, but consider a stronger adhesive for heavy embellishments),
- scissors,
- a brush to apply your glue,
- sandpaper to remove excess paper,
- ribbon to place behind heart shape or to make a bow if you prefer,
- wood joiner biscuits to elevate the heart (optional).
Valentine’s Day Mixed Media Art Project Steps
Don’t be scared off by the supply list! This project has a lot of pieces to it, but it is easy to do!
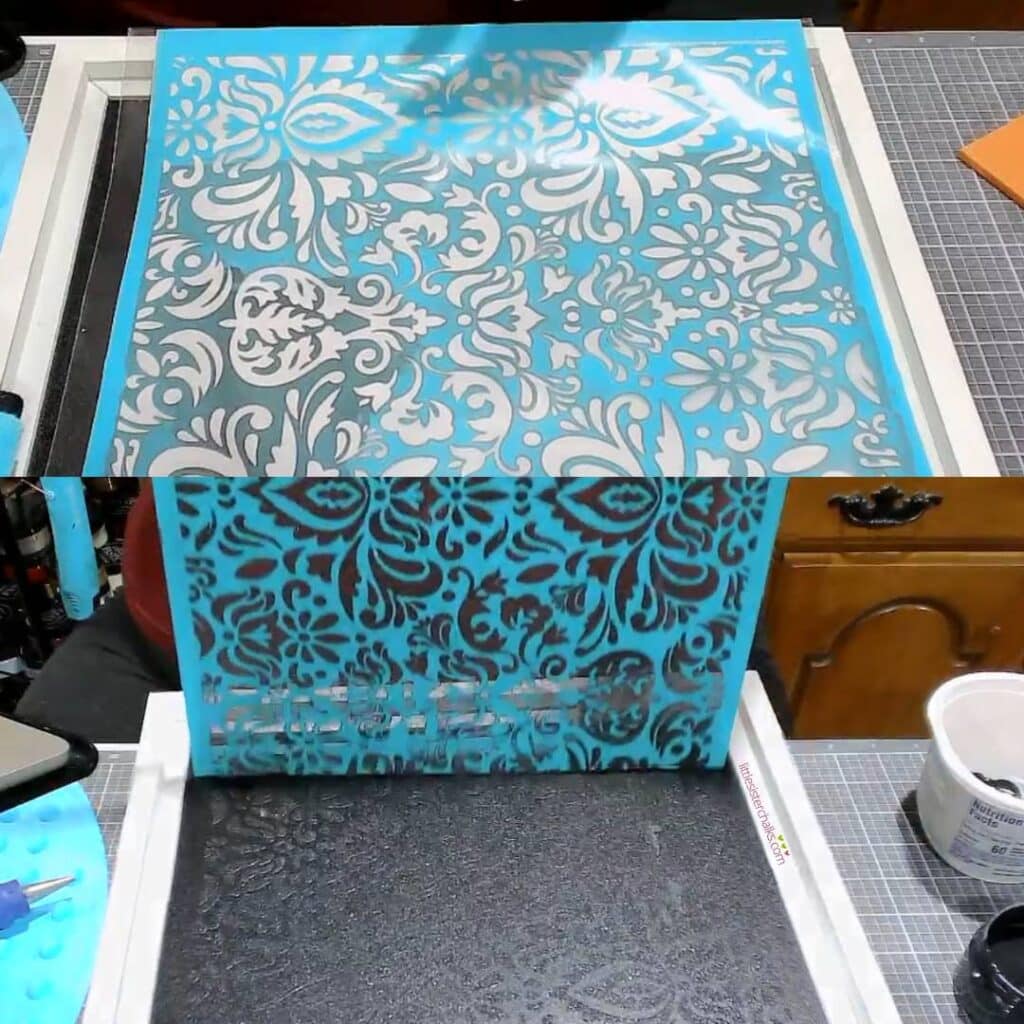
Step 1: Stencil the background onto your surface
- Apply your adhesive mesh stencil to your surface,
- Apply your paste to cover the stencil and create your design. For this project, Black Shimmer Shadow was mixed with a little bit of Storm paste to create a tone on tone look on the chalkboard surface. (See the Chalk Couture Paste & Ink Guide to learn all about creamy chalk paste.)
- Pull up your stencil to reveal your design and set aside to let dry.
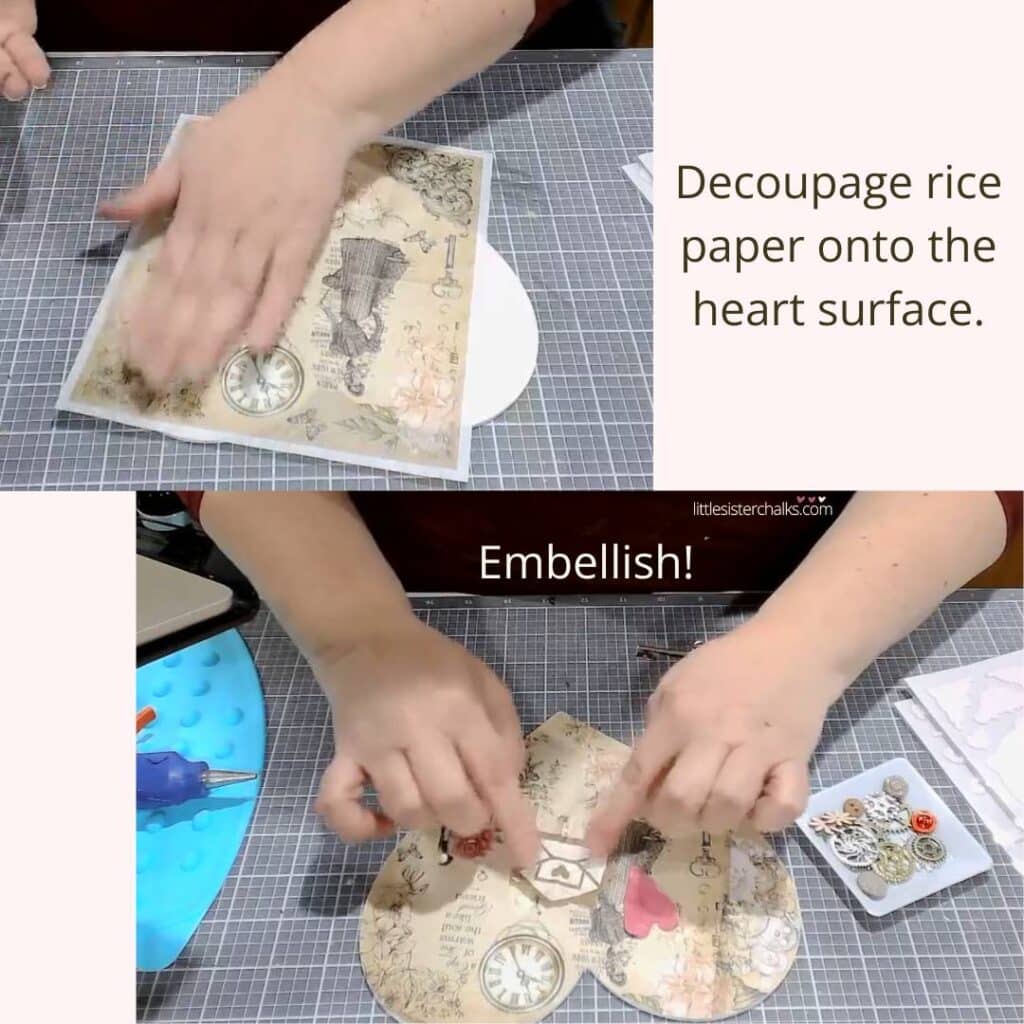
Step 2: Add paper to your heart shape and embellish as desired
- Spread mod podge onto the heart surface and place the rice paper as you choose.
- Let dry and remove any excess paper using a piece of sandpaper.
- Apply a thin layer of mod podge over your rice paper.
- Let the mod podge dry.
- Glue on embellishments of your choice using mod podge or stronger adhesive as appropriate.
Step 3: Adhere ribbon and your heart shape to your surface
- Cut a piece of ribbon to lay behind your heart and adhere it to your surface with glue. For this project, a simple loop was made at the top of the ribbon and a long tail was left to hang behind the heart shape. You can also make a bow if you prefer.
- Glue the wood joiner biscuits to the back of the heart shape to lift it off the surface and give your project some depth and dimension.
- Glue the wood joiner biscuits to the surface.
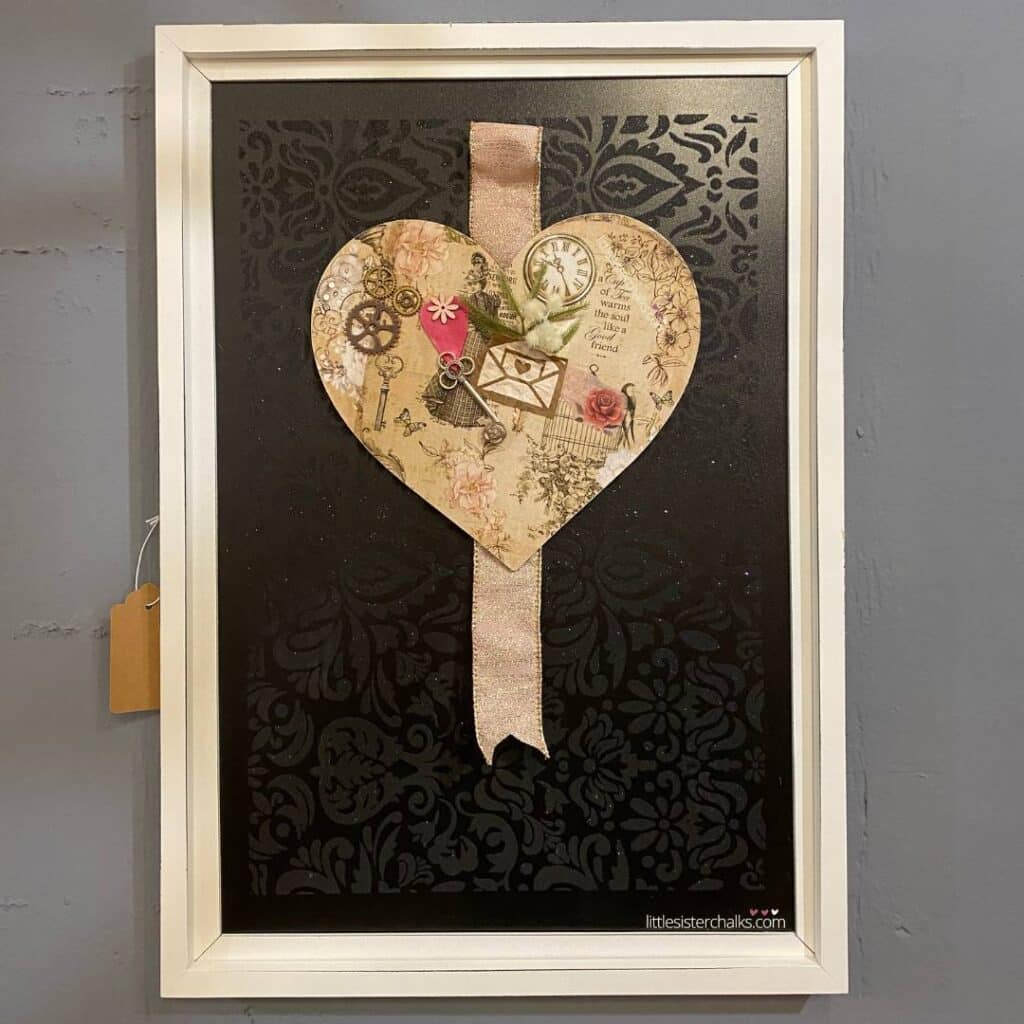
This finished project adds a bit of romance and whimsy to any Valentine’s Day decor! It’s a subtle nod to the holiday which means it can pretty much stay out all year long if the color scheme works with your decor!
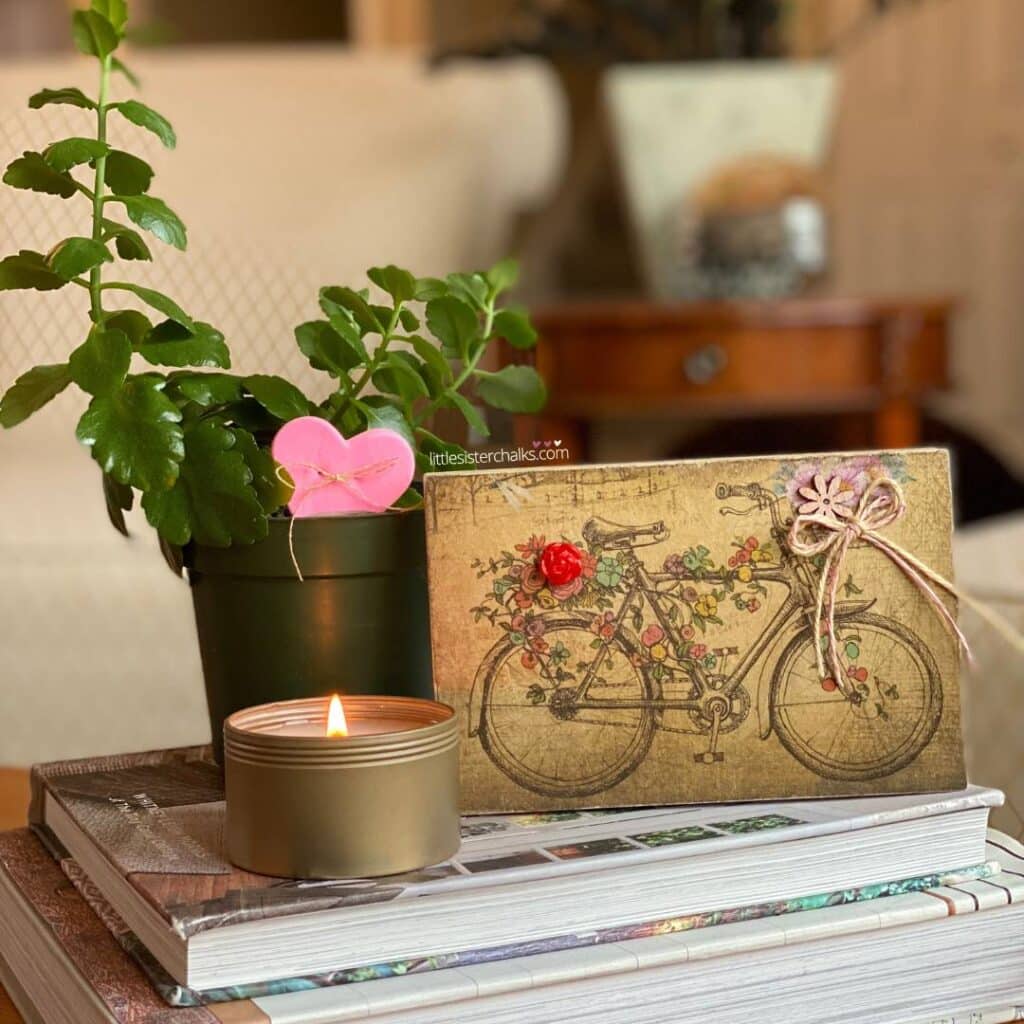
Here’s another sweet little decoupage project that can sit on a shelf or a table to welcome in a touch of romance and spring. Rice paper was decoupaged onto a wooden block and embellished with a button, a wood flower and a small bow.
Mixing art media like paper, stencils, paint, embellishments or anything you have around your craft room is a great way to add interest and dimension to your home decor! I hope these projects gave you some ideas and inspiration to make some fun Valentine’s Day decor!
Sustainably yours,
Luana