
Give your projects some depth and dimension by watercoloring with Chalk Couture. The watercolor technique is incredibly versatile. You can create a watercolor accent in a design, paint an eye-catching background for your stencil design, or you can make the watercolor the focal point of your project.
This technique can be done in several different ways. The details are broken down into 2 categories.
Supplies needed:
- Various chalk paste colors
- Distilled water to water down your paste
- Color tray (or small dish to water down your paste in)
- Paint brushes
- Squeegees
- Stencil of your choice
- Surface of your choice
- Watercolor paper if using for your project
Watercoloring with Chalk Couture
Chalk your design and color it in
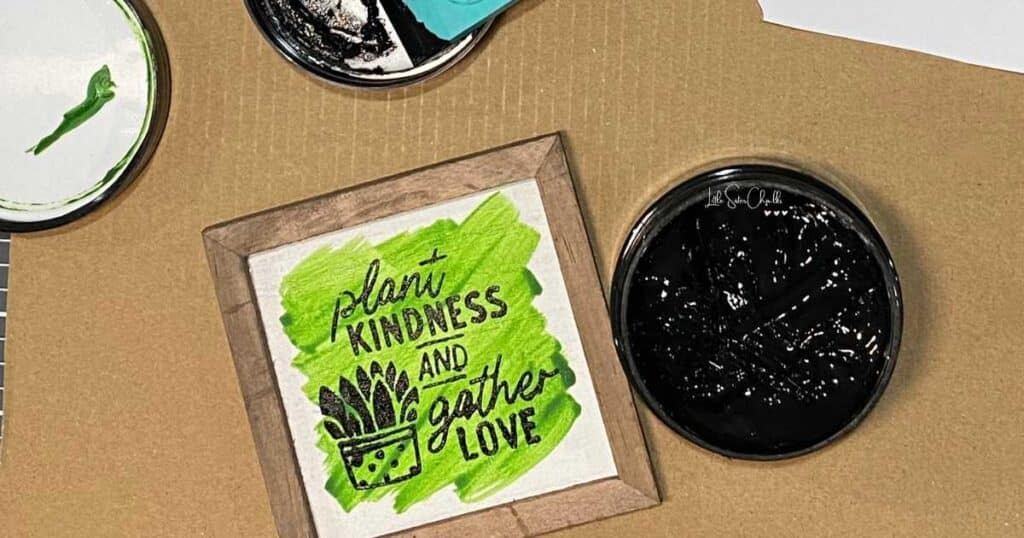
The first way to use the watercolor technique is to “paint” your design. This technique works best with designs that are outlines and look a little like coloring book pages. You will chalk your design, color it in, and then chalk the outline again to finish it up.
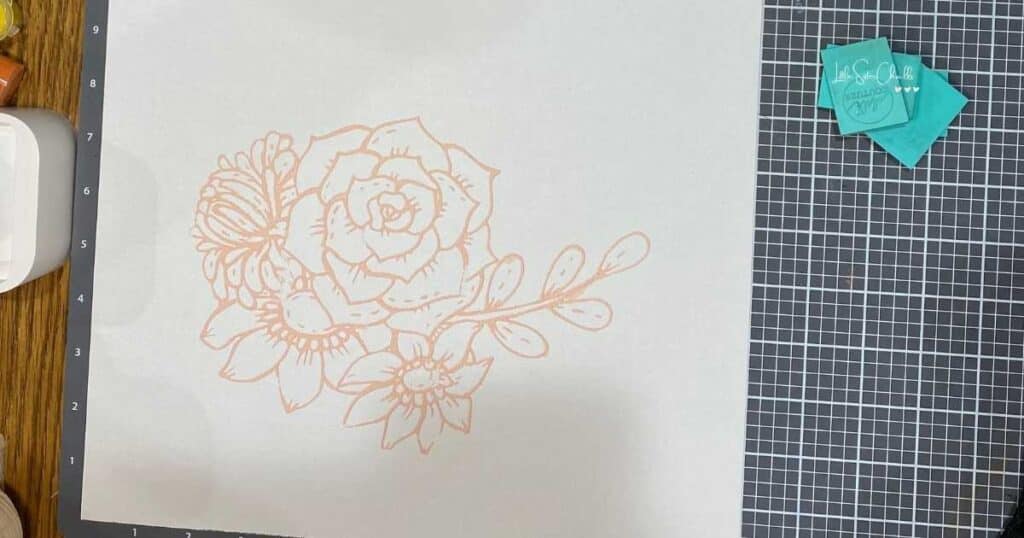
Step 1: Chalk your design onto your surface with a light color paste. Let the paste dry while you clean your stencil as you will need it again.
Step 2: Create a “watercolor paint” from your chalk paste. Place some paste from your jar or packet into a color tray. Add a little bit of distilled water and mix until you get a paint consistency.
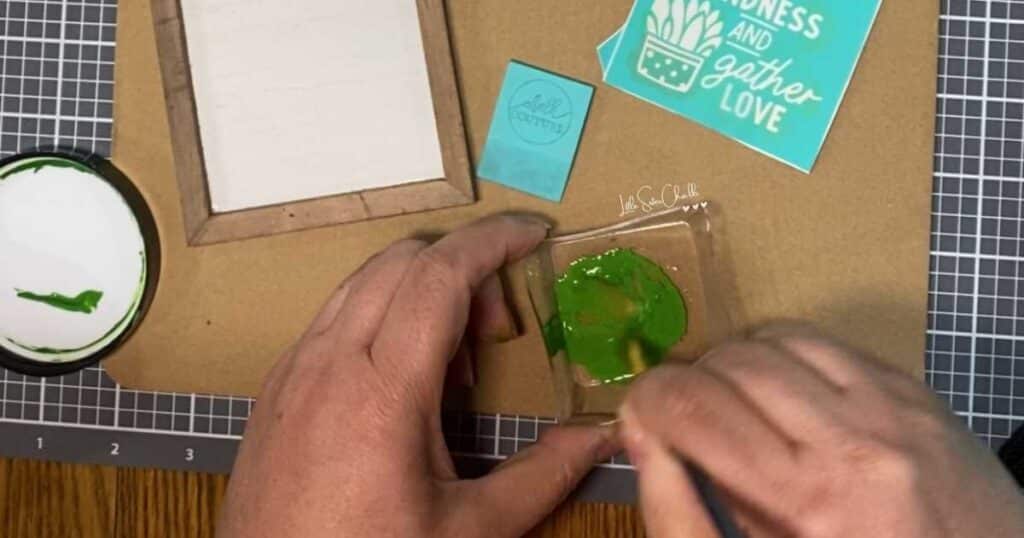
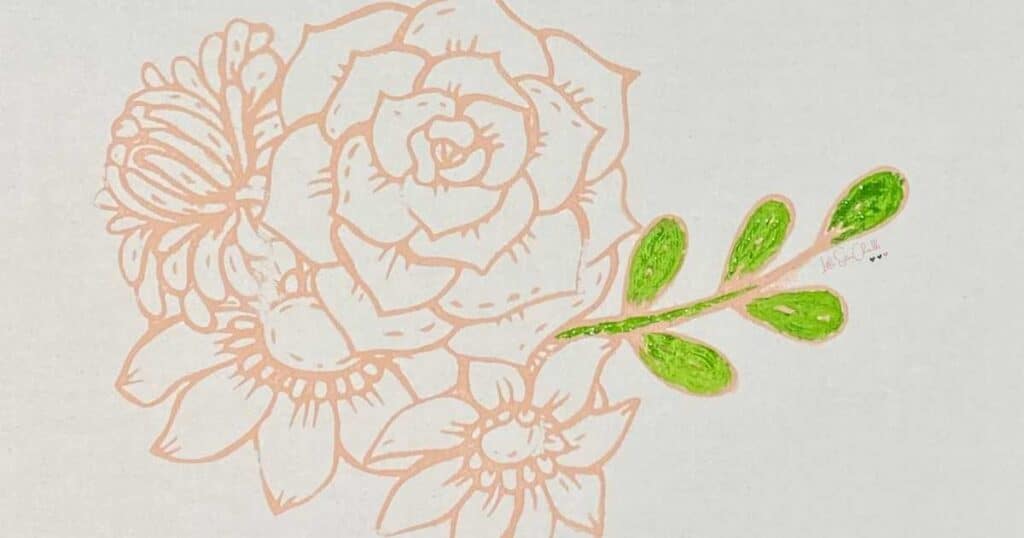
Step 3: Grab a paint brush and paint the parts of the design you want to fill in with color and let dry. Repeat with all the different colors you want to paint with.
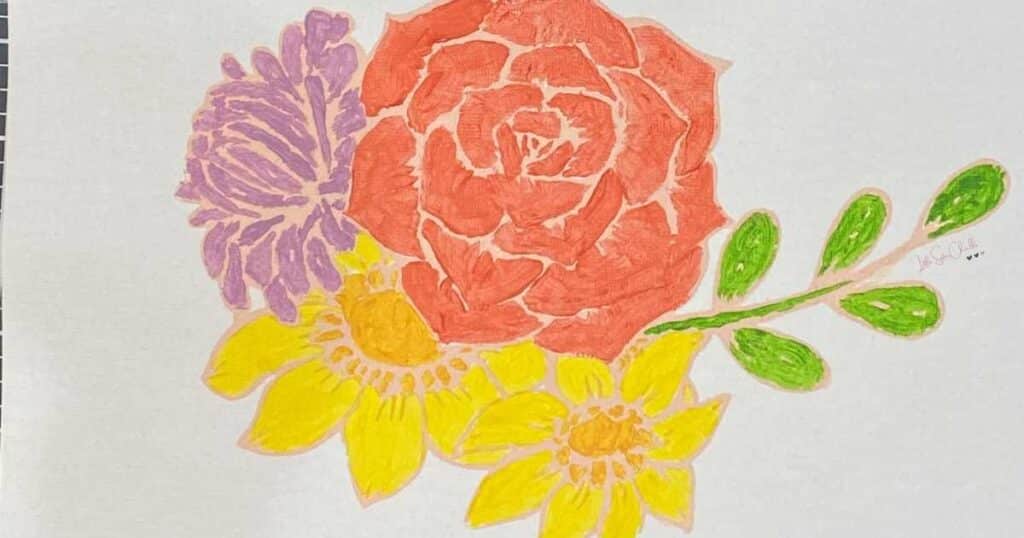
Step 4: Re-apply the stencil over your painted design. Line it up as closely to the original outline as you possibly can, and chalk again with the color of your choice. This will make your outline crisp again.
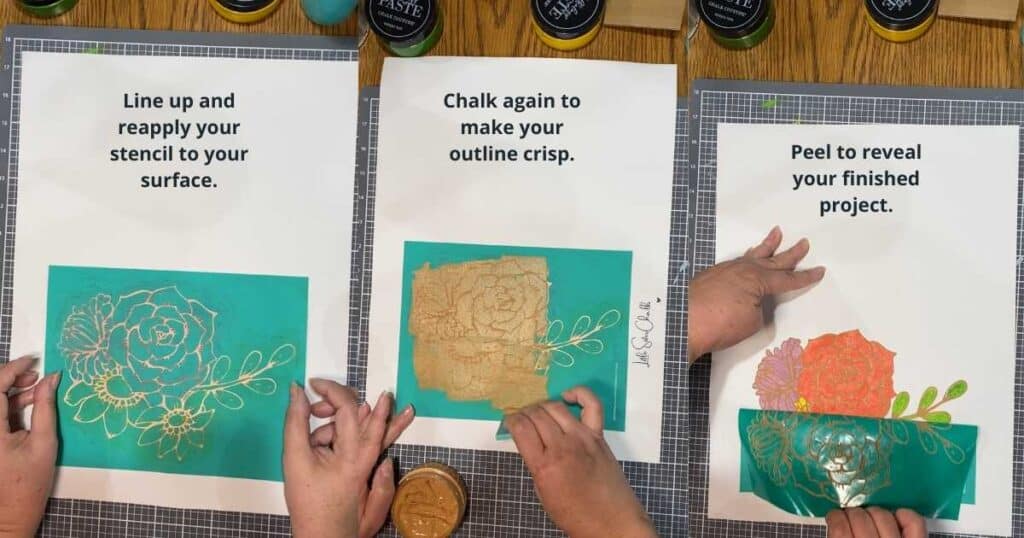
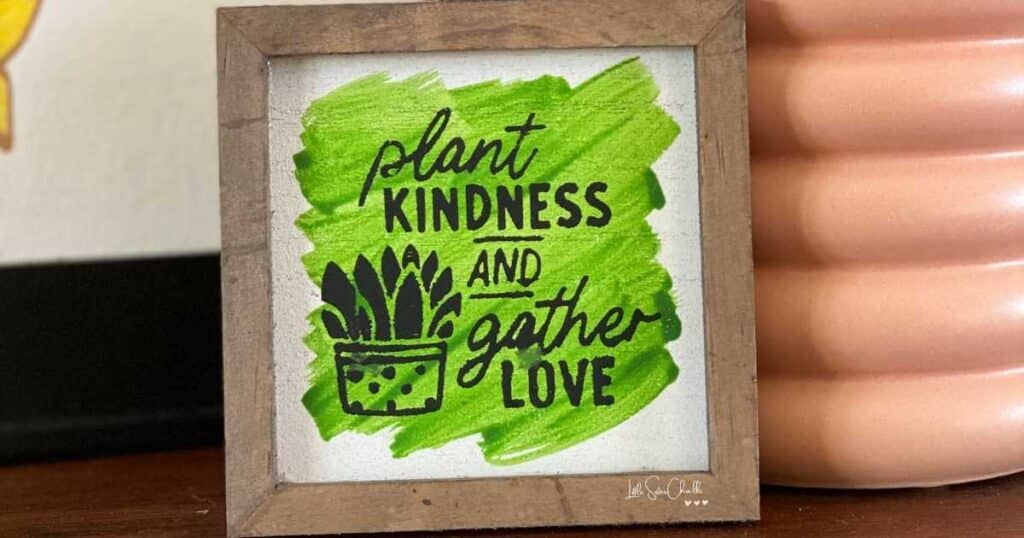
You get a unique design with some variation in color giving it a little depth and dimension.

Watercolor (or color wash) your surface
This variation of the watercolor technique is about applying the watercolor “paint” to the surface you are using. There are a couple of variations of this technique including:
- painting watercolor paper and chalking your design onto it (you can watercolor the entire paper to frame or cut out your design to use as part of a project),
- color washing a surface (i.e. watercolor paper, canvas, a box frame, etc.) and then chalking a design over the colorwash.
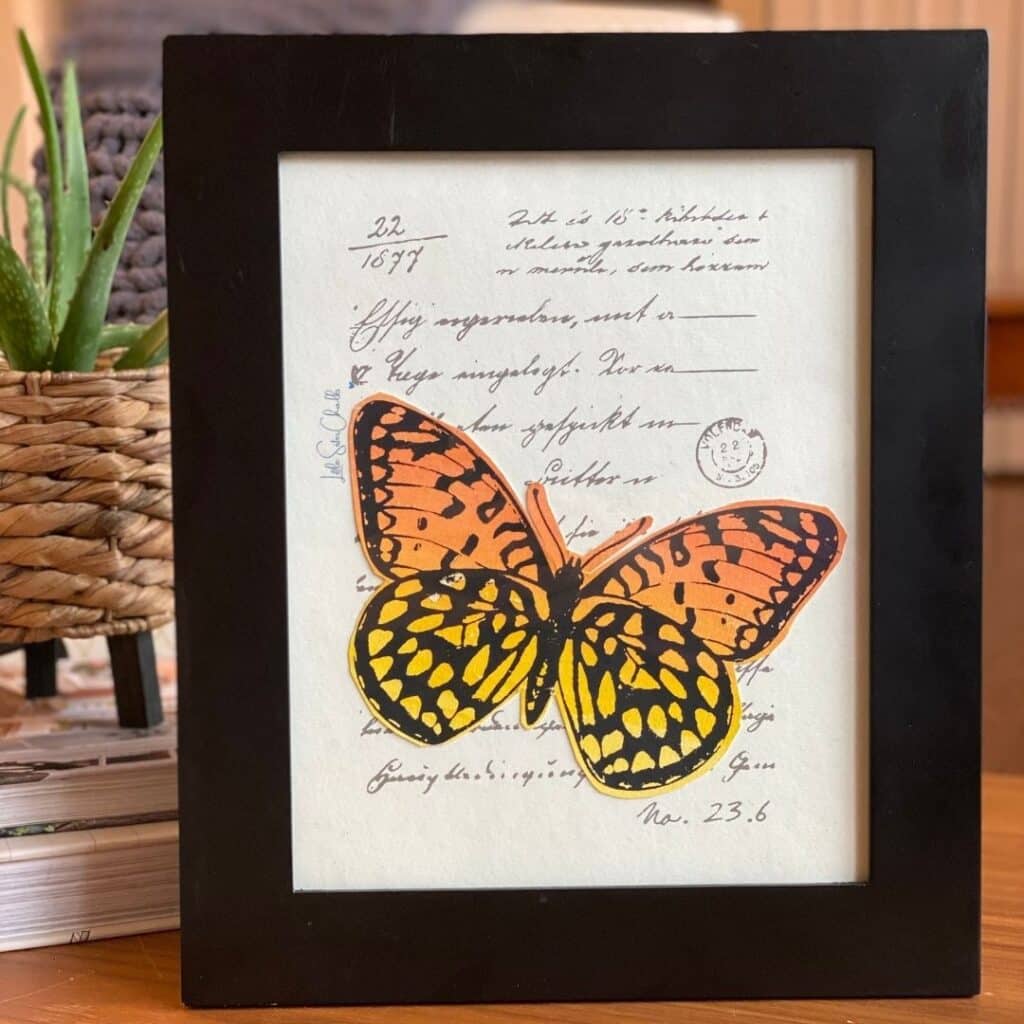
Example of first variation – cutting out your design to use as an accent on your project: the butterfly is made by watercoloring a piece of watercolor paper with two paste colors. Then the design is chalked onto the painted paper. Once it was dry, it was cut out and used to accent the words chalked on a separate piece of paper, and the whole project was framed.
Steps for watercoloring your surface
Step 1: Create a “watercolor paint” from your chalk paste. Place some paste from your jar or packet into a color tray. Add a little bit of distilled water and mix until you get a paint consistency.
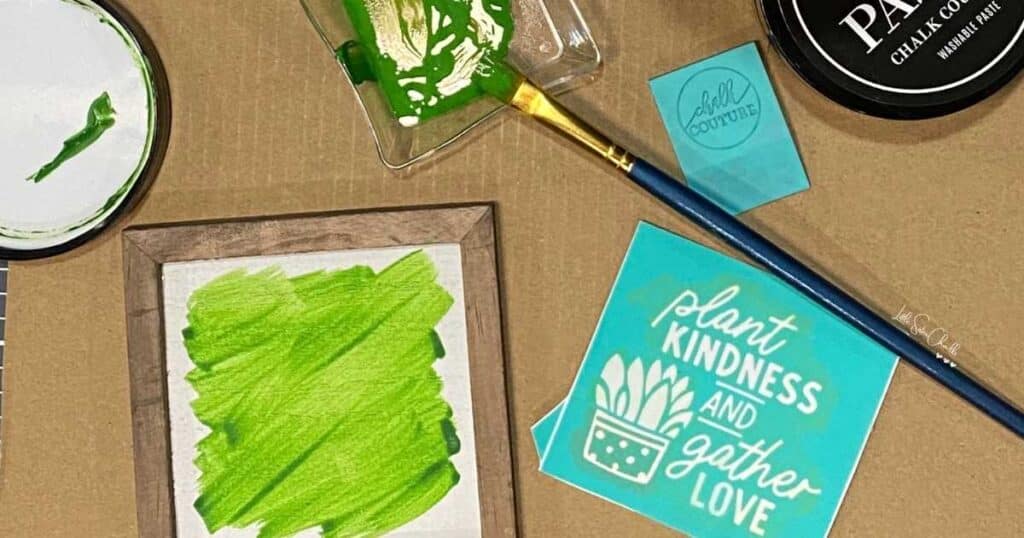
Step 2: Grab a paint brush, and paint the watercolor paper or color wash your surface. Let it dry completely!
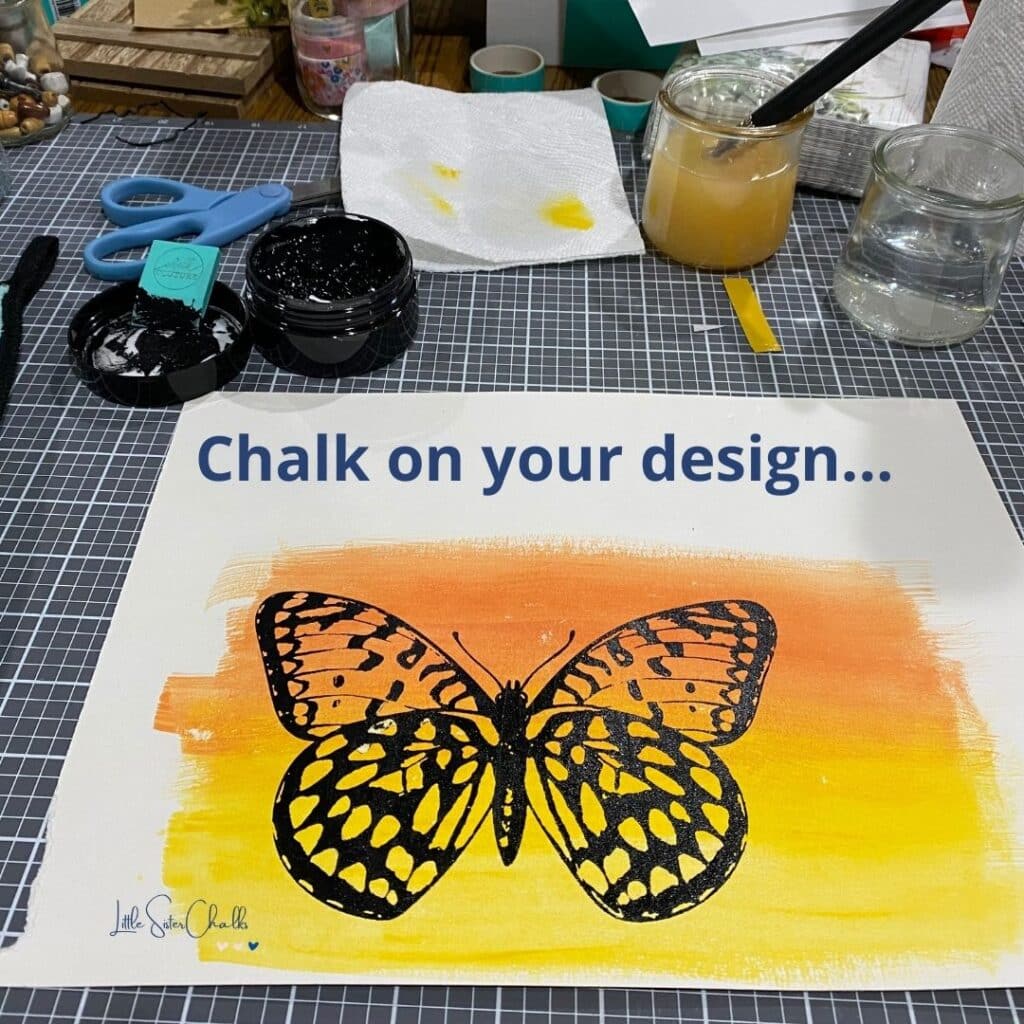
Step 3: Apply your stencil to your surface making sure it is well fuzzed and chalk your design.
Creating with the watercolor technique and the Etched Butterflies stencil was super popular in our Chalk Couture Designer Studio group. There were tons of examples with different colors and different uses for those cutout butterflies! Fellow designers provided so much inspiration! That’s one of the best things about being part of a creative community like Chalk Couture! Come join us and get involved with our creative community!
There really is no right or wrong way to do watercoloring with Chalk Couture! It’s so fun to do and makes you feel like a kid again! I hope this technique and the examples inspire you to create something fabulous! Grab your craft supplies and see where they take you!
If you’re looking for more Chalk Couture techniques, check out the 10 hottest Chalk Couture techniques.
I can’t wait to see what you create!
Luana