
Using the Marbling technique with Chalk Couture is a great way to get a totally different look for your projects! No two will ever come out exactly the same! You will also hear marbling referred to as the “hot mess” technique among the Chalk Couture community. It’s a really fun technique and allows you to get your hands dirty while crafting! It feels like finger painting when you were a kid, and who doesn’t like to feel like a kid again and make a hot mess?
You need at least 2 colors to create the marbling effect, but 3 or 4 colors really make a great impact. Vary the tone and hue of your colors for a true marble appearance. Colors in the same color family work great, but coordinating colors are also really pretty.
A Chalk Couture color palette makes it super easy to coordinate your colors. A color palette can also give you great inspiration for using colors you have on hand; just swap out a color for something similar in your supplies. Check out the Chalk Couture Paste & Ink Guide for more info on chalk paste and available colors.
The Marbling Technique with Chalk Couture
Supplies needed:
- Stencil of your choice
- Surface of your choice
- At least 2 Chalkology paste colors
- Squeegees
- Small amount of distilled water to dab your finger if needed
Step 1: Apply your stencil to your surface and smooth out any air bubbles.
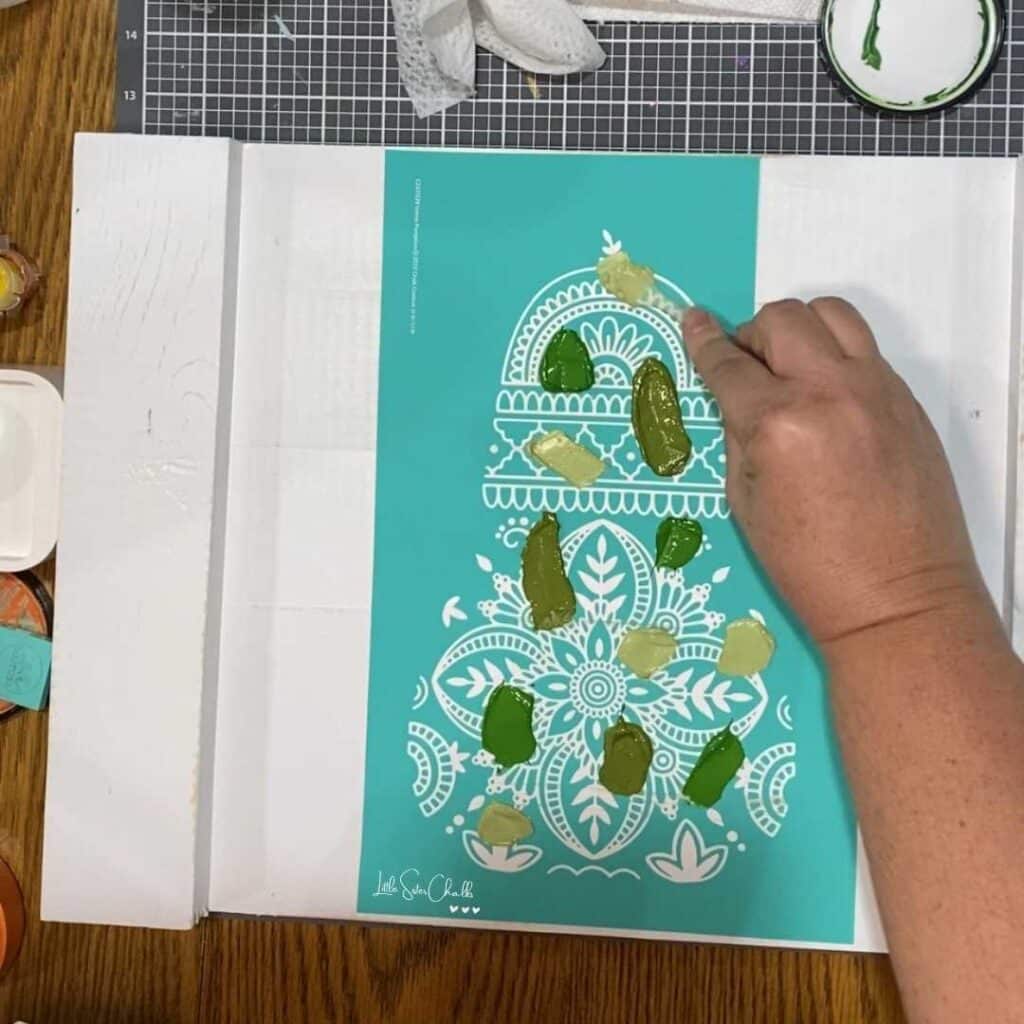
Step 2: Use a squeegee or a stir stick to randomly apply your paste colors to different parts of the stencil. Use as much or as little as you want of each color.
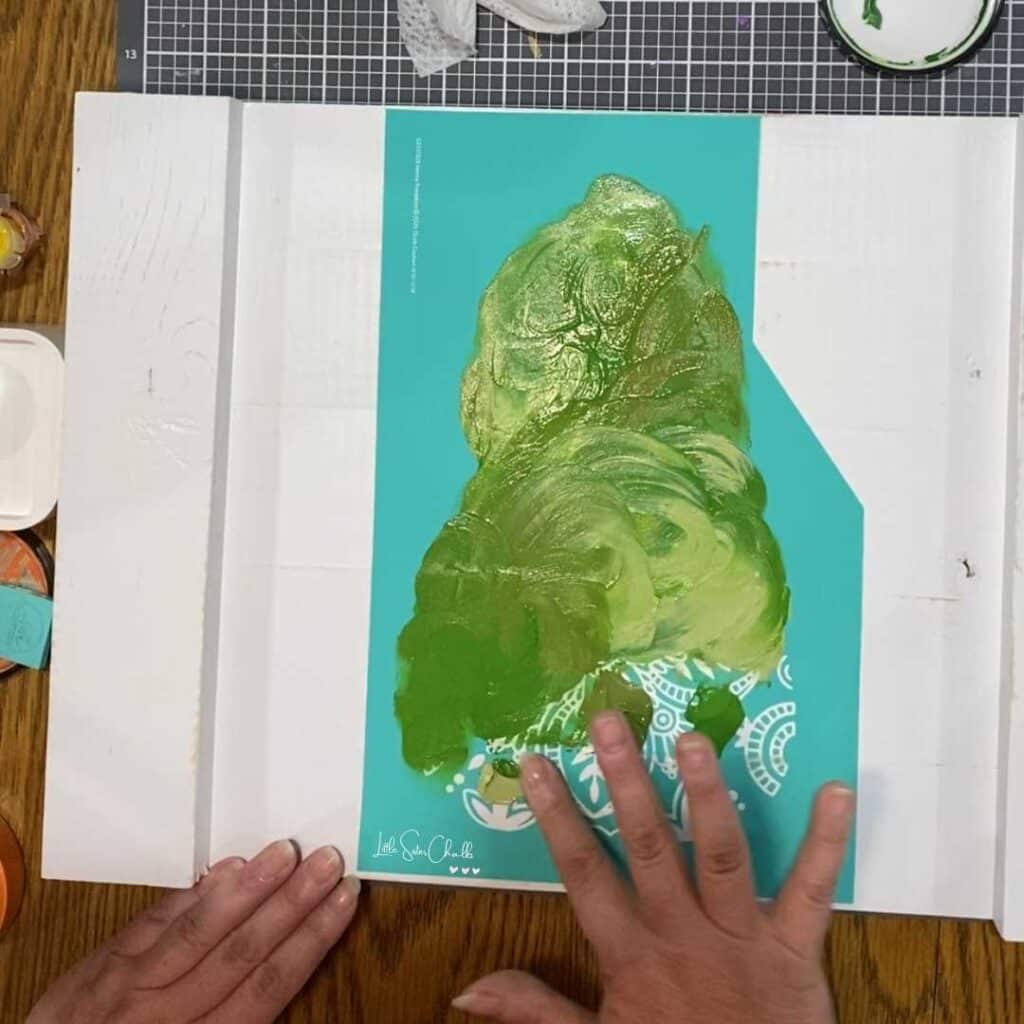
Step 3: Blend your colors with your finger. Wet your finger with a small amount of distilled water if needed.
Step 4: Scrape off excess paste with a squeegee if needed.
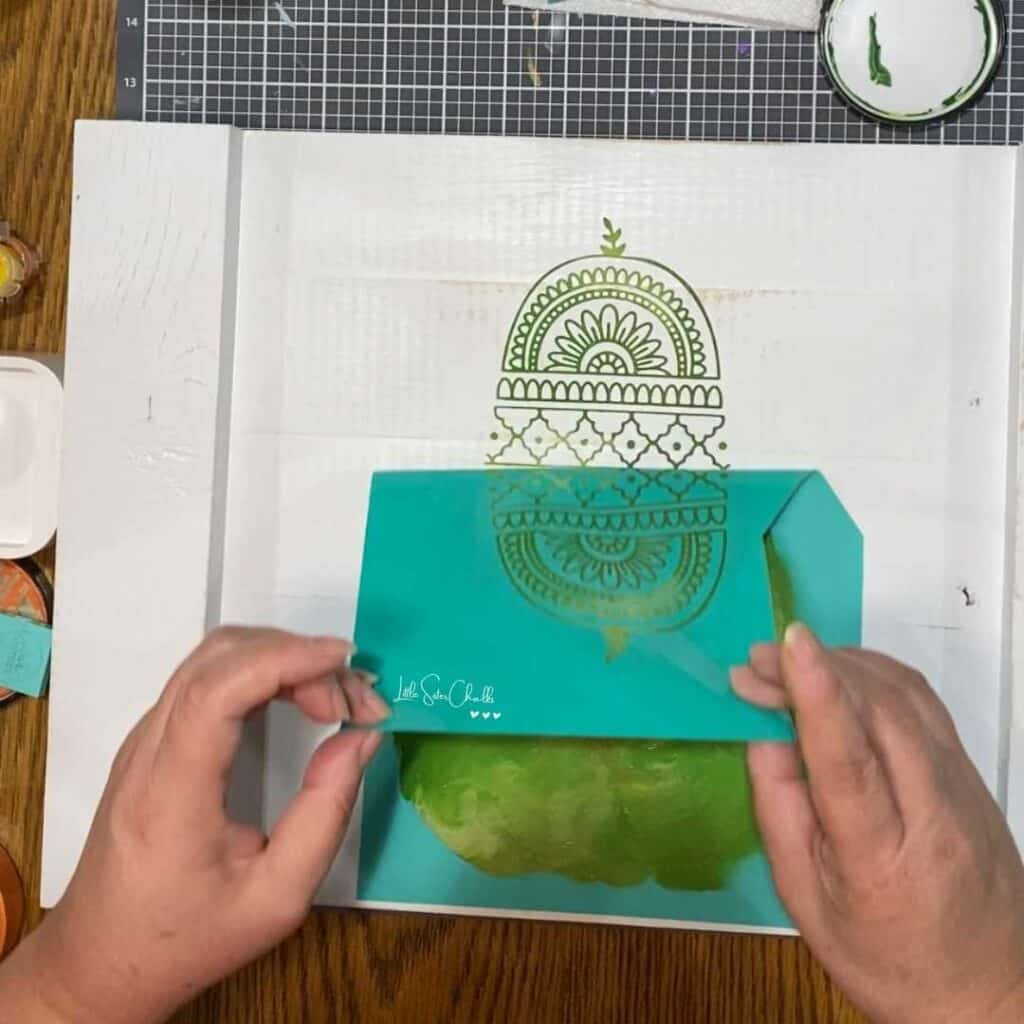
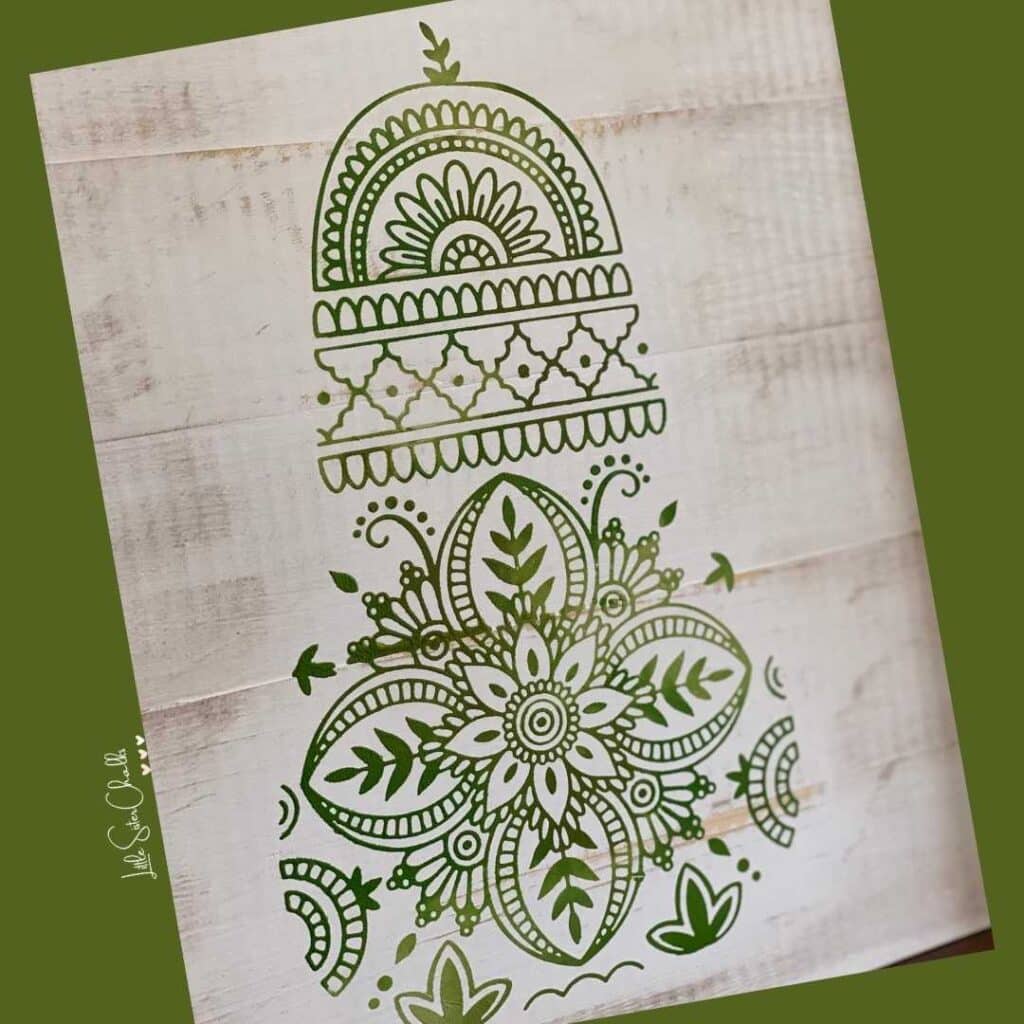
Step 5: Peel your stencil and reveal your creation!
Trying new techniques on reusable surfaces can help ease any anxiety you might have about experimenting (find out more about Chalk Couture surfaces here). With a reusable surface, you can clean it off and try again if you really don’t like it! If you feel like your attempt just didn’t work, set it aside and come back to it after a little while. You may find you like it after all! No one will be as critical of your work as you will! I promise!
So try out the marbling technique on a project! It’s fun to experiment with new techniques and use your products in different ways! It’s also super fun to feel like a kid again and get your hands dirty when crafting!
If you’re looking for more Chalk Couture techniques, check out the 10 hottest Chalk Couture techniques.
Come on over and connect with fellow craft lovers! A creative community is a great way to make new friends, learn new things and share your work! We love to support and cheer for each other! Come join us!
I can’t wait to see what you create!
Luana