Layering Chalk Couture stencils is a natural technique since some of the designs are specifically created to be used in layers. Layering is also one of the easiest ways to create something truly unique as you can put together an endless amount of stencil combinations. It’s always great when you can get more value from your products by using them in multiple ways and using them over and over again!
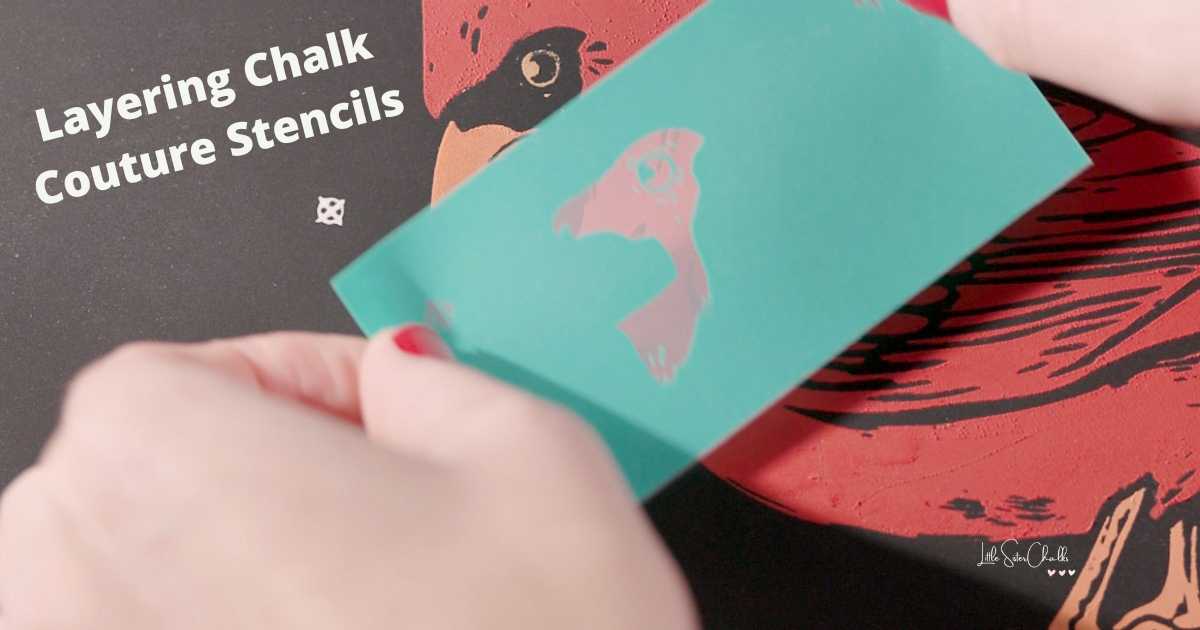
Layering Chalk Couture Stencils created for multi-layer designs
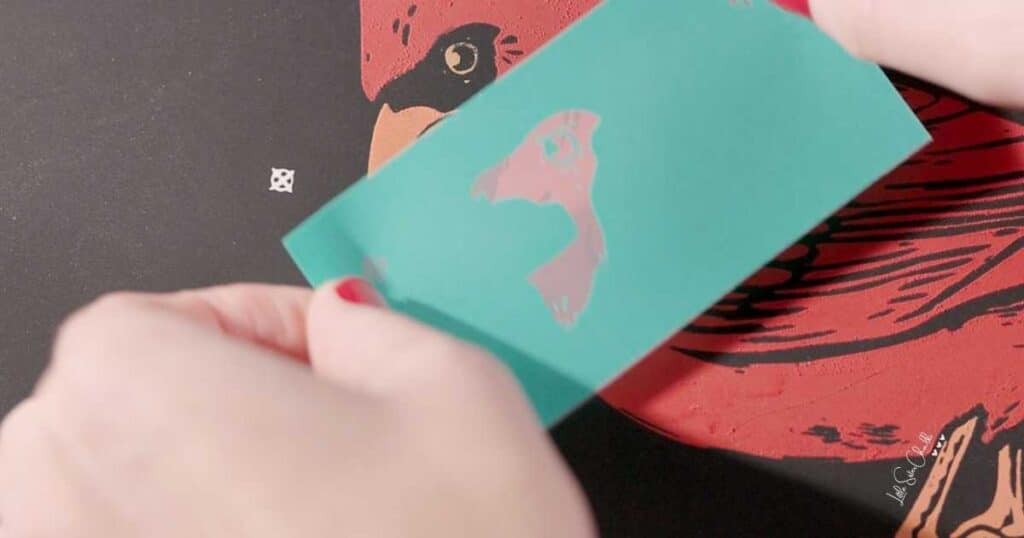
If a Chalk Couture stencil is created for layering, you will see little registration marks on the different pieces of the transfer. These marks help you easily line up the pieces to create a fabulous design.
Using Registration Marks on a Reusable Surface
It’s super easy to use the registration marks on a reusable surface.
- When you chalk your first layer, you simply chalk the marks as well.
- Let your first layer of paste dry completely.
- You can apply a thin layer of wax to protect your first layer of chalk paste from pulling up when you lift your second stencil.
- When you put on your next layer, fuzz your stencil well and then line up the registration marks. You will have a perfectly aligned multi-part design!
- When you are done chalking, go back and remove the registration marks with a little bit of water on a q-tip or paper towel.
Using Registration Marks on a non-reusable surface
You might think you’re out of luck using the registration marks if you are using a wood or canvas surface for your project, but there’s an easy tip to use the registration marks on non-reusable surfaces!
- When you lay down your first layer stencil, put a little bit of placement tape (or painter’s tape) under the registration mark.
- Chalk the registration mark on the tape so you can line up your next layer.
- Let your first layer dry completely.
- You can apply a thin layer of wax to protect your first layer of chalk paste from pulling up when you lift your second stencil.
- Before you place your next layer, fuzz your stencil well!
- When you’re done chalking, lift off the tape.
Learn more about Chalk Couture Surfaces.
Layering any stencil designs
The true versatility of Chalk Couture shines when you use different stencils to create your own unique designs! Layering Chalk Couture stencils is the perfect technique to use and reuse your favorite stencils!
Layering stencils
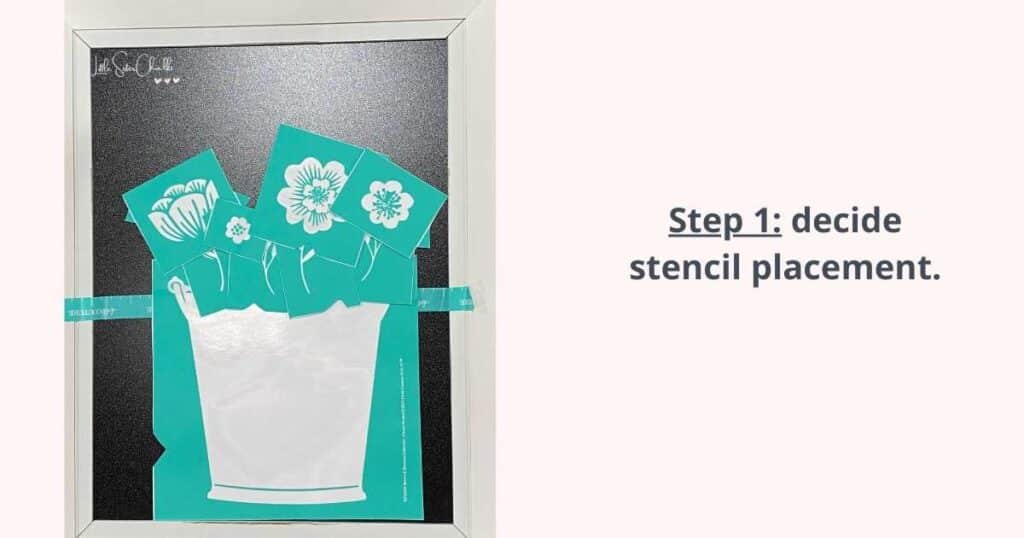
There really are no rules for layering Chalk Couture stencils of your choice, but there are a few steps to consider:
- Choose which stencils you want to use. It all depends on the look you’re going for, so have some fun and be creative!
- Patterns make an awesome first layer especially when they are almost non-discernable. Using a paste color that is close to your surface color will create a tone-on-tone first layer that is so easy to work with.
- When you use a pattern as a first layer, you can use words or images as a second layer. Both work perfectly well.
- You can also use an image as your first layer and layer words over that.
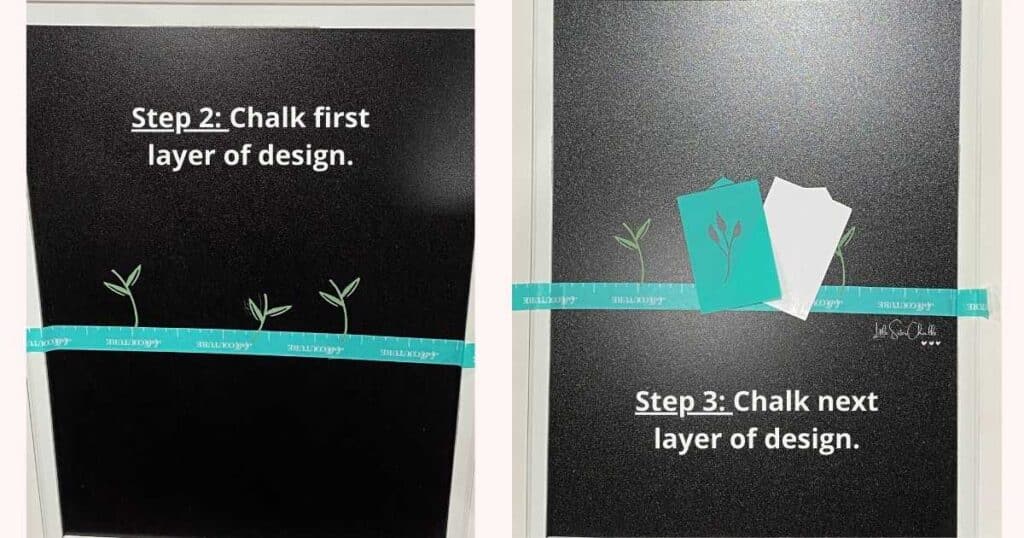
- Apply your first stencil and chalk it. Let it dry completely.
- You can apply a thin layer of wax between layers to protect your first layer of chalk paste from pulling up when you lift your second stencil.
- Apply your second stencil and chalk it. Carefully peel it from your surface to reveal an amazingly unique design!

A multi-layer project can be created with any stencil and any colors! You can use your creativity to dream up a truly unique piece of art! When someone compliments your home decor and asks where you got that piece, you can proudly say “I made it myself!”
If you’re looking for more Chalk Couture techniques, check out the 10 hottest Chalk Couture techniques.
Come join other craft lovers to share ideas and make new friends! Find out how to join our creative community over on the Connect with Craft Lovers page! We can’t wait to see what you create and get inspired by your ideas!
Luana