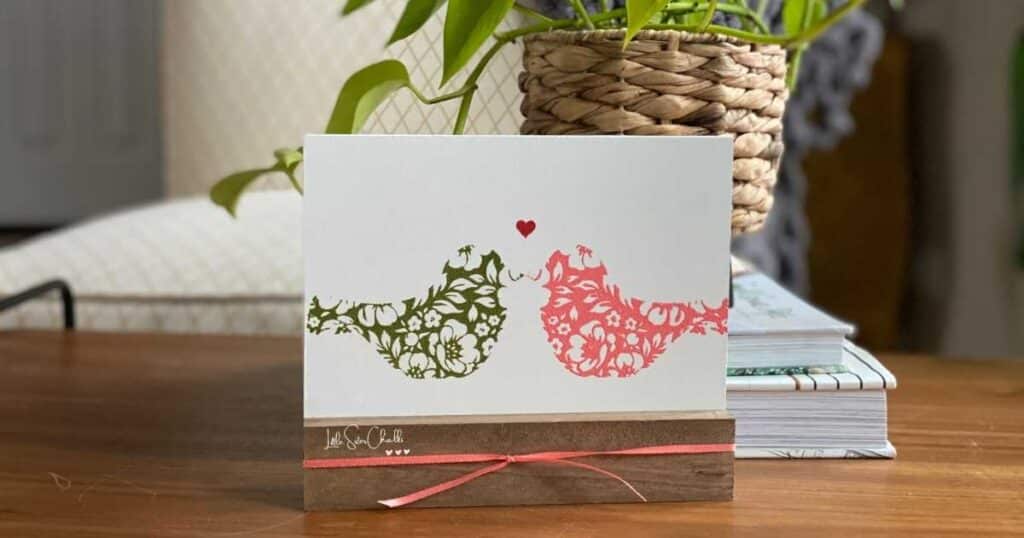
Creating mirror images using Chalk Couture stencils gives you added versatility. By flipping your design either side to side or top to bottom lets you create unique pieces of art. Getting more value from your products by using them in multiple ways and using them over and over again is a great feature of Chalk Couture stencils!
Creating Mirror Images Using Chalk Couture
Sometimes you just want your design to include a mirror image of an element on your stencil, and sometimes Chalk Couture gives us stencils that include those mirror images. But sometimes they don’t! Never fear though because creating mirror images using Chalk Couture stencils couldn’t be easier!
Check out these steps:
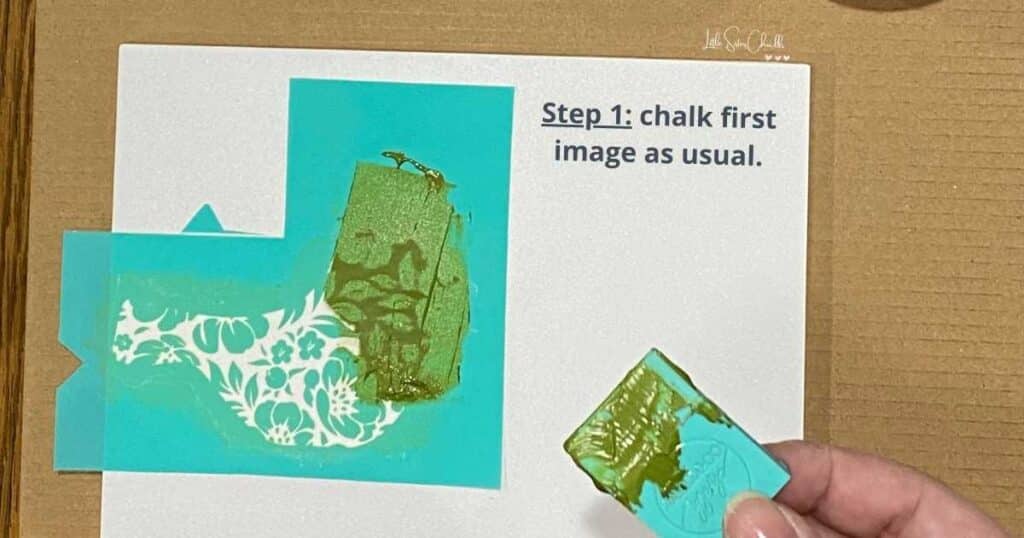
- Step 1: Chalk your first image as usual.
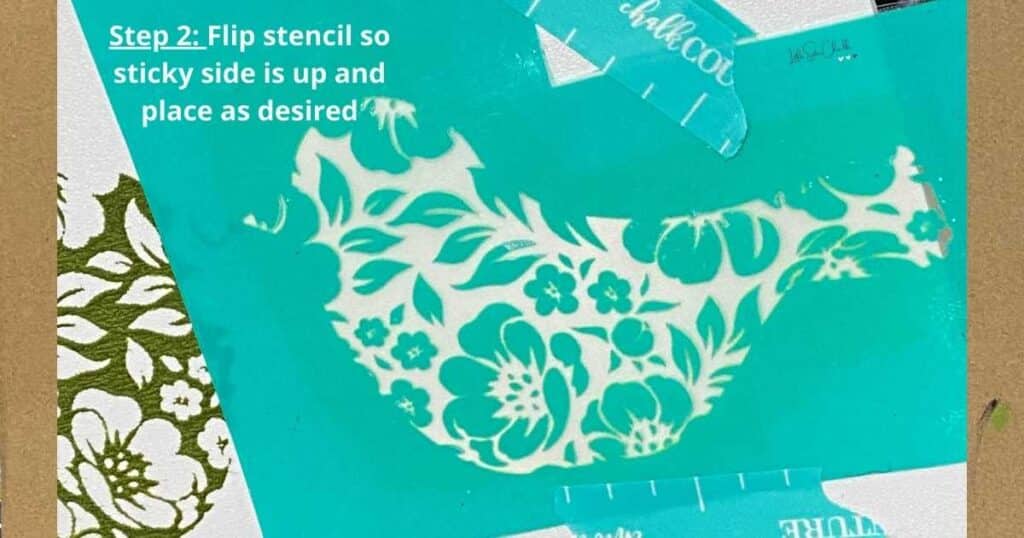
- Step 2: flip the stencil so the sticky side is up and place it the way you want it. Tape it down with Chalk Couture placement tape or painters tape so that it stays put while you chalk it. (Find out more about Chalk Couture tools.)
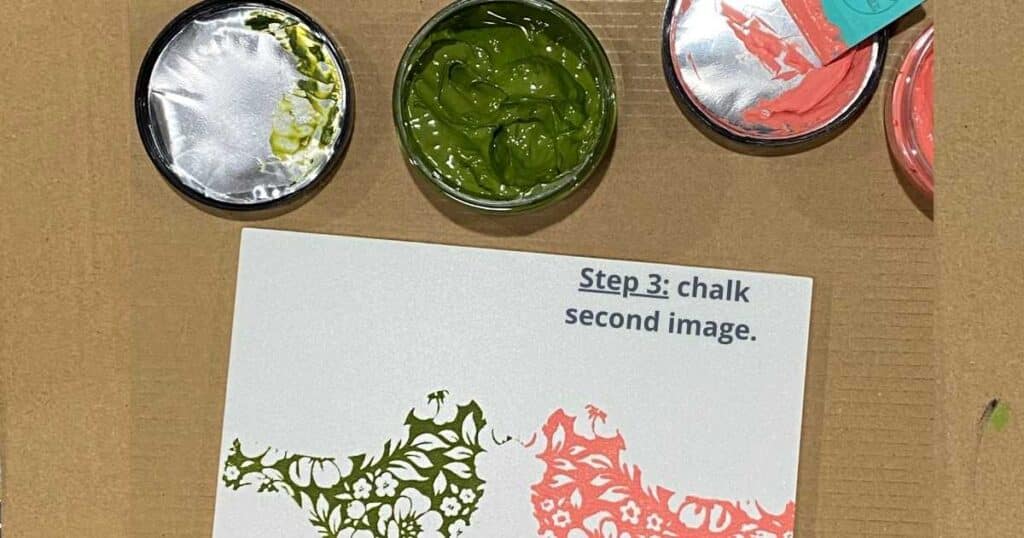
- Step 3: Chalk the mirror image of your stencil design.
You’ve now created a unique piece of art you can display proudly, and you’ve gotten some extra value from your products! It’s so awesome when you can use things in new and different ways so that you get more bang for your buck!
Check out the 10 hottest Chalk Couture techniques.
Come join other craft lovers to share ideas and make new friends! Find out how to join our creative community over on the Connect with Craft Lovers page! We can’t wait to see what you create and get inspired by your ideas!
Luana