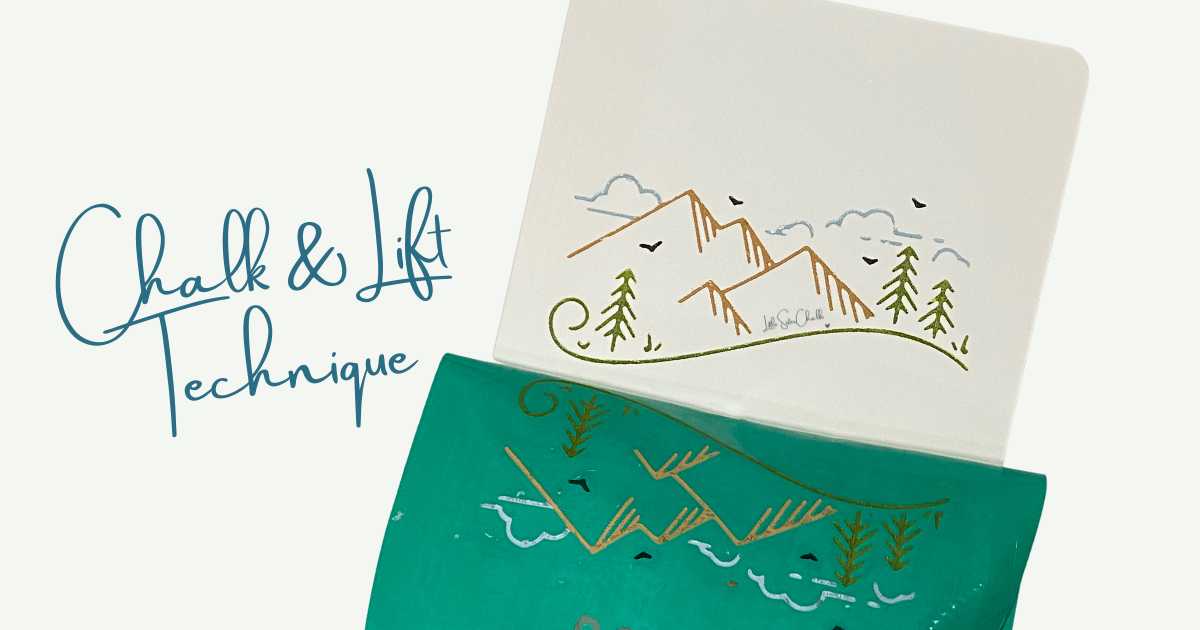
The Chalk and Lift Technique comes in super handy when using multiple chalk paste colors or using large sized stencils. Since you need to work relatively quickly to not let your chalk paste dry on your stencil, this technique helps you complete a complicated or big project in chunks. Let’s take a look at why using this technique is helpful and how to do the technique.
Why you should use the Chalk and Lift technique
There are two main reasons to use the Chalk and Lift Technique:
- You are using multiple colors throughout your design and need to change colors frequently. In this instance, chalking a portion of the design using multiple colors and then lifting the stencil just over where you chalked will help you avoid having your paste dry on your stencil instead of on your surface. You would repeat chalking portions of your design lifting and drying your paste as you move along.
- You are using a large sized stencil and you run the risk of your paste drying on your stencil instead of on your surface if you chalk the entire design before lifting the stencil. Find out more about Chalk Couture stencils.
How to do the Chalk and Lift Technique
These are the steps for using the Chalk and Lift Technique:
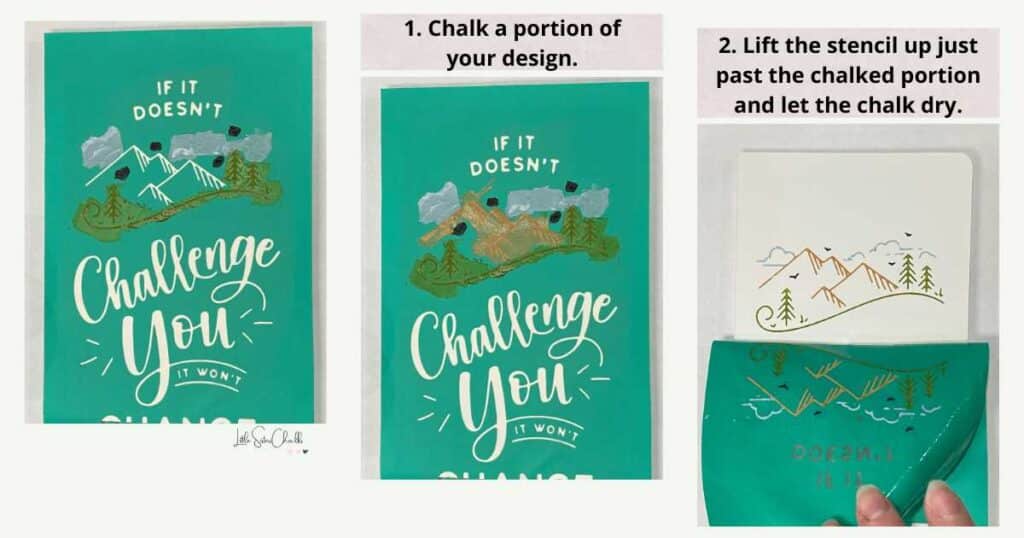
- Chalk a portion of your design.
- Lift the stencil up just past the portion you chalked and let the chalk dry. Use a drying tool or a hair dryer to help the paste dry faster. Check out the Guide to Chalk Couture Tools for more information on tools that can help make your chalking easier.
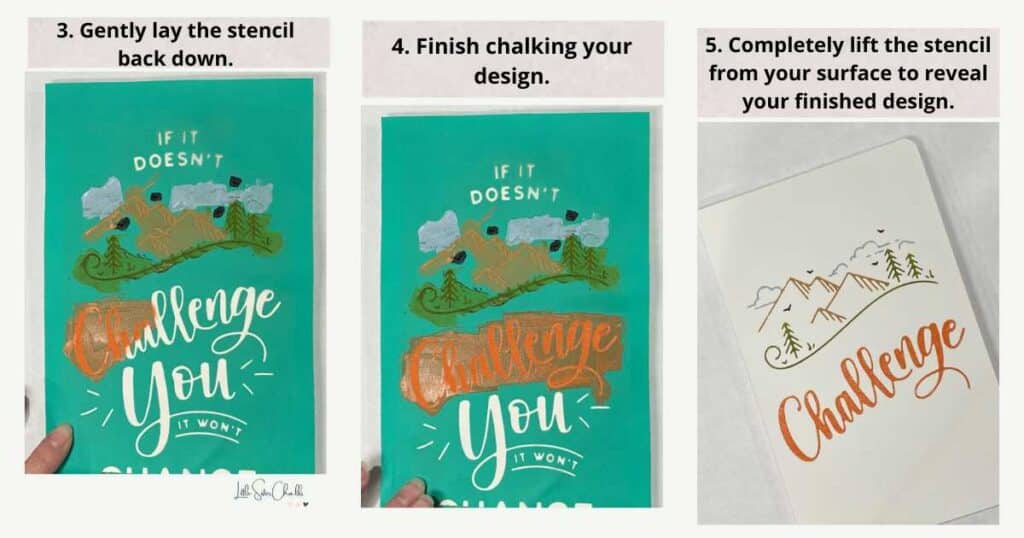
- Gently lay the stencil back down without pressing it. If there is a portion of the stencil near this section that you still need to chalk, be sure to press that part of the stencil down and smooth out any bubbles to avoid bleeding.
- Chalk the next portion of your design. Repeat steps 3 and 4 as many times as needed until you have finished chalking your entire design.
- Peel and reveal! Completely lift the stencil from your surface to reveal your finished design!
Let’s take a look at an example using the steps outlined above.
Pro Tip: Move from top to bottom or side to side when you chalk and lift.
Using the Chalk and Lift Technique can really make chalking large or complicated designs so much easier. You can work at a slower pace which allows you to focus on details or switching between colors without worrying about your paste drying on your stencil instead of on your surface. It really can be a life saver for those really detailed projects! Give it a try and let me know what you think!
If you’re looking for more Chalk Couture techniques, check out the 10 hottest Chalk Couture techniques.
I can’t wait to see what you create!
Luana