Ombre has been everywhere lately, and it’s easy to incorporate it into your home with the Chalk Couture Ombre Effect! The best thing is you can make it your own with colors that work for your home! The Chalk Couture Ombre Effect is a really fun technique because you can dig in and get your hands dirty! It feels just like finger painting and brings you right back to childhood art class!
You need at least 2 colors to create the Chalk Couture Ombre Effect, but you can also use 3 or 4 colors if you prefer. An ombre typically goes from lighter colors to darker colors as the dark color at the bottom will anchor your project, but you can choose as many colors as you like and put them in the order you prefer!
Supplies needed:
- Stencil of your choice
- Surface of your choice
- At least 2 Chalkology paste colors
- Squeegees
- Small amount of distilled water to dab your finger in (if needed)
The Chalk Couture Ombre Effect with 2 colors:

Step 1: Apply your stencil to your surface and smooth out any air bubbles.
Step 2: Apply your first chalk paste color to the top of your stencil stopping before you hit the midpoint of your design. Don’t scrape off too much paste as you need some to work with for blending in the middle.

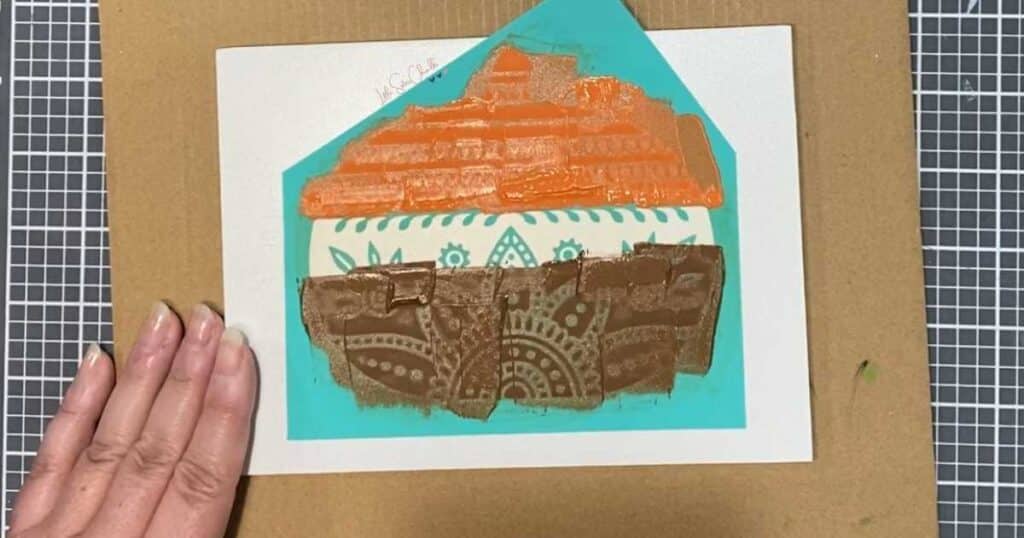
Step 3: Apply your second chalk paste color starting below the midpoint of your design to the bottom. Again, don’t scrape off too much paste as you need some to work with for blending in the middle.
Step 4: Blend the two colors in the middle area of your design with your finger. Wet your finger with a small amount of distilled water if needed.
Step 5: Scrape off excess paste with a couple of clean squeegees if needed. Scrape from side to side so that you are not mixing colors into your top or bottom color applications.
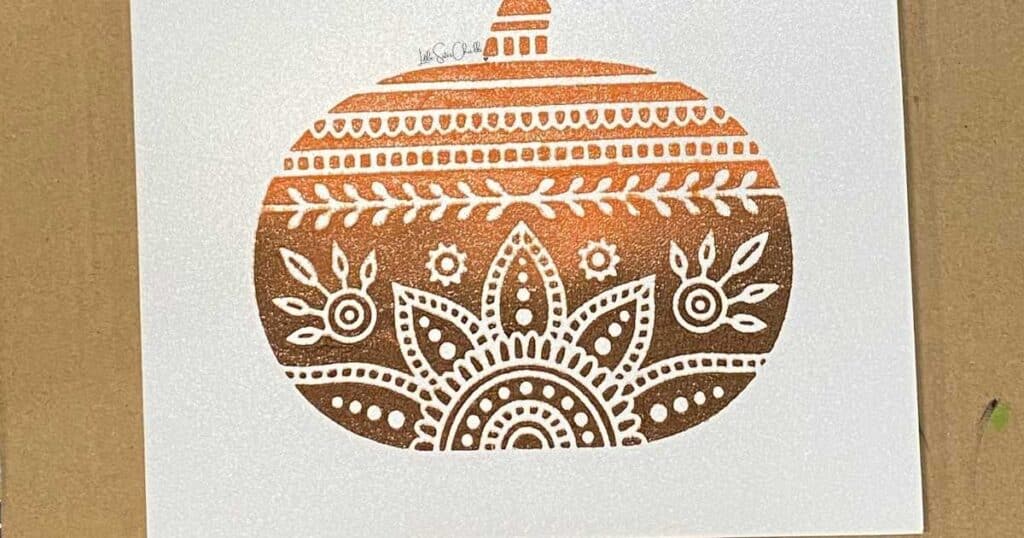
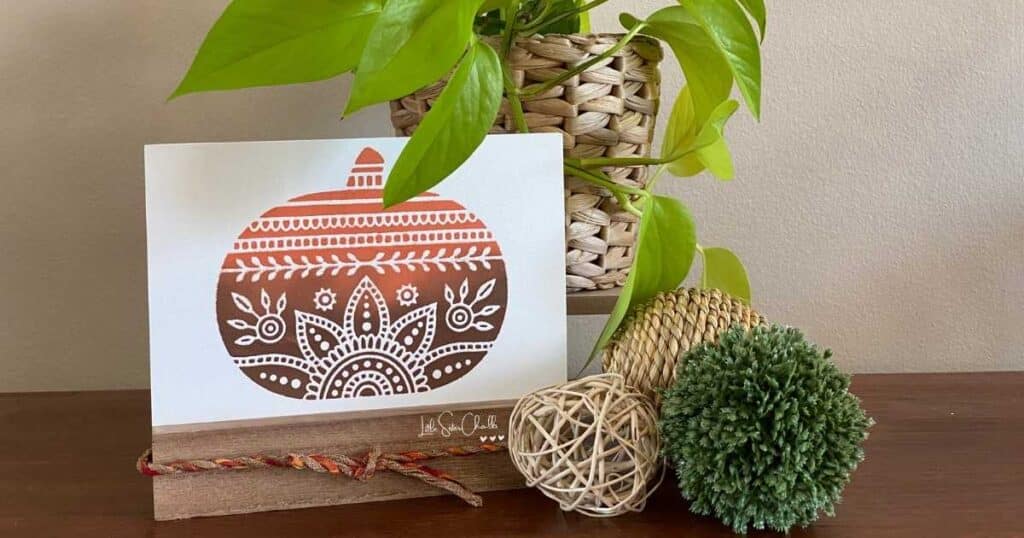
Step 6: Peel your stencil and reveal your creation!
Sometimes it’s a good idea to try new techniques on reusable surfaces (find out more about Chalk Couture surfaces). This way, if things don’t work out quite as you expected, you can clean it off and try again! Believe it or not, this took several tries!
But don’t be disheartened if you feel like your attempt just didn’t work. No one else will notice little mistakes or be as critical of your work as you will! Promise!
So give it a try! It’s always fun to experiment and figure out how to make your products work in different ways and go further than you thought possible! It’s also super fun to get your fingers a little dirty when crafting and creating!
Need more inspiration to try something new? Head to the 10 Hottest Chalk Couture Techniques.
Come on over and join our creative community and share your work! We love to support each other, cheer for each other and learn from each other! Find out more about how to join the community.
I can’t wait to see what you create!
Luana