
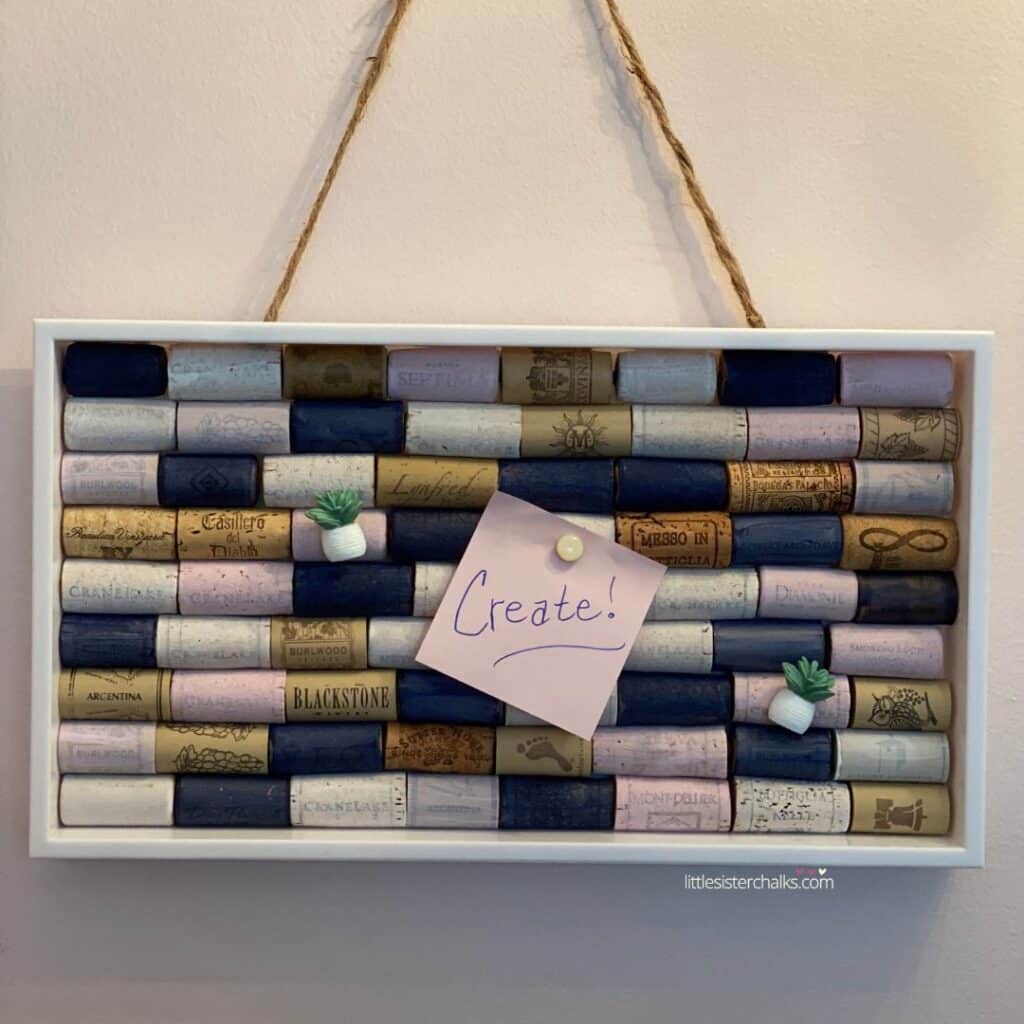
Turn your stash of wine corks into a chic wine cork board! If you’ve got a boring cork board crammed with notes, it’s high time to give those little memos a trendy home. Follow the easy steps in this blog to create your own masterpiece!
5 Easy Steps to Create a Chic Wine Cork Board
Let’s get started with this fun and easy recycling project and use up some of those wine corks you have laying around your house!
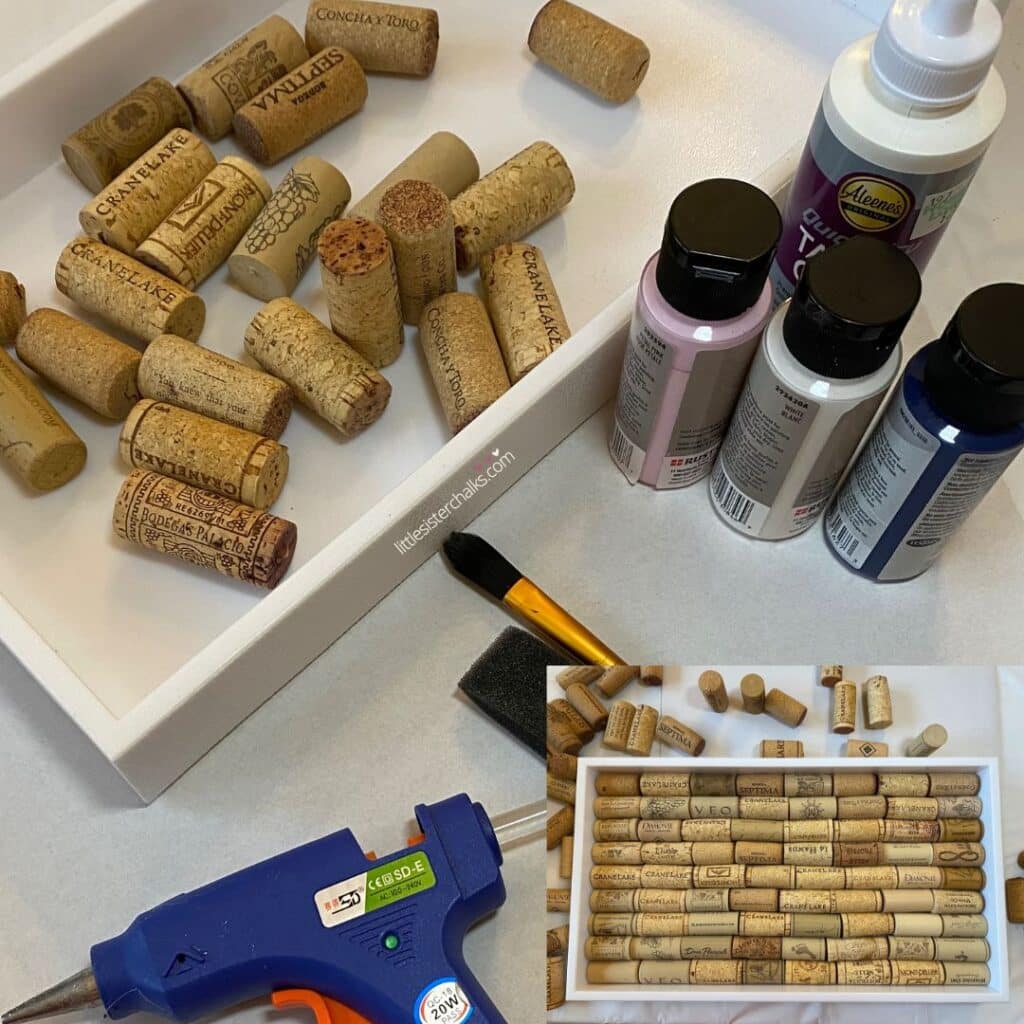
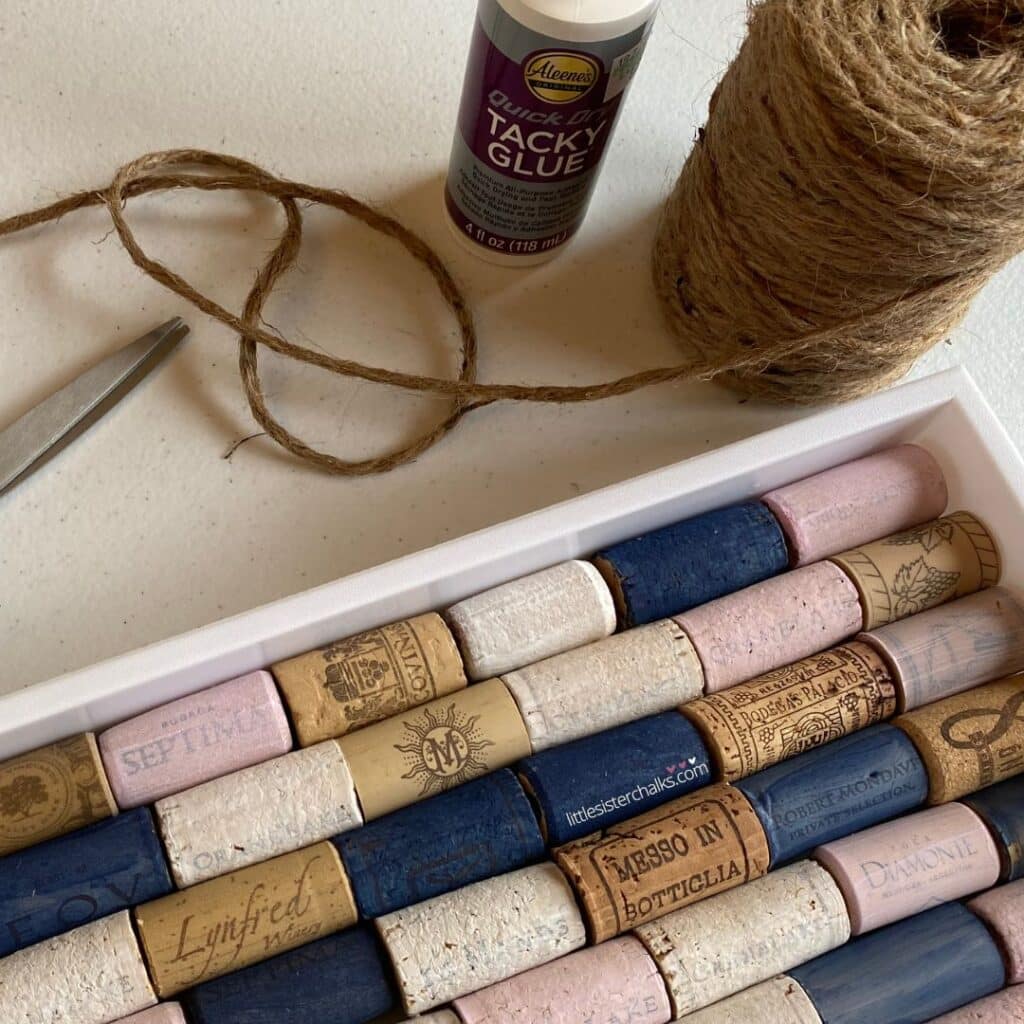
Step 1 – Gather Your Supplies
- a container to house your corks (a frame or a tray works well)
- corks (tip: place the corks into your container so you know how many you’ll need)
- acrylic paint (this project was made with three colors, but feel free to use more or less to fit your room decor)
- glue (tacky glue works well for wood but if your container is non-porous, a “super” craft adhesive is a good choice; you can also use both tacky glue and hot glue)
- a type of hanger (like thick twine or a sawtooth picture hanger depending on your container)
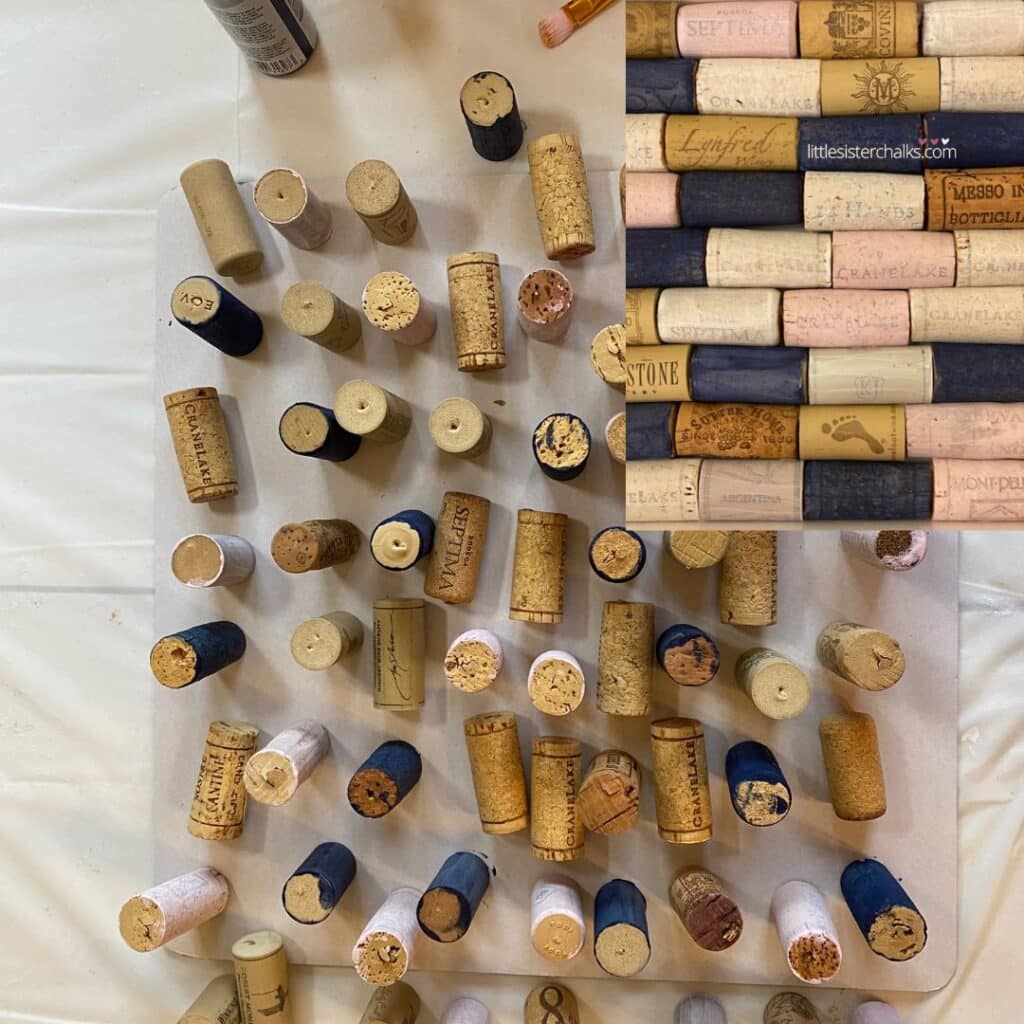
Step 2 – Paint Your Corks
This tray holds 72 corks, so an even split between 4 colors worked well:
- navy
- pink
- white
- natural (unpainted)
Pro Tip: Start by choosing the corks you do not want to paint. Look for interesting designs or words. Then start painting the rest of the corks one color at a time.
Step 3 – Paint the Container (optional)
The beauty with using things you find around your house or while thrifting is that you can transform them with a little paint. Paint your container if necessary or if the color doesn’t work for you. This tray was white, which works with almost any color scheme, so it was not painted.
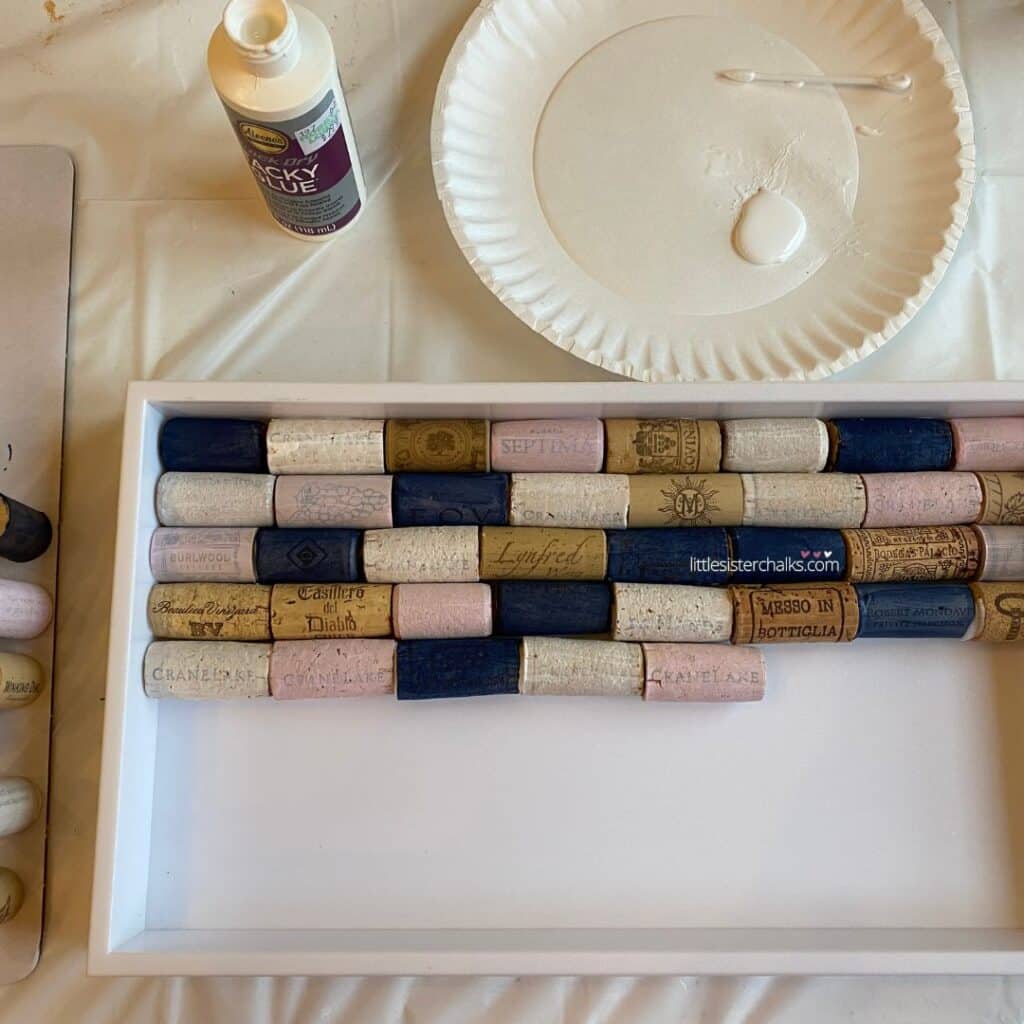
Step 4 – Glue in Your Corks
It’s time to glue your corks down! Use a generous amount of glue to attach the corks to the bottom of your container. For this project, each cork was dipped into glue to cover the ends and one side, and then it was placed in the container.
Pro Tip: If you want to create a pattern or design with your colors, lay that out so you know where to place the corks once you start gluing.
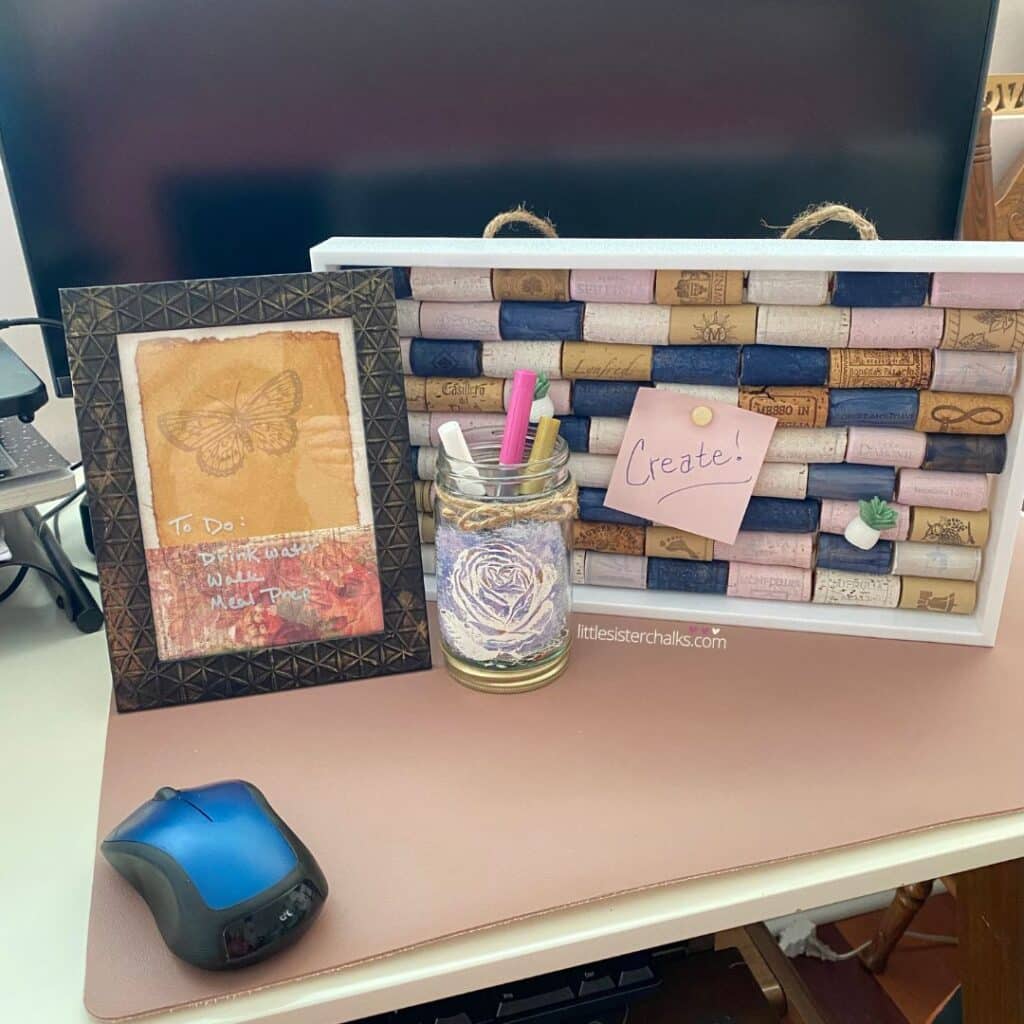
Step 5 – Attach Your Hanger
If you’re displaying your wine cork board on a wall, it’s time to attach a hanger. Thick twine was glued to the back of the tray for this project to give it some texture.
Other options to consider using are a chain or a leather strap. You could also attach a wire, sawtooth hanger or d-ring to the back of your container, especially if it’s wood.
Now all that’s left to do is hang your finished wine cork board and attach some tacks and memos. Enjoy your finished piece and the feeling of accomplishment that comes with making something yourself!
When someone says “I love your cork board! Where did you get it?”, you can proudly say “I made it myself!”
SUPPLY LIST:
CONTAINER (look for something like a tray or a frame)
WINE CORKS
PAINT (use as many colors as you’d like to coordinate with your decor)
PAINT BRUSHES
GLUE
HANGER for your cork board like twine or a chain and appropriate tools (i.e. scissors, screwdriver)
Check out HGTV’s version of a cork board, which is where the inspiration for this project came from.
I hope you have fun creating your own wine cork board and enjoy it for years to come!
If you enjoyed this project, check out how to make a handy dry erase memo board! I’d also love to have you join my email list for weekly newsletters with more ideas for creating sustainable home decor!
Sustainably yours,
Luana