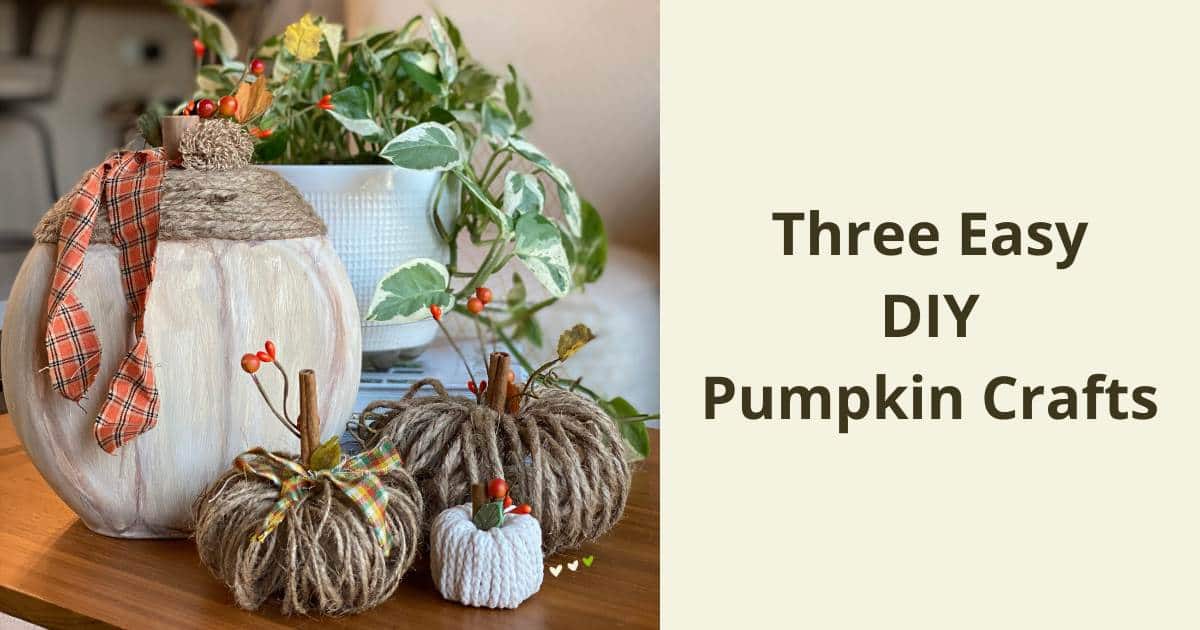
“I think I have too many pumpkins”, said no one ever! To help you add some to your decor, here are three easy diy pumpkin crafts to transform things you have around your house into sweet little pumpkins.
DIY Pumpkin Crafts
Pumpkins are a great addition to fall and Halloween decor, and doing pumpkin crafts is an easy way to add a perfect little touch of personality and unique style to your home! Pumpkins come in all shapes and sizes and including a wide variety of them around your home really gets you ready for fall!
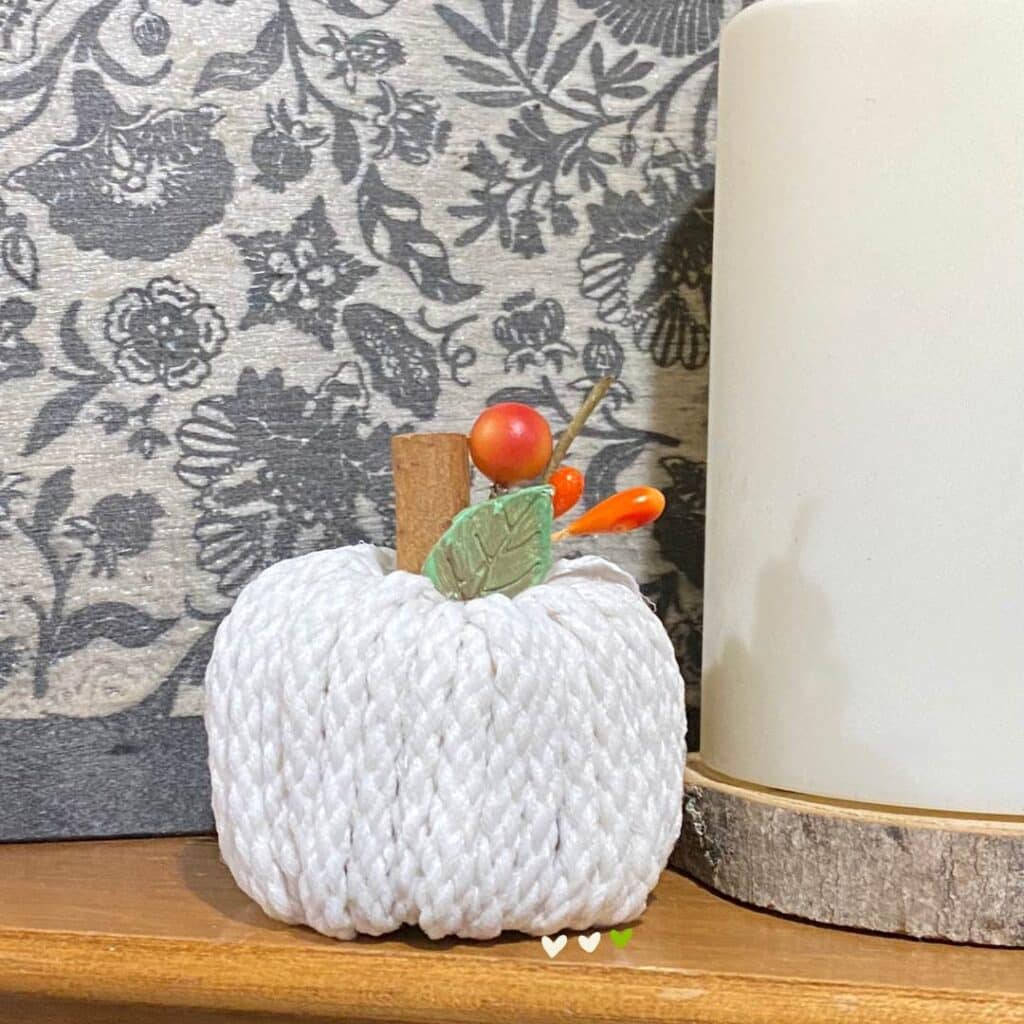
Twine Pumpkins
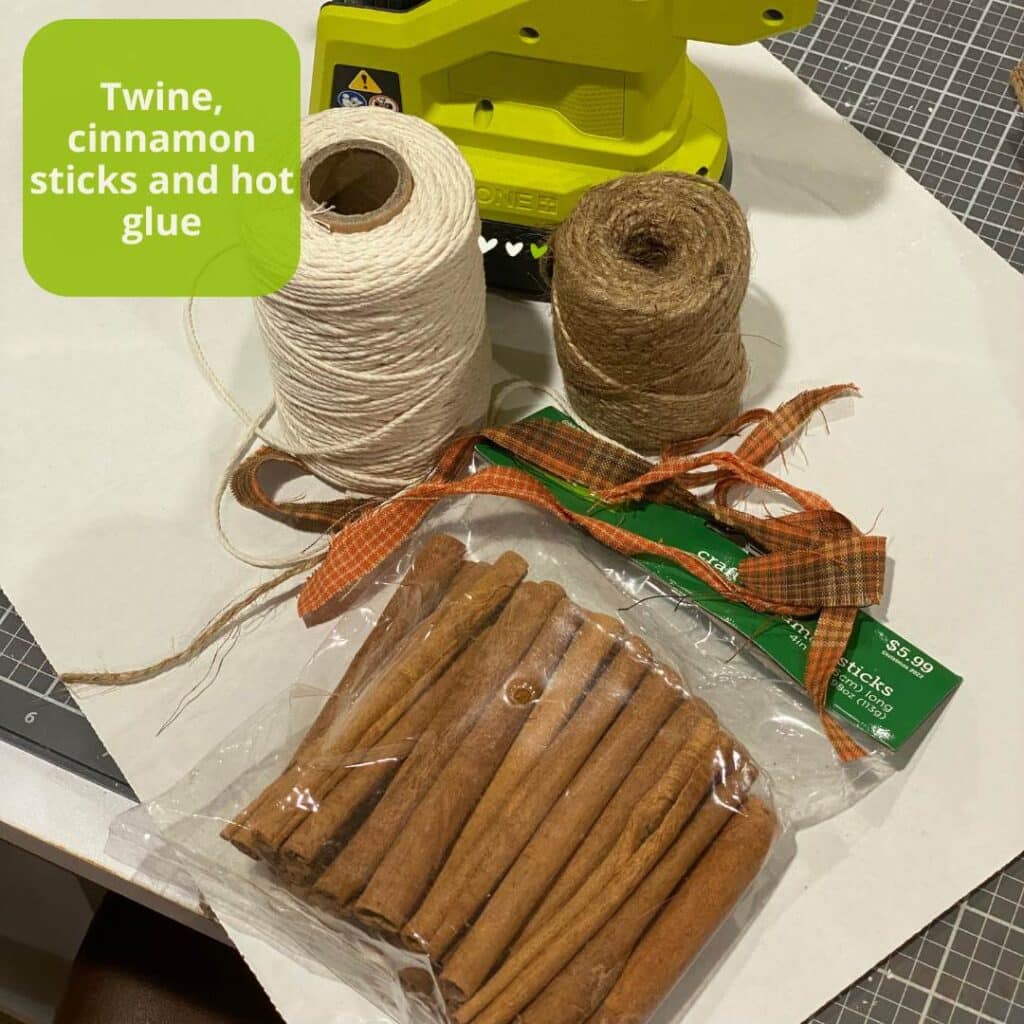
Pumpkins made from twine and cinnamon sticks add so much character and dimension to your decor. Add them to a shelf, mantel, table, tiered tray or anywhere that a cute pumpkin would be just the right touch.
The supplies you need are probably in your craft room right now and include twine, a cinnamon stick, a hot glue gun and glue sticks, and embellishments of your choice!
The process to make these pumpkins is pretty easy:
- Wrap the twine around the fingers of one hand about 25 times or so leaving tails at each end.
- Tie the tails around your twine pretty tightly to secure it.
- Repeat steps 1 & 2 four times so that you get four little twine bundles as equal in size as possible.
- Glue a bundle of twine near the bottom of a cinnamon stick.
- Repeat the step above for the other 3 twine bundles.
- Spread out the twine to make a pumpkin shape.
- Embellish as desired: you can use ribbon, fabric scraps, leaves, berries or anything you like!
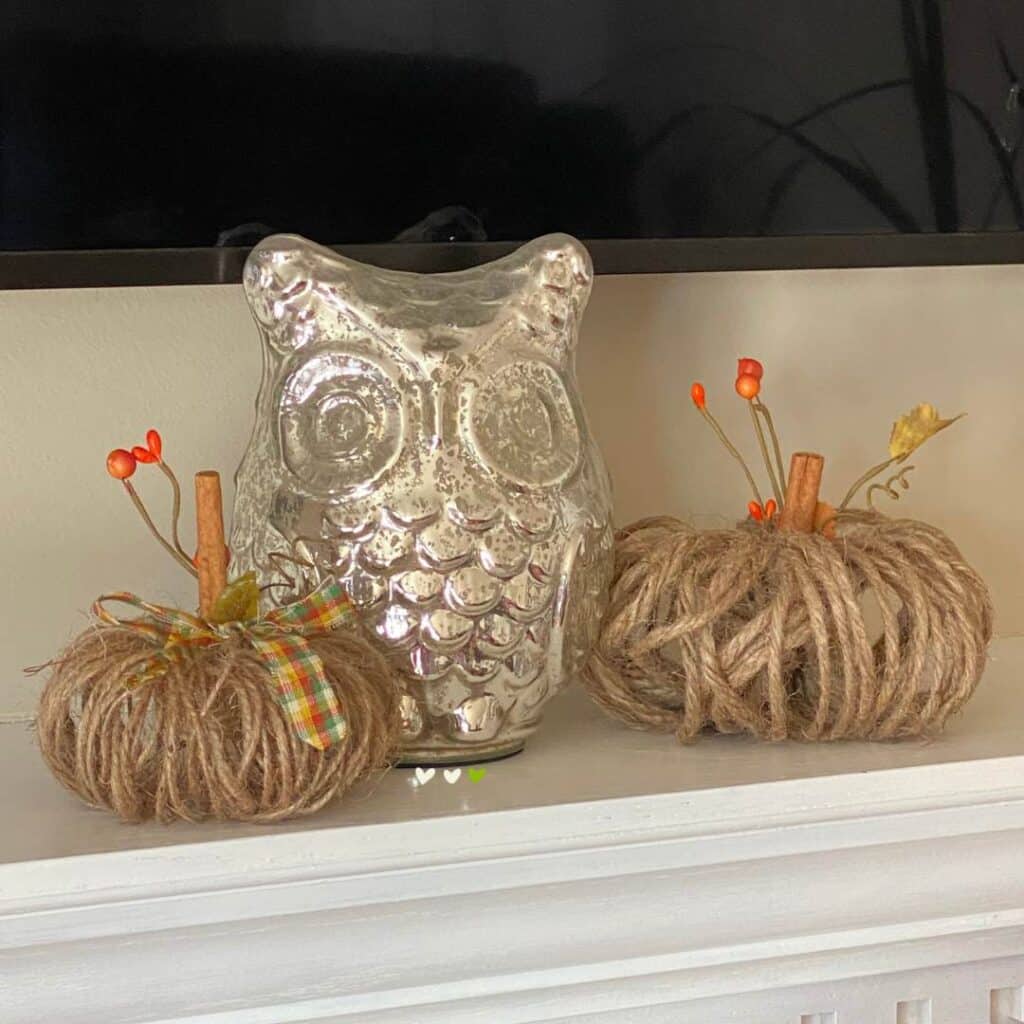
These pumpkins are made from twine in two different thicknesses. You can make the smaller pumpkin by wrapping the twine around your fingers and the larger one by wrapping the twine around the top of your palm.
Pro Tip: When using larger twine, you don’t need to wrap it around your hand as many times as the smaller twine. You can wrap it around 12 or 15 times instead of about 25 times.
Twine pumpkins are not perfect, but they add charm and texture to any fall or Halloween display!
You can make different color pumpkins using different color twine. This may be an upcoming experiment, so save this blog and check back to see if any new colored pumpkins show up!
Toilet Paper Roll Pumpkins
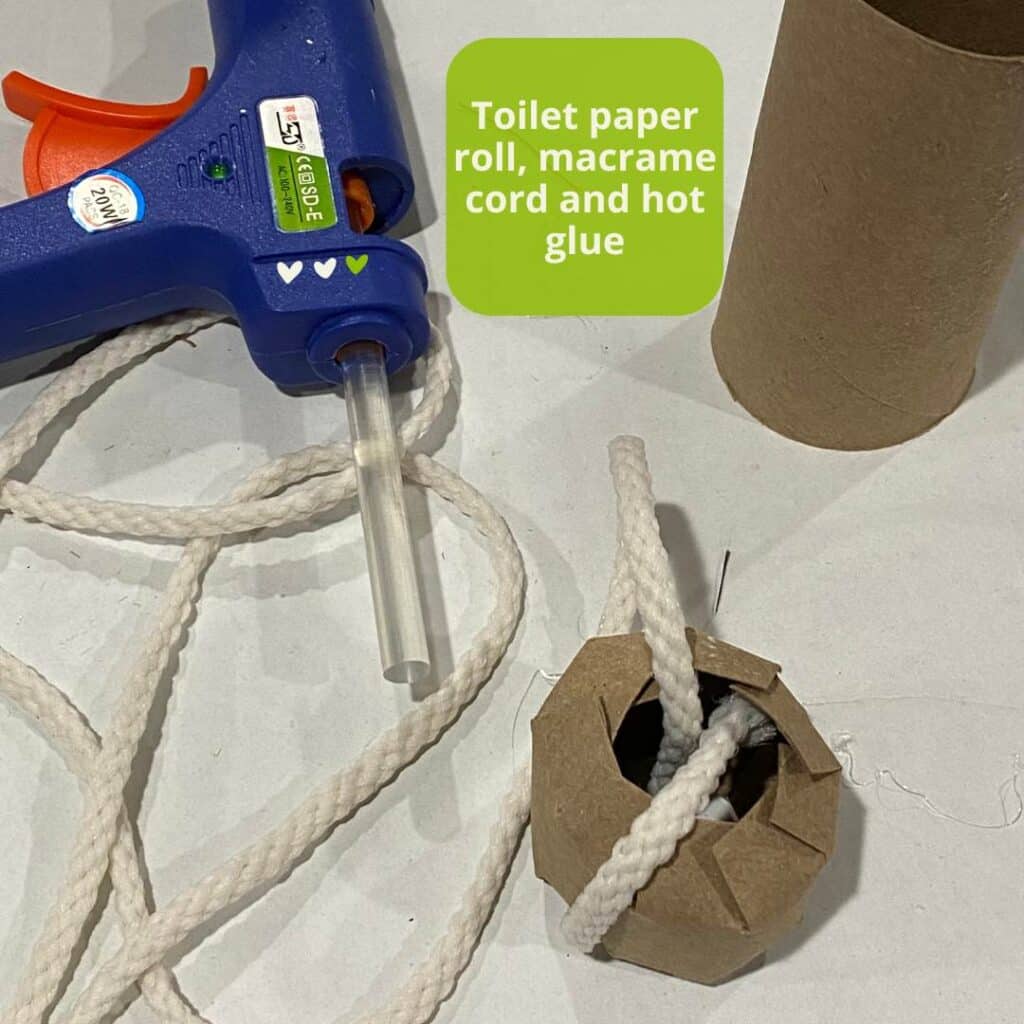
Using toilet paper or paper towel rolls make the cutest pumpkin crafts! You can use yarn, velvet ribbon or macrame cord to wrap around your cardboard to create a little pumpkin.
The supplies you need can be gathered from around your house and your craft room! You need a toilet paper or paper towel roll, some cord or ribbon, scissors, a hot glue gun and glue sticks and any embellishments you’d like to use.
The steps to make this pumpkin include:
- Cut your cardboard roll to about 4 or 5 inches.
- Cut slits about a quarter inch to half an inch deep on each end of your cardboard roll.
- Bend the pieces of cardboard around the ends of the cardboard roll to form your pumpkin (see photo below).
- Start wrapping your chosen cord or ribbon around your cardboard roll (see photo below). Secure the end with some hot glue.
- Continue wrapping your cord or ribbon until your roll is covered. Ensure that the cardboard is well-covered so you don’t see it through the cord.
- Insert a cinnamon stick through the center and secure it with some hot glue. You may need to adjust the length of the cinnamon stick to the right size for your pumpkin which can be done with scissors or a utility knife.
- Add embellishments of your choice.
This cutie patootie pumpkin looks just right on a shelf or a tiered tray! Make a whole bunch and put them in a bowl, basket or container that makes a statement and add lots of fun and texture to your decor!
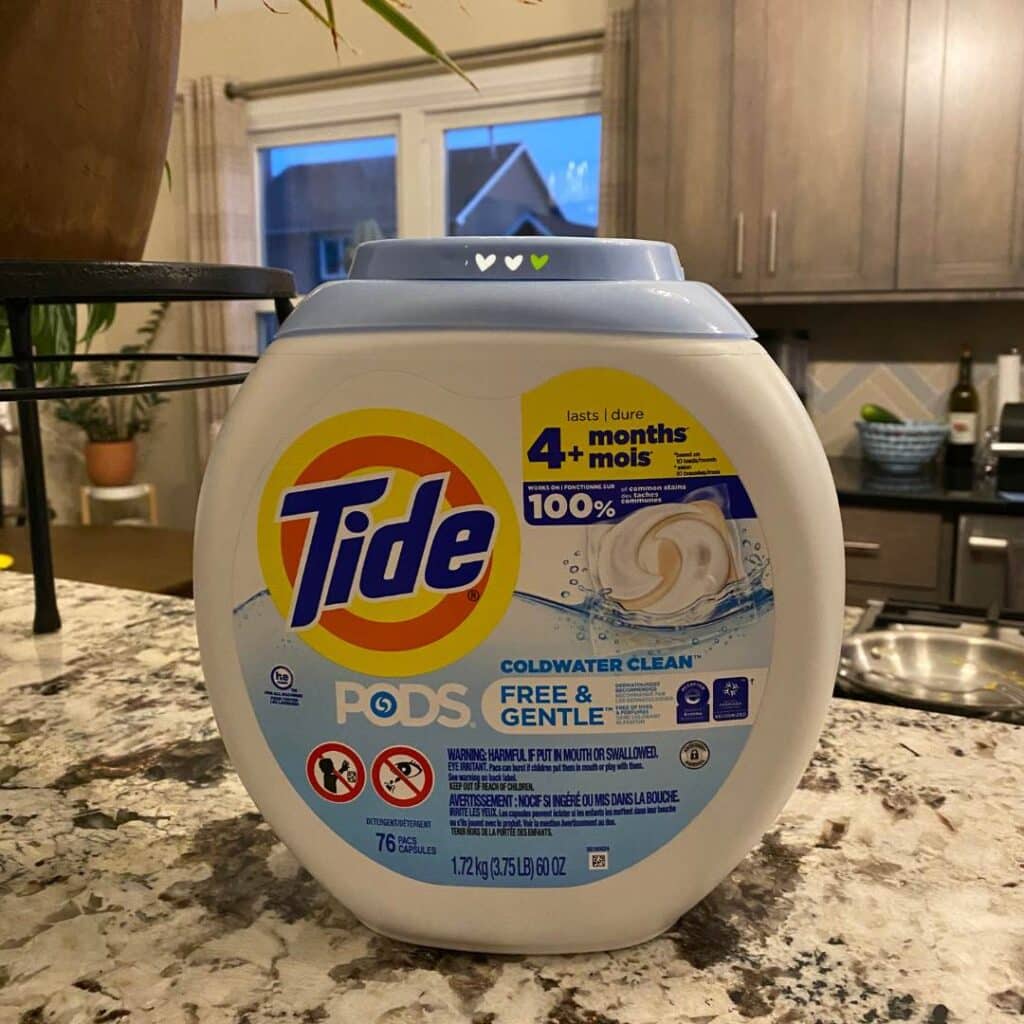
Tide Pod Container Pumpkins
A Tide Pod container seems to be just the right shape to transform into a pumpkin! There are a variety of ways you can upcycle your container ranging from painting it, wrapping it in fabric, or even decoupaging it.
For this easy craft, paint was used to create the body of the pumpkin and twine was used to camouflage the top of the container.
Supplies you need for this craft include:
- an empty laundry pod container,
- several colored paints; for this project, Cottage White, Desert Sand, brown and a touch of black craft paints were used,
- a cork for the stem but you could also use a piece of a branch from your yard,
- a hot glue gun and glue sticks,
- sand paper,
- twine,
- paint brushes and foam brushes.
The steps to create the pumpkin were:
- clean and dry your laundry pod container. You do not have to worry about removing the labels; simply scuff the entire container with some sand paper to help the paint adhere to the plastic.
- cover the entire container in your chosen base coast. For this project, a Cottage White chalk paint was used and two coats were applied.
- use your darkest paint color to apply the ridge lines to your pumpkin; in this case, brown with a tiny bit of black to darken it up was used,
- dry brush a lighter color over the ridge lines to soften them up; for this project, Desert Sand was used for this step.
- round out your ridge lines at both the top and bottom of the pumpkin using your dark paint color,
- repeat the dry brush step using your lighter color,
- add some highlights using your lightest color (in this case, Cottage White paint was used again); place the highlights where light would hit a rounded pumpkin, so near the tops and sides of the ridges,
- continue adding layers of paint until you are happy with the look!
- glue on your stem and wrap the twine around the top of the container securing the ends with hot glue,
- add any other embellishments of your choice like fabric scraps, ribbon, and berries.
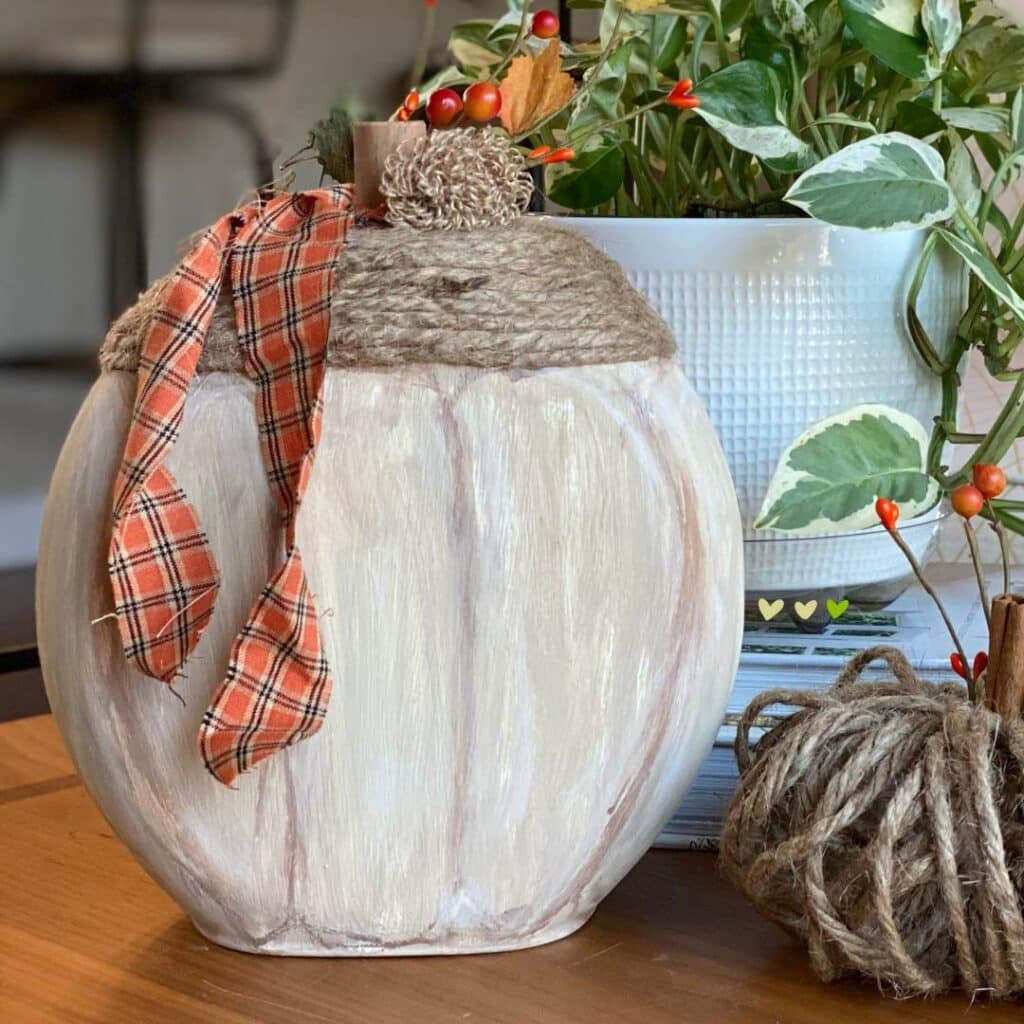
You can make these pumpkins in a neutral color as shown or try orange or green as well! There are so many options you can choose from when upcycling a laundry pod container into an adorable pumpkin!
Additional colors may be coming, so save this blog and check back to see what’s new!
Pumpkin crafts are so fun and easy, and you can never have too many pumpkins in your collection! I hope you’ve gotten some ideas for pumpkin crafts you can do for your fall and Halloween decorating!
Check out some other sustainable craft ideas like easy ways to reuse cardboard boxes in your home or repurposing bakeware into fun projects!
I can’t wait to see what you create!
Sustainably yours,
Luana